Cancel an Appointment with an Invoice
In this article, you'll learn how to cancel an appointment that has already been invoiced — and how to handle the refund process correctly.
Sometimes a patient needs to cancel a procedure or consultation after payment has already been made. This guide walks you through exactly how to manage that, including accessing the patient record, locating the appointment, and completing the refund.
Step-by-Step
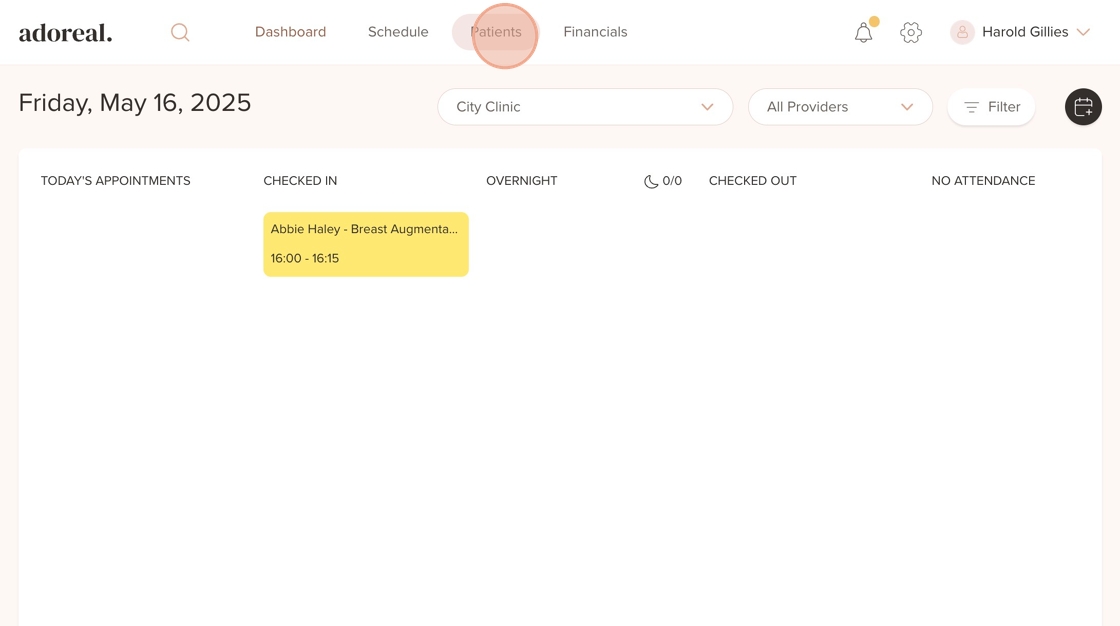
1. Click on "Patients"
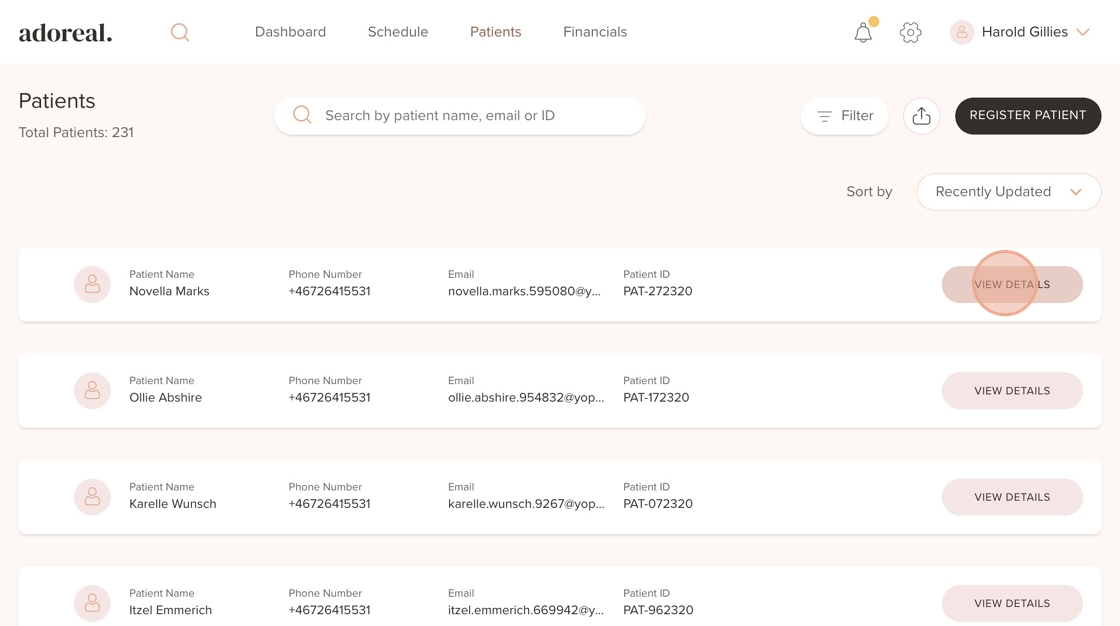
2. Click on "View Details"
3. Go to "Bookings"

4. Click on "Breast Augmentation" under "Services"

5. A window will appear on the right, showing that the appointment has a paid invoice attached. Click the delete icon to begin the cancellation process

6. Here you can see that this appointment has a paid invoice attached. Click “Continue” to proceed with selecting a refund amount, or “Back”

7. If you clicked “Continue,” you’ll now be able to choose whether to refund the full amount or enter a custom amount to refund

8. Click on "Refund"

9. Select a reason for the cancellation

10. Click on "Cancel Appointment"

11. You’ll now see that the invoice status has changed to “Refunded” and the appointment has been successfully cancelled

Was this article helpful?
That’s Great!
Thank you for your feedback
Sorry! We couldn't be helpful
Thank you for your feedback
Feedback sent
We appreciate your effort and will try to fix the article