Create a Product Invoice from Financials View
You can create a Product invoice from two different areas in the platform:
- From the Financial View
- Directly from the Patient 360
This article walks you through how to create a Product invoice directly from the Financials view.
⚠️ If the person isn't registered as a patient, you'll need to do that first. You also need to ensure that the location has added products to the catalogue.
This method allows you to generate an invoice without linking it to a specific appointment. It's useful when you want to invoice a patient for a product or item not tied to an appointment.
⚠️Even if the patient doesn't have an appointment, you always need to create an invoice to register a payment.
Other ways to create an invoice:
Creating an appointment invoice - Create an Invoice for an Appointment
Creating a Product invoice from Patient360 - "How to Create a Product Invoice from Patient 360"
Useful links:
How to register a patient: Register a New Patient
How to add a new product to the catalogue: Add a product
Step-by-Step
1. Click on "Financials"

2. Click “Create Invoice” at the top right of the screen.

3. Select the patient from the dropdown list.

4. Select the service date

5. Choose both the correct clinic location and the treatment provider associated with the product.

6. Click “Add” and then click Product from the dropdown.

7. Find the correct product. In this example, we'll choose "Day Cream"

8. Click “Save” once the item has been selected.

9. You can adjust the price...

10. ...and also adjust the quantity

11. Once you're done, click "Create Invoice"

12. Double-check that everything looks correct and then click "Pay Now"

13. Choose the payment method. In this case, the patient paid with cash.
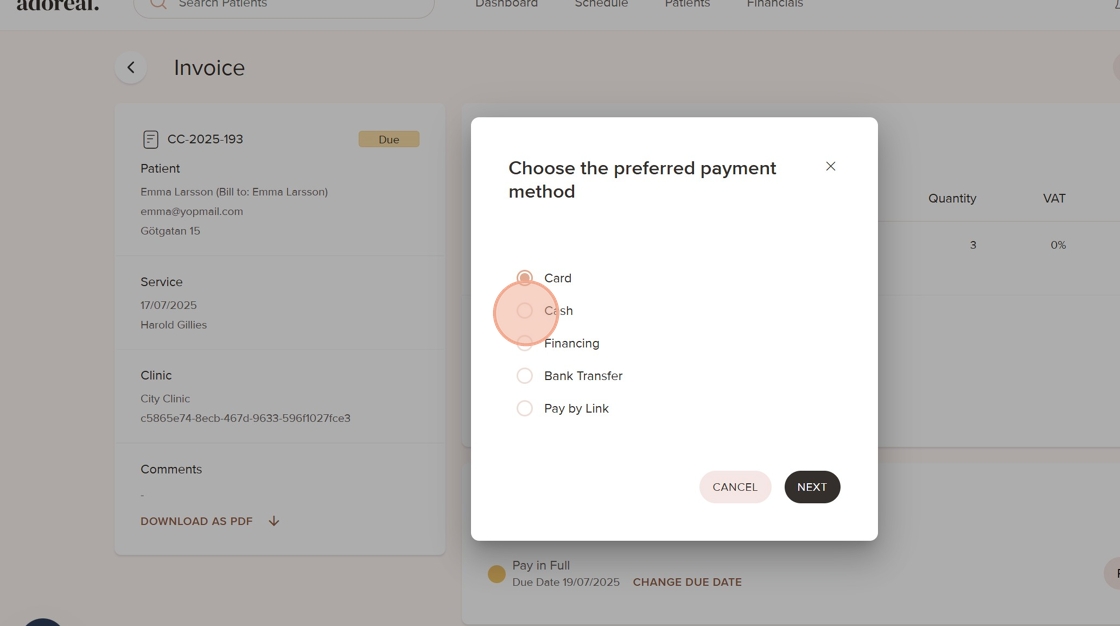
14. Click "NEXT"

15. Click "Confirm"

16. The invoice is now marked as paid.
Was this article helpful?
That’s Great!
Thank you for your feedback
Sorry! We couldn't be helpful
Thank you for your feedback
Feedback sent
We appreciate your effort and will try to fix the article