Create custom In-Progress statuses
Custom In-Progress statuses allow you to track exactly where a patient is during their visit. Instead of relying on generic statuses, you can create custom statuses that match your clinic’s workflow—such as specific operating rooms, recovery areas, or other stages of care.
This makes it easier for your team to stay aligned in real time, improve patient flow, and reduce unnecessary handovers
In this guide, you’ll learn how to create and manage custom in-progress statuses and how to use them in your daily workflow.
Useful links:
- Understanding the Dashboard: Dashboard overview
Step-by-step
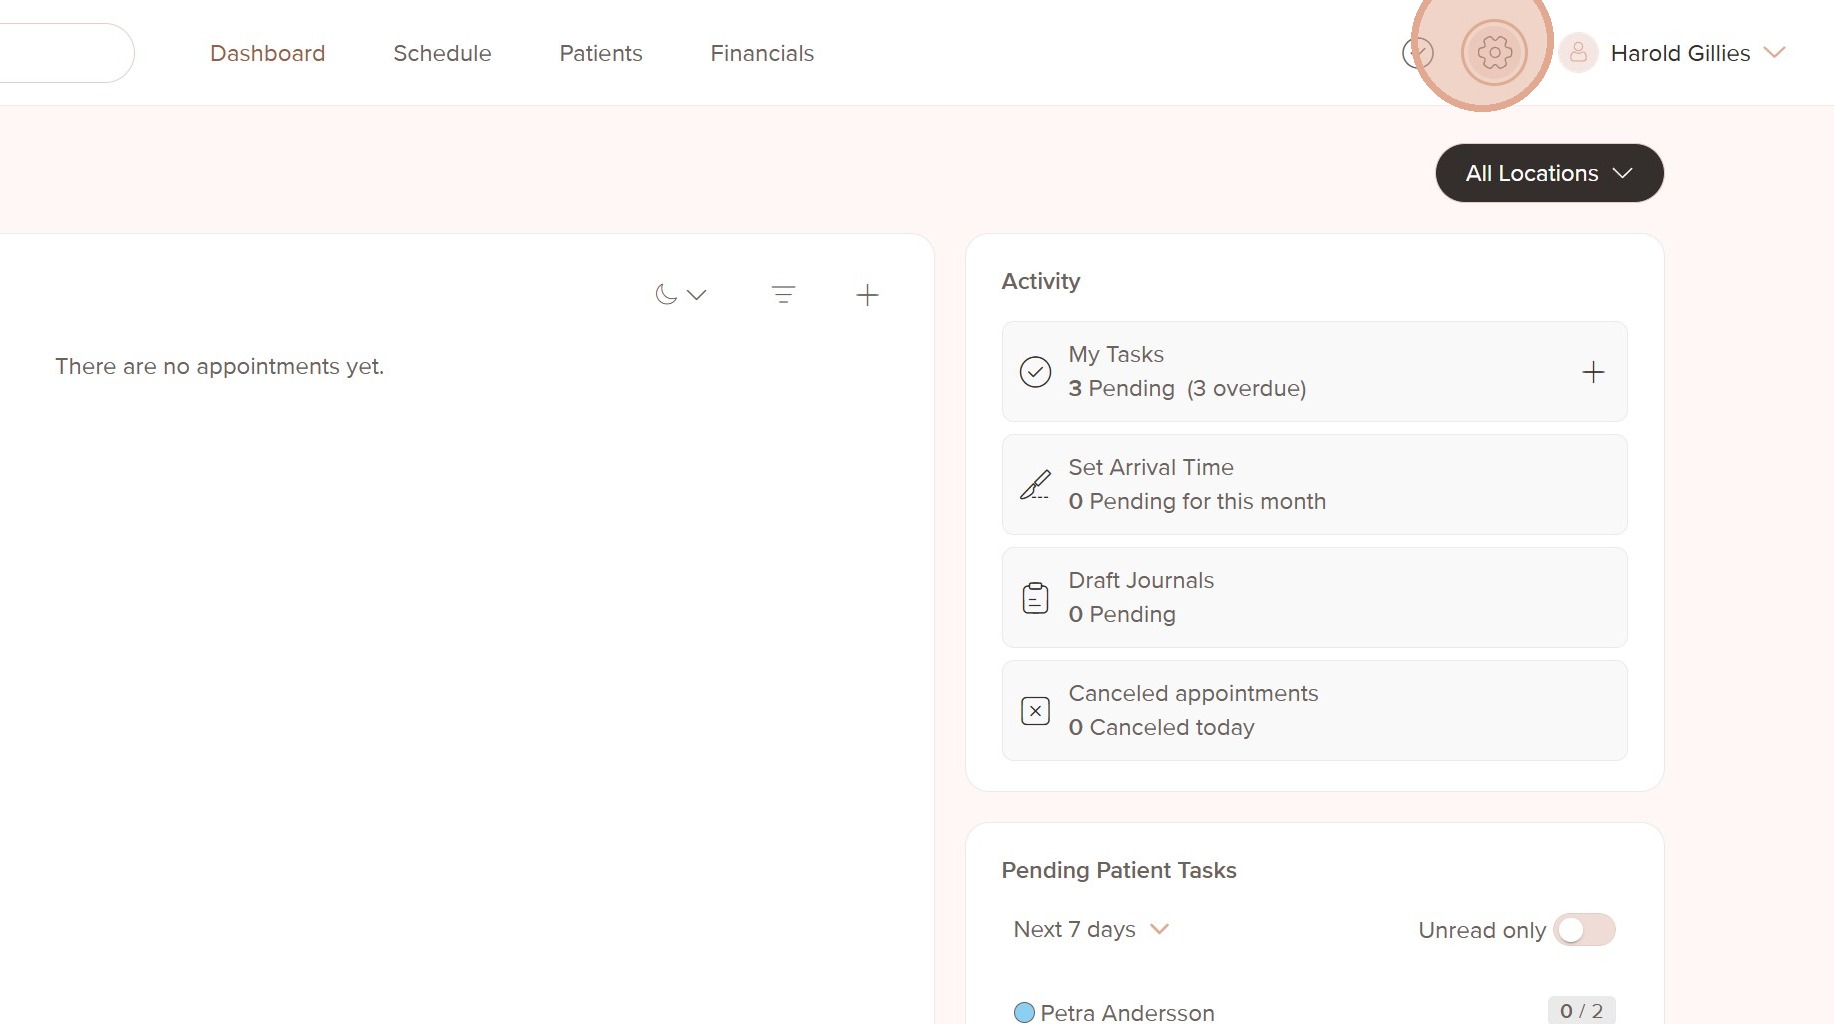
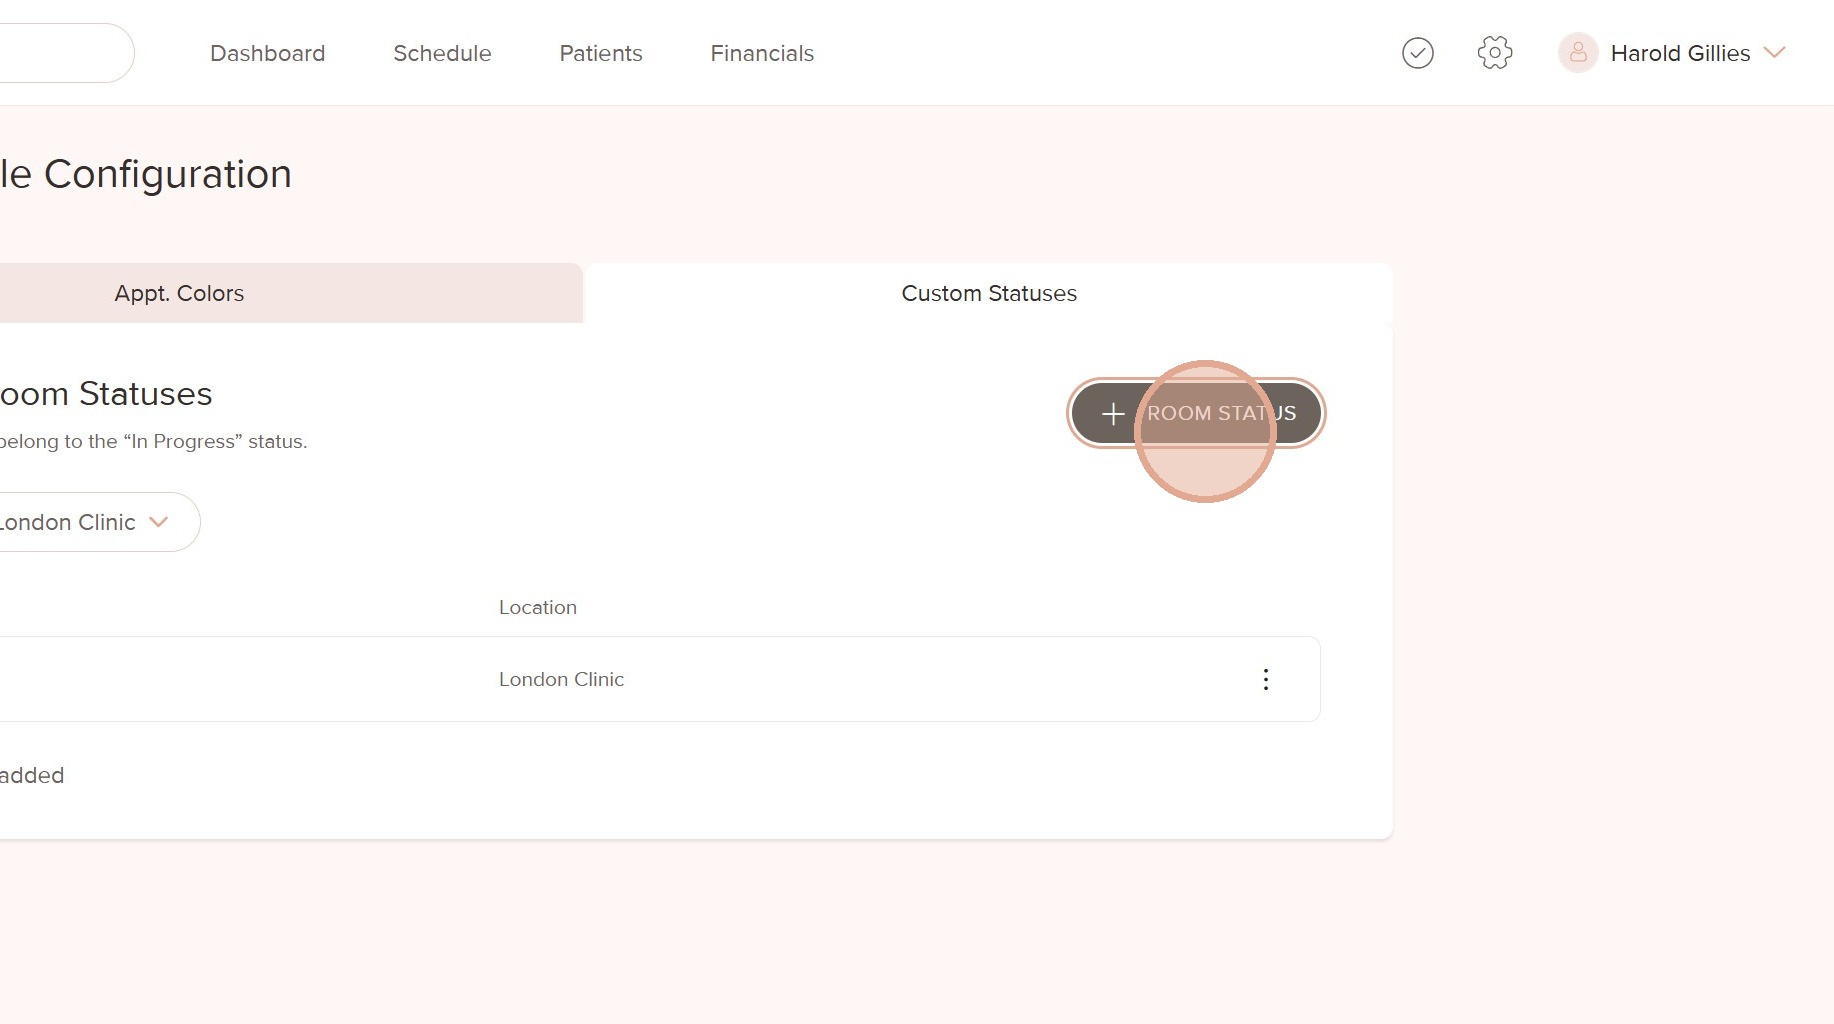
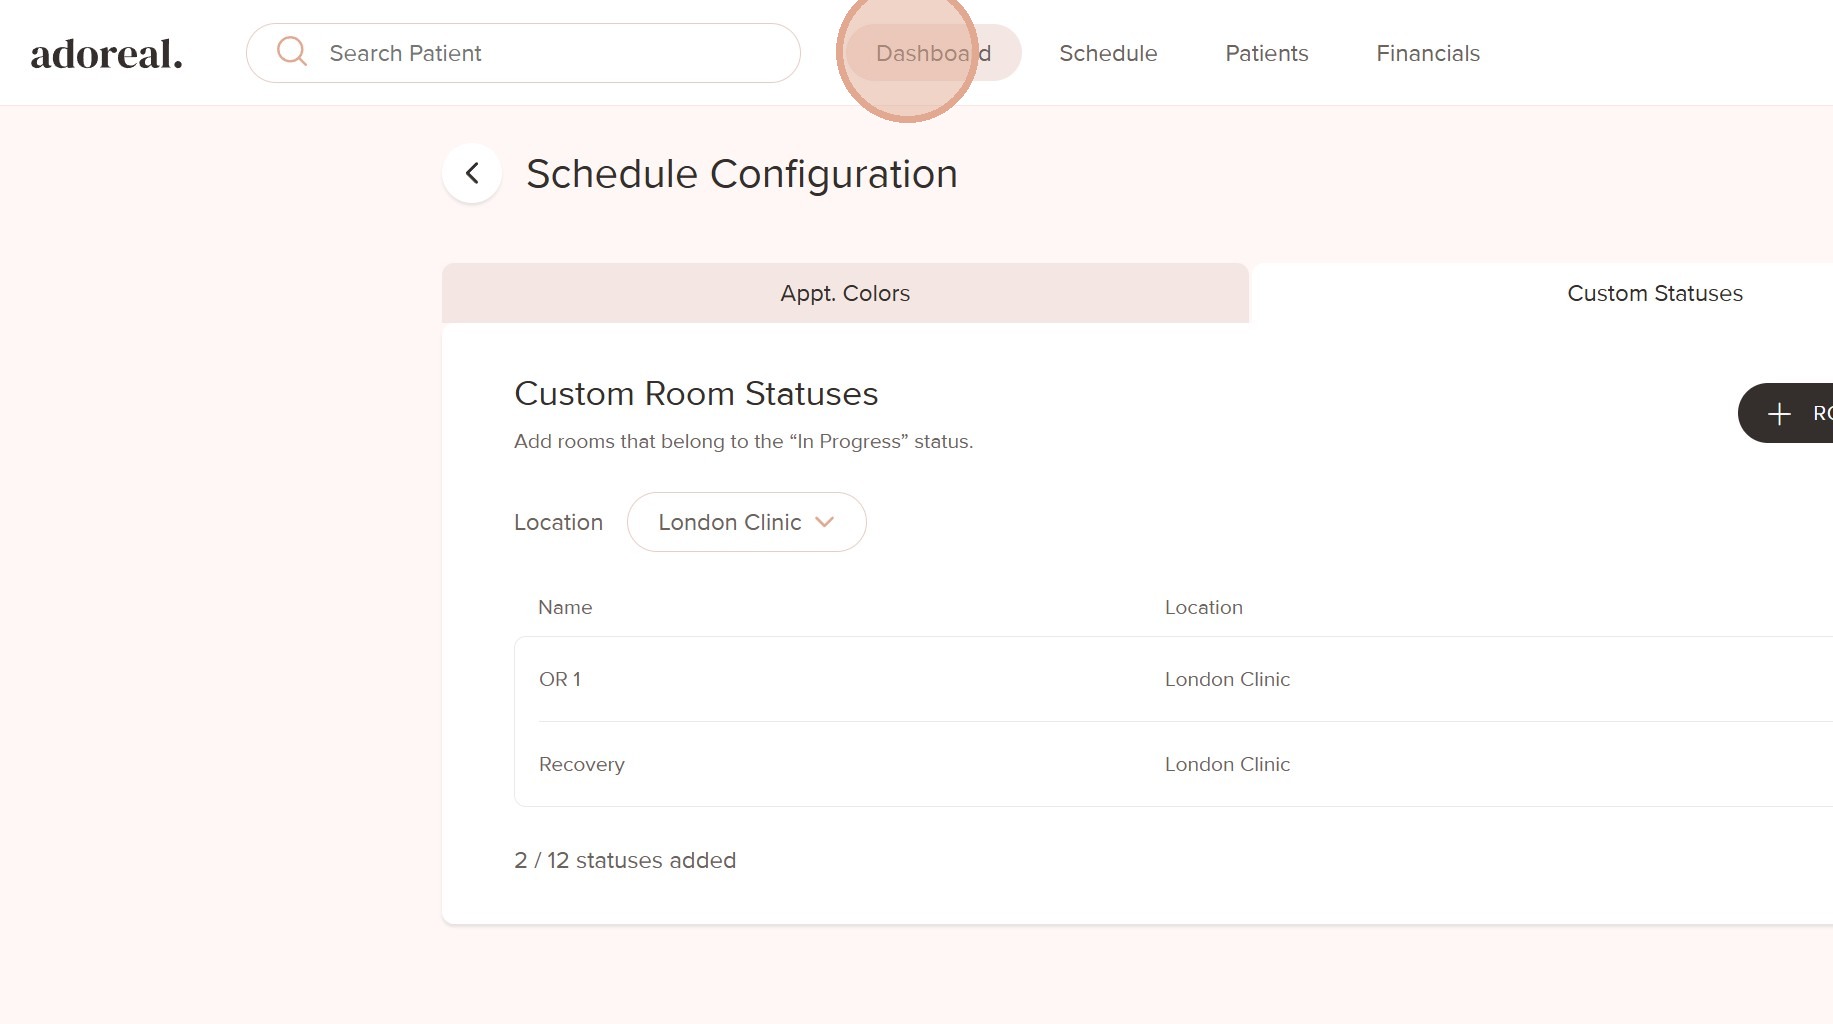
1. Go to Settings
2. Click Schedule Configuration
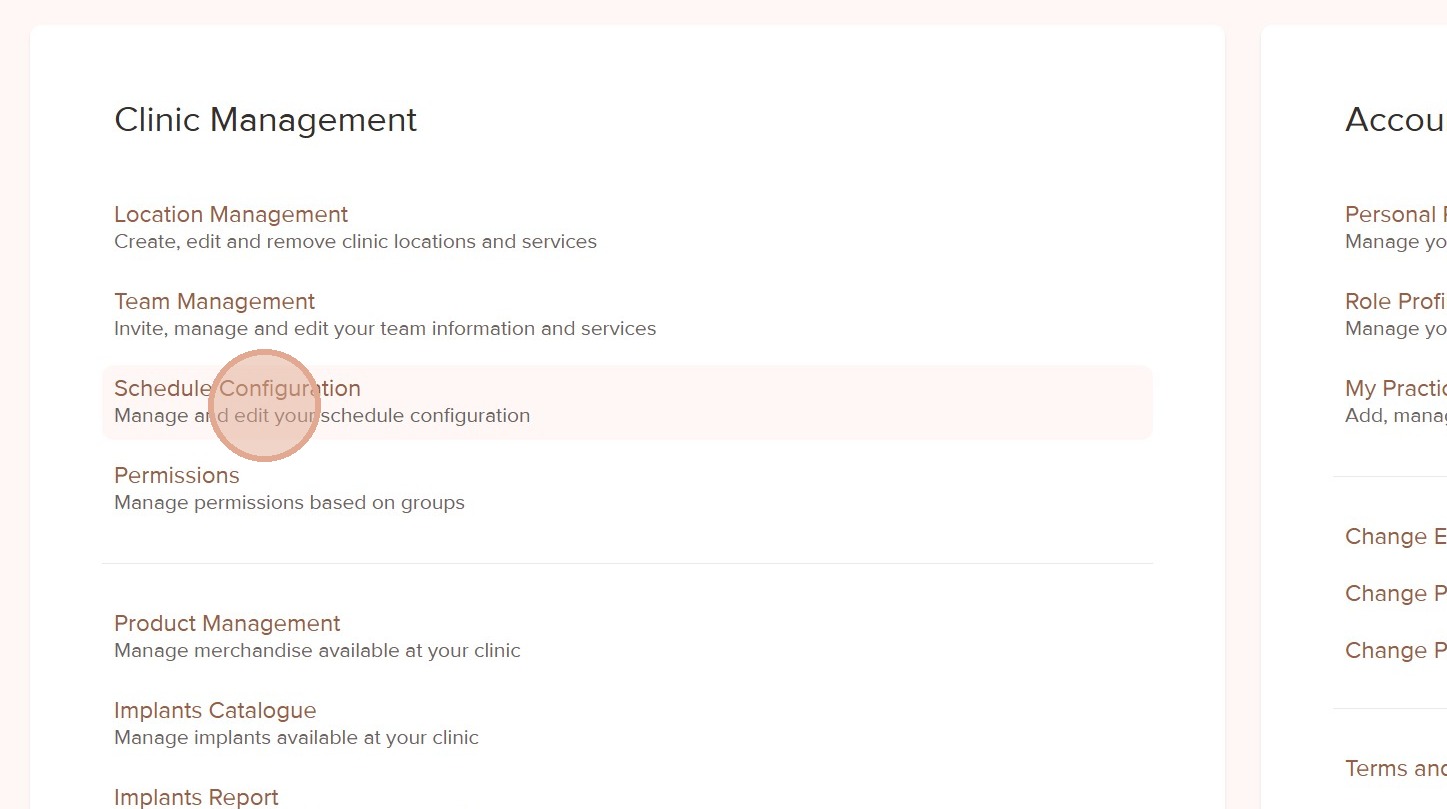
3. Click the Custom Statuses tab

4. Choose the location you want to add a custom status for
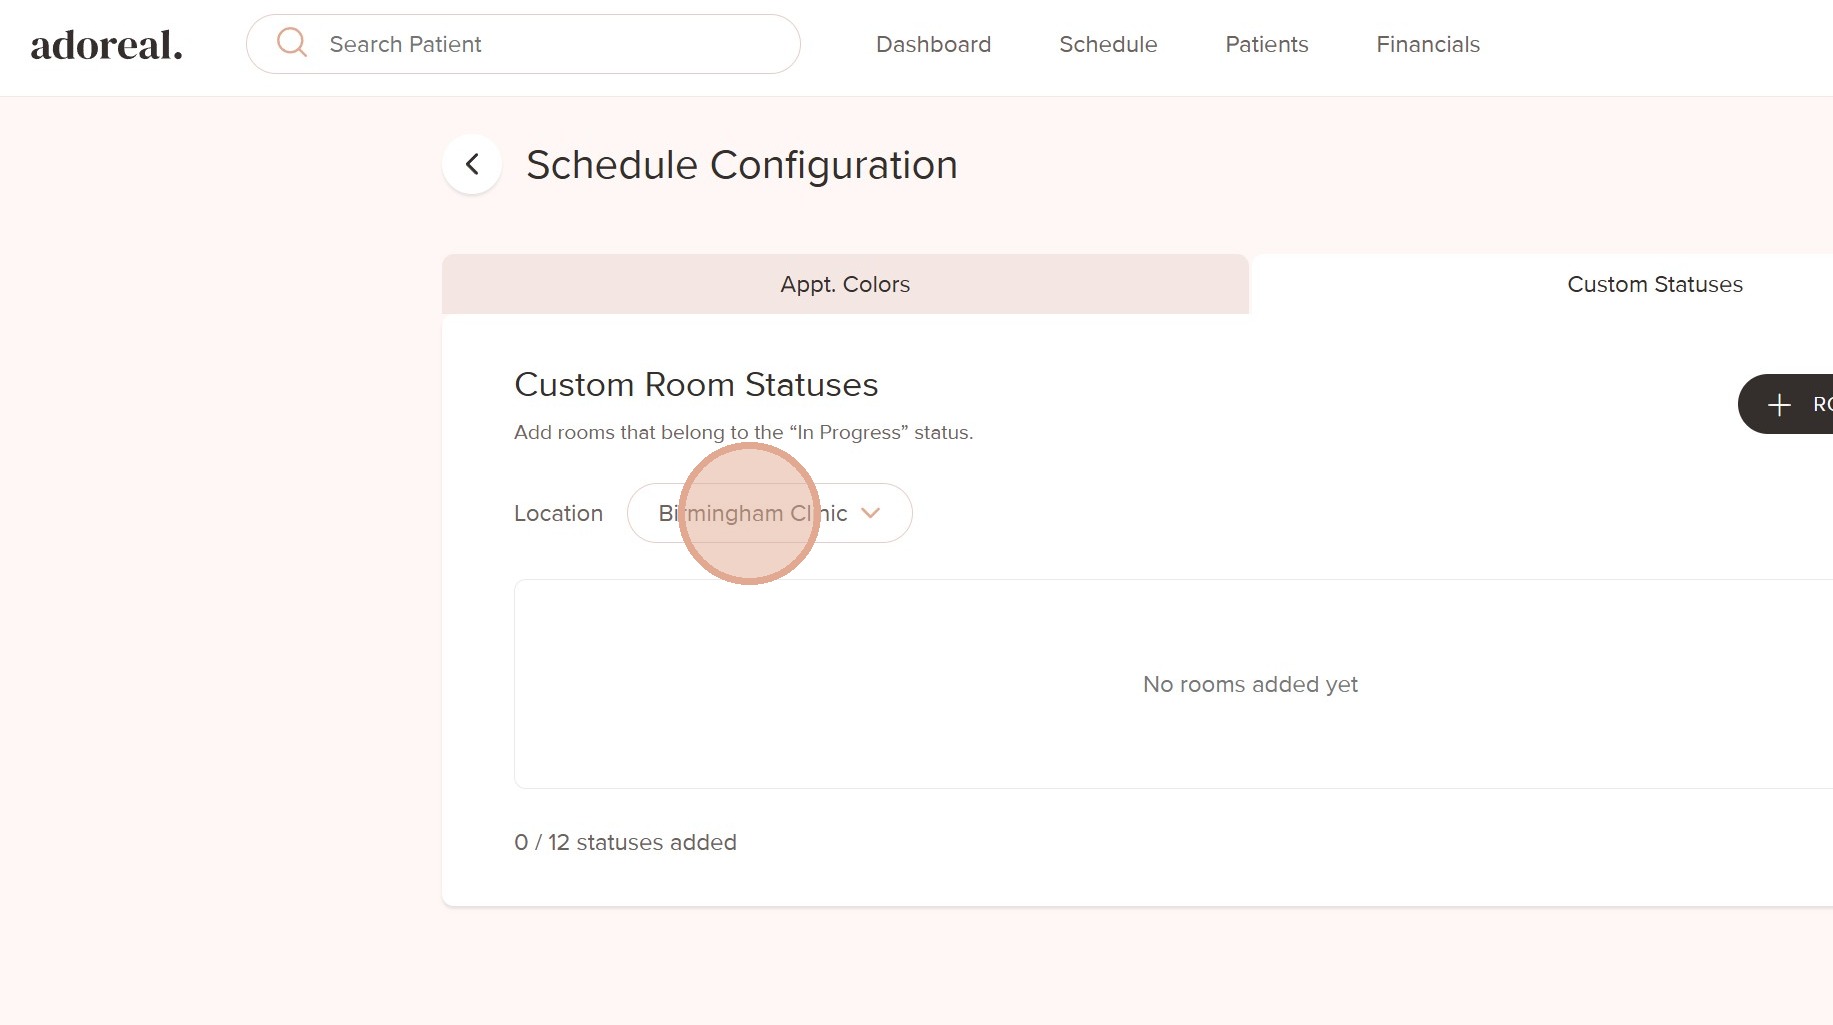
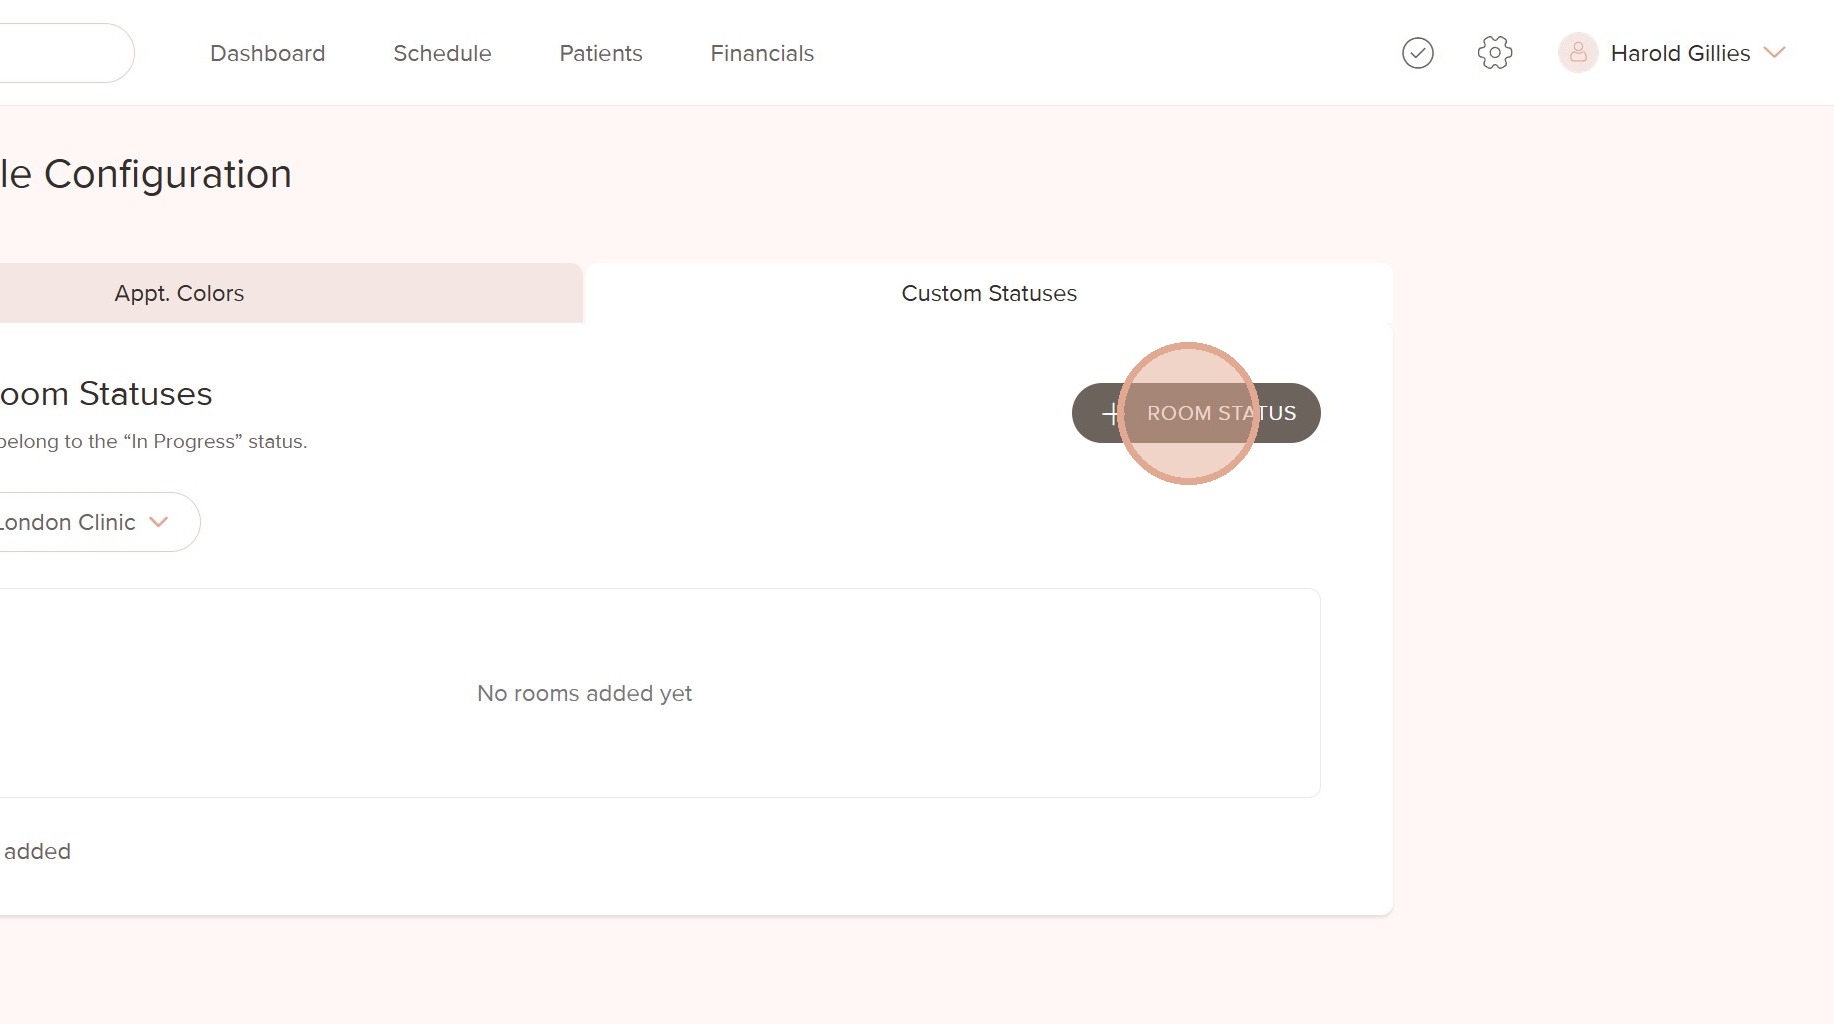
5. Click "Room Status" to add your status
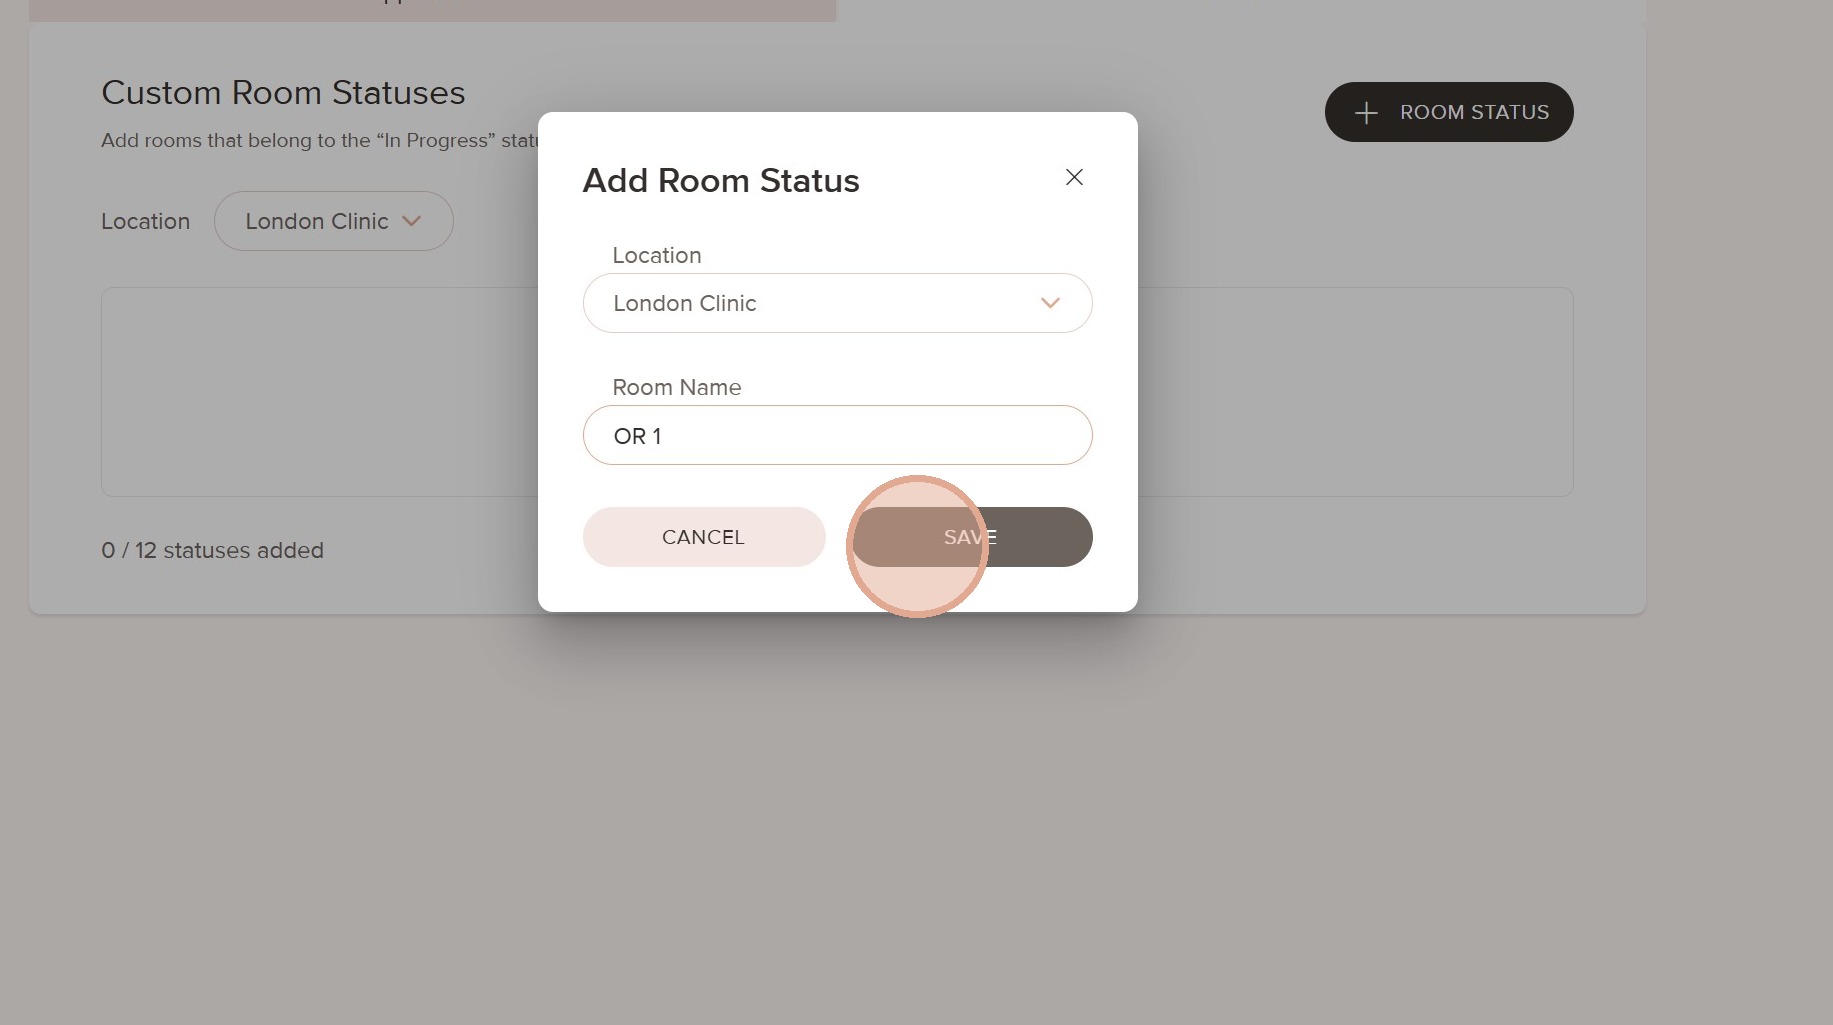
6. Enter the name of the status or room (for example, Recovery or OR)
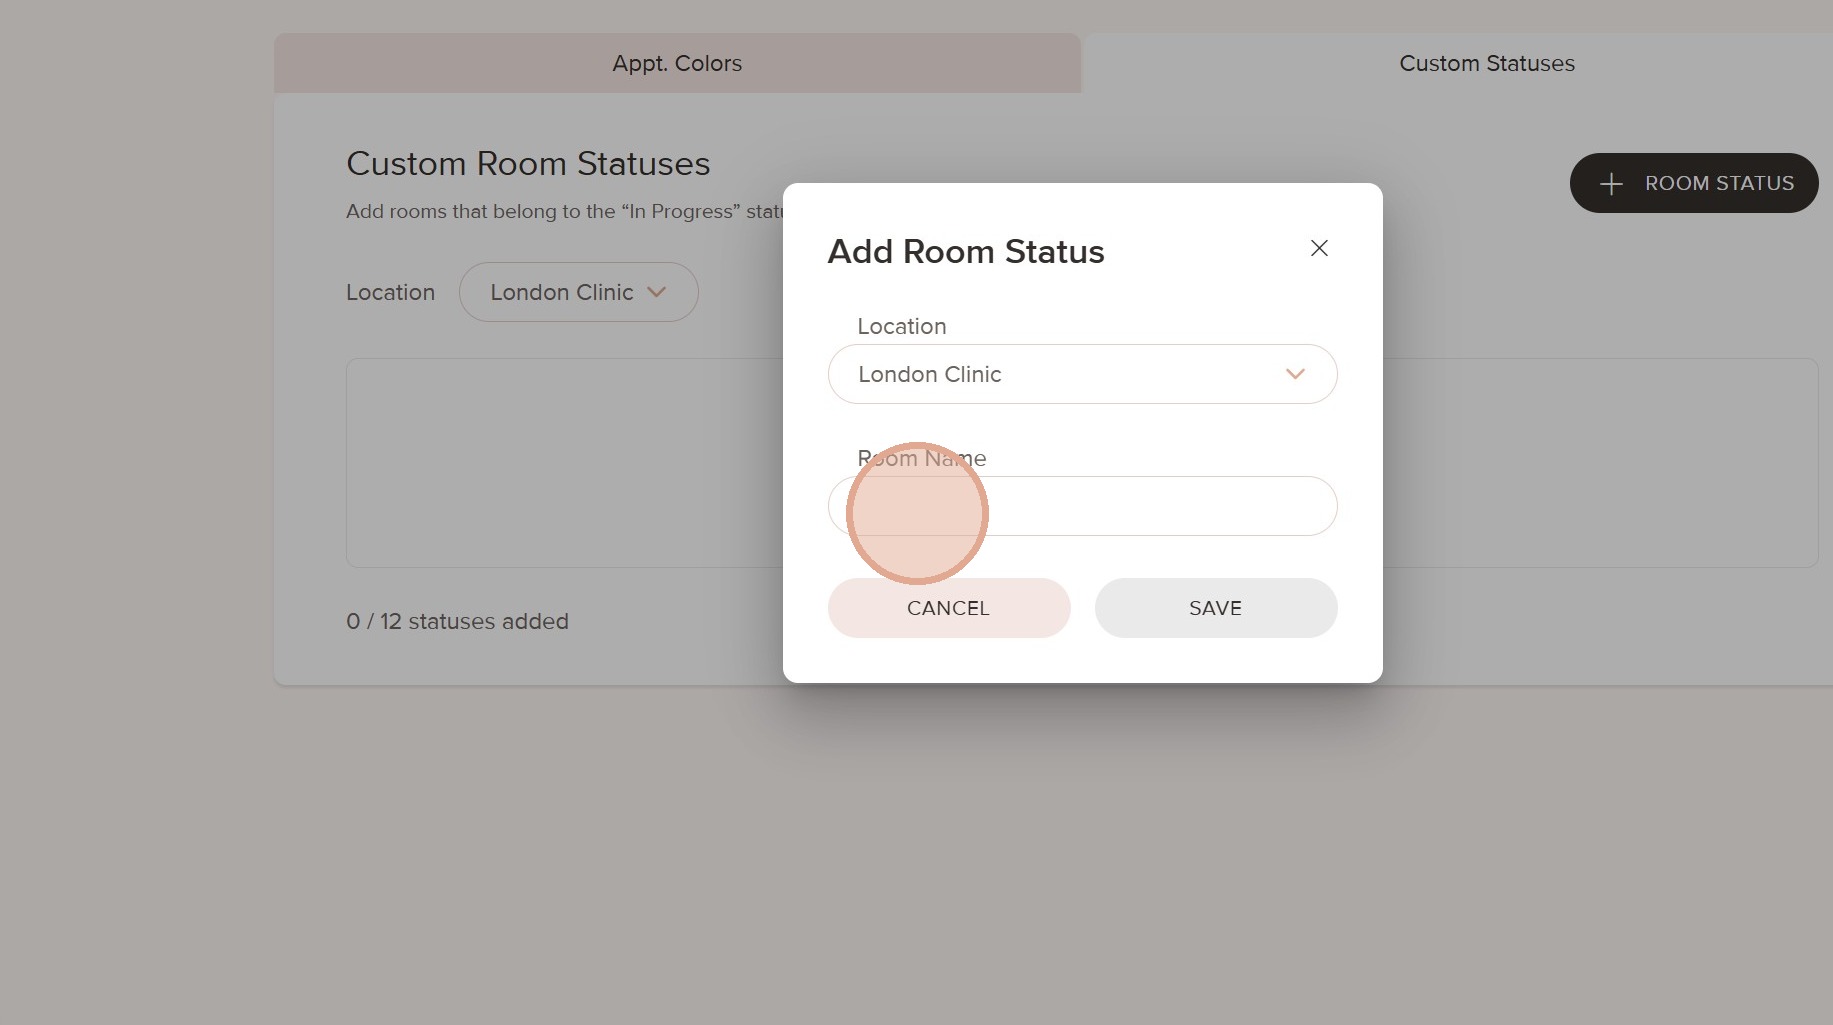
7. Click Save
8. Add more statuses if needed. You can add up to 12 custom statuses per location.
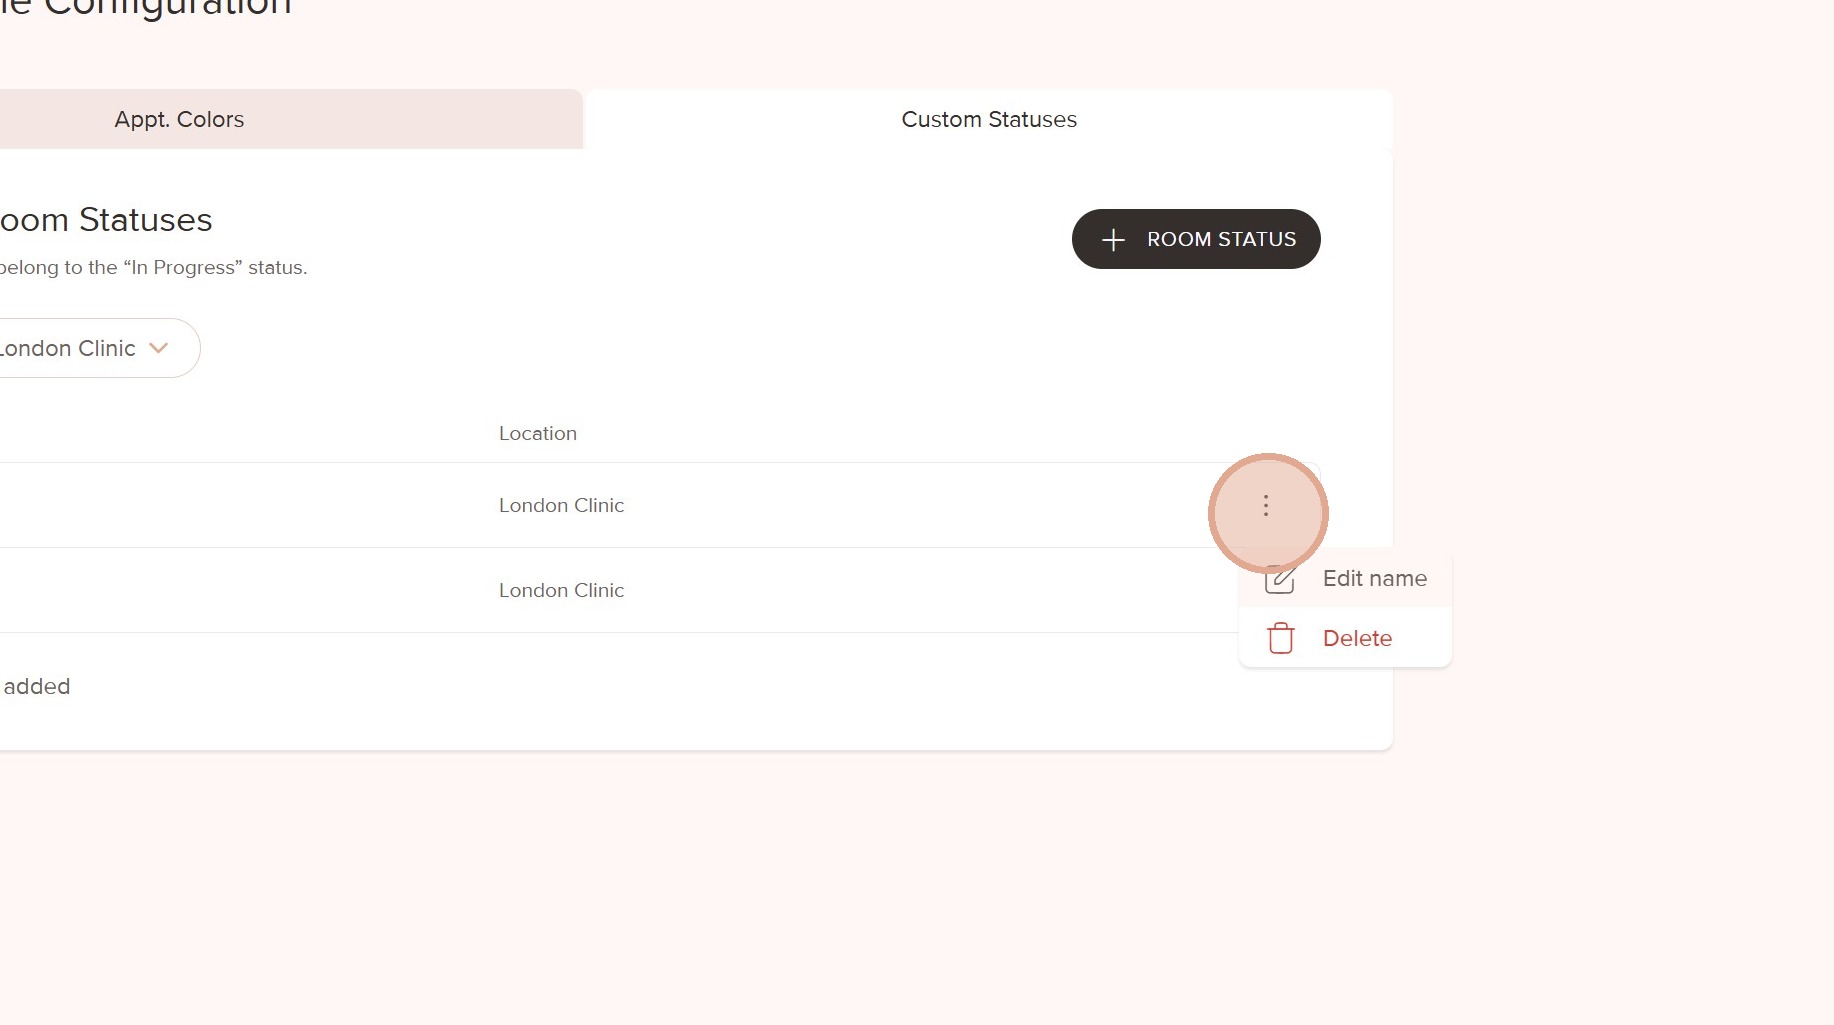
9. You can edit the name or delete a status at any time if needed
10. The custom status is now ready to use.
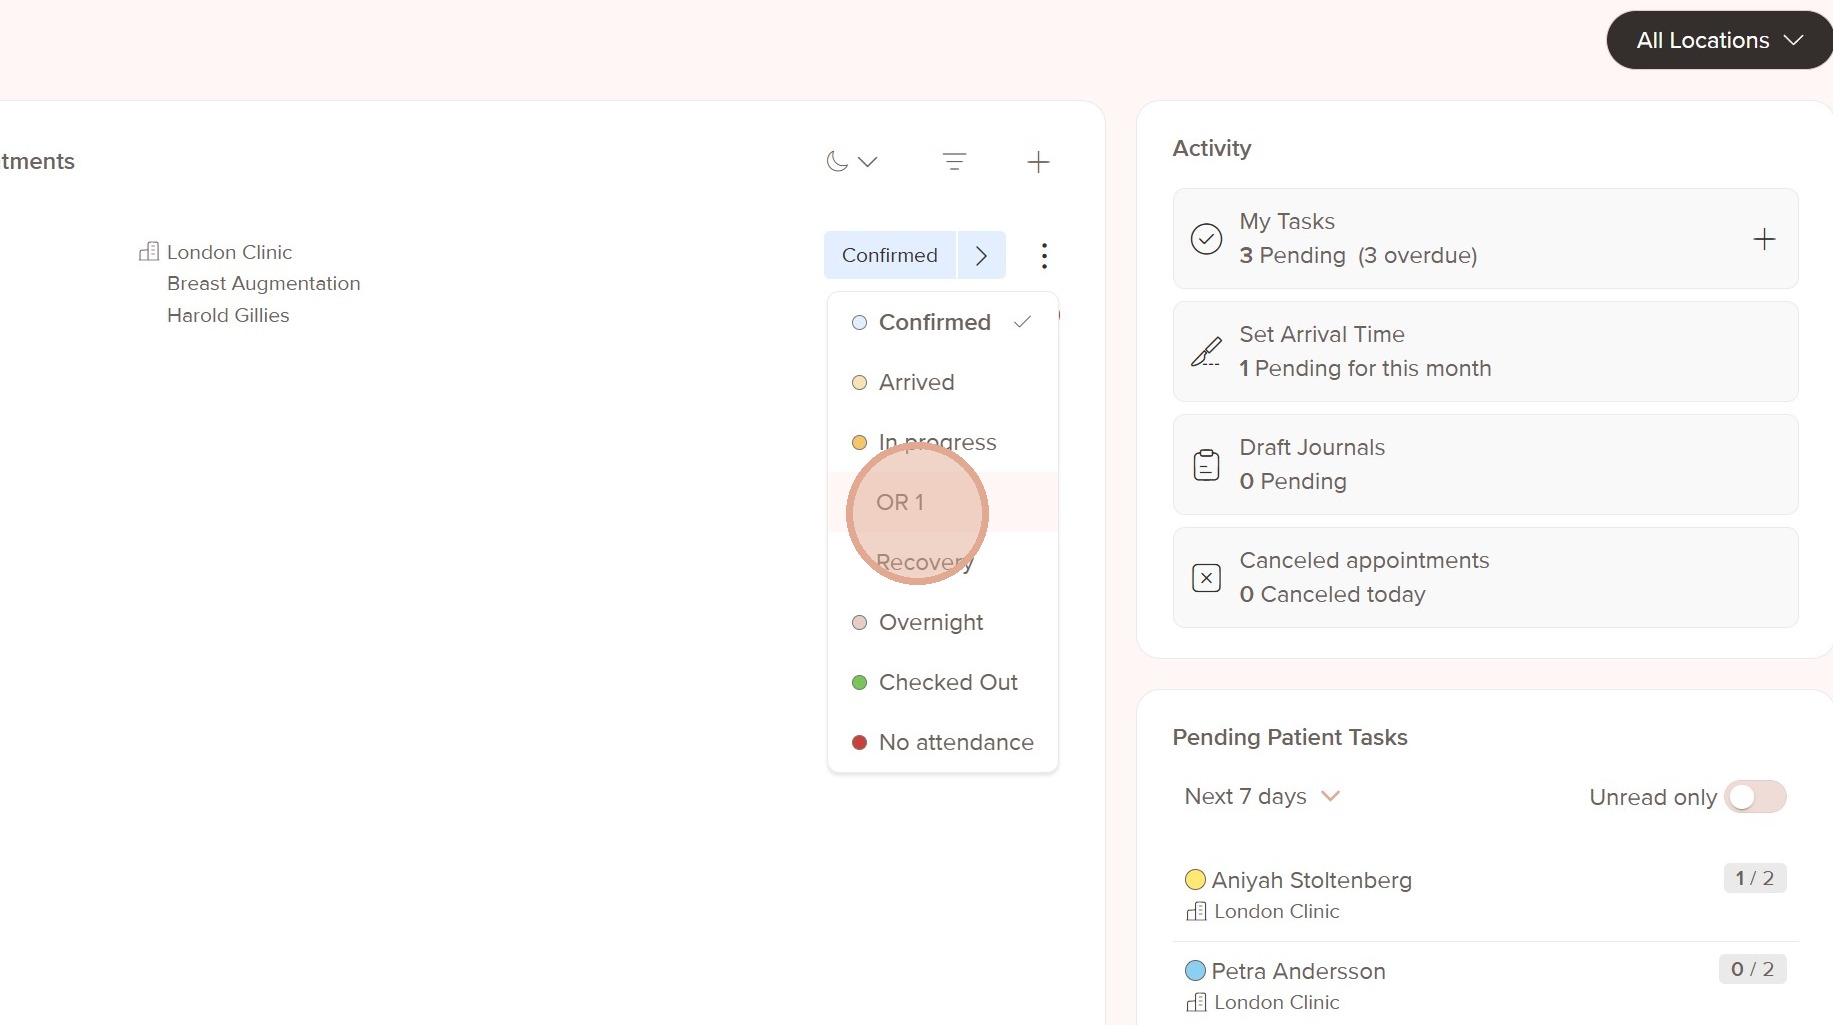
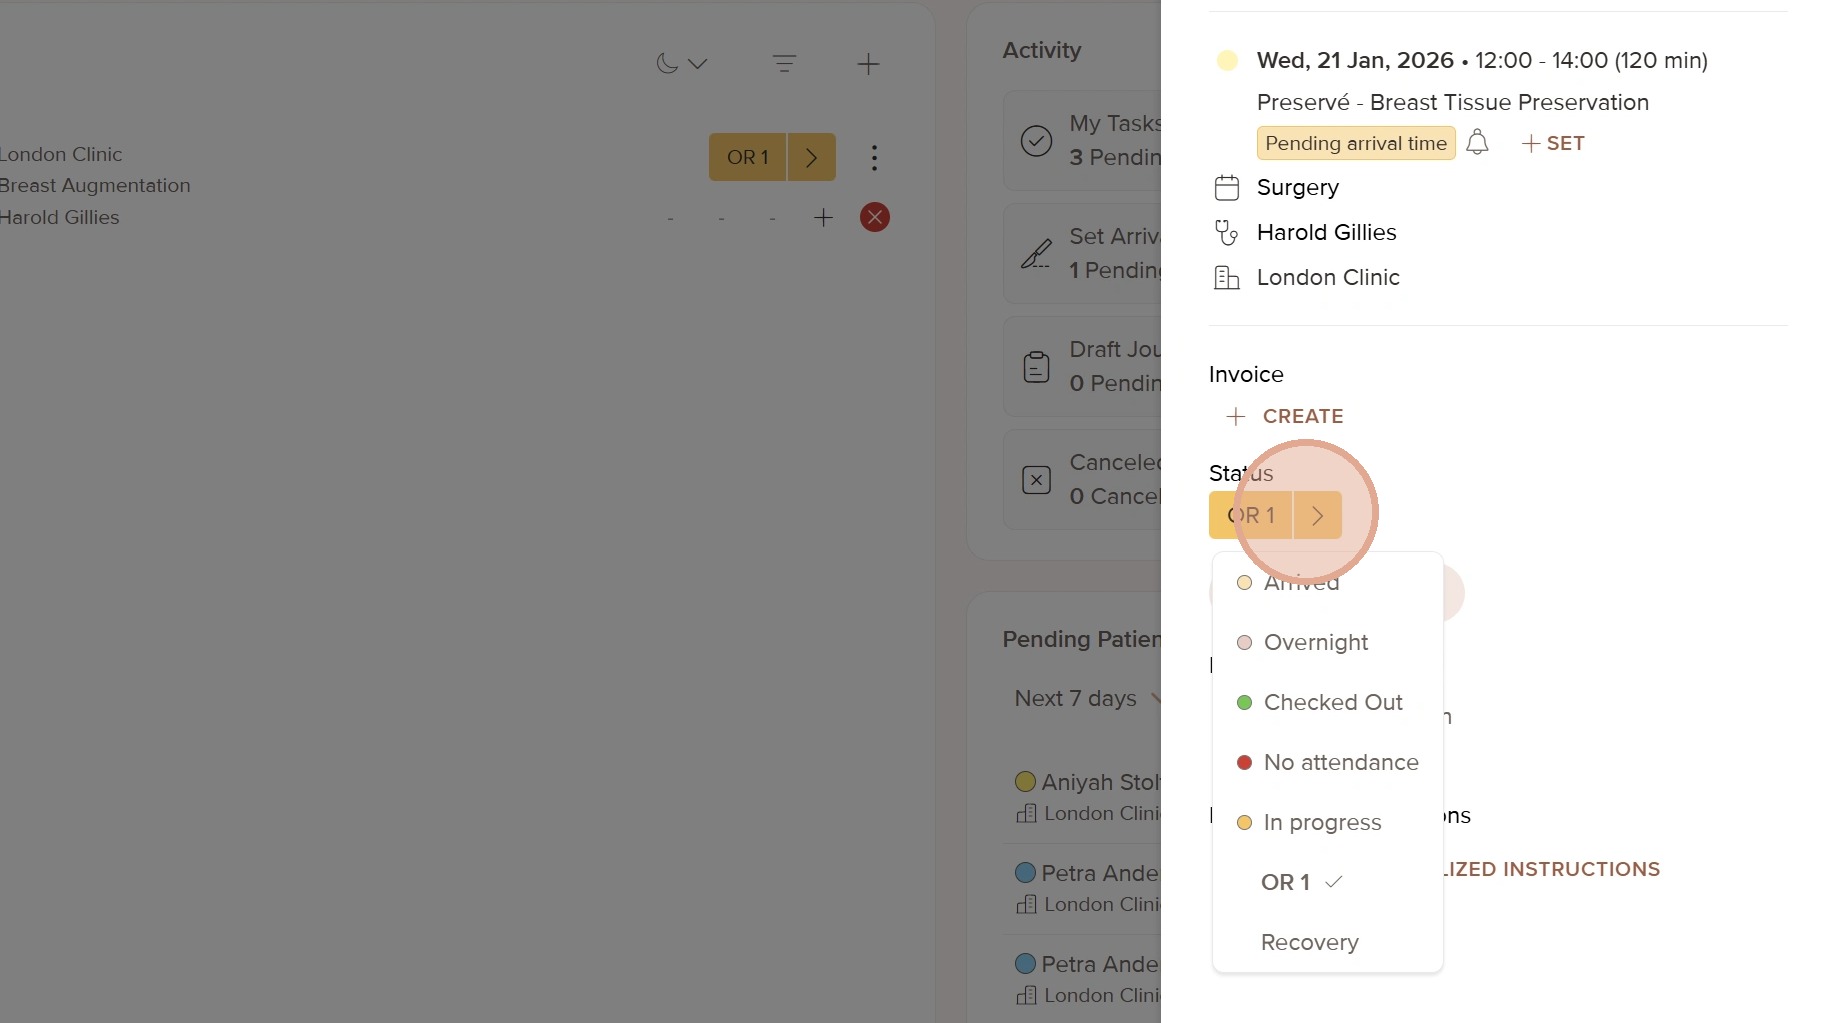
11. In the Dashboard, click the status bar on an appointment
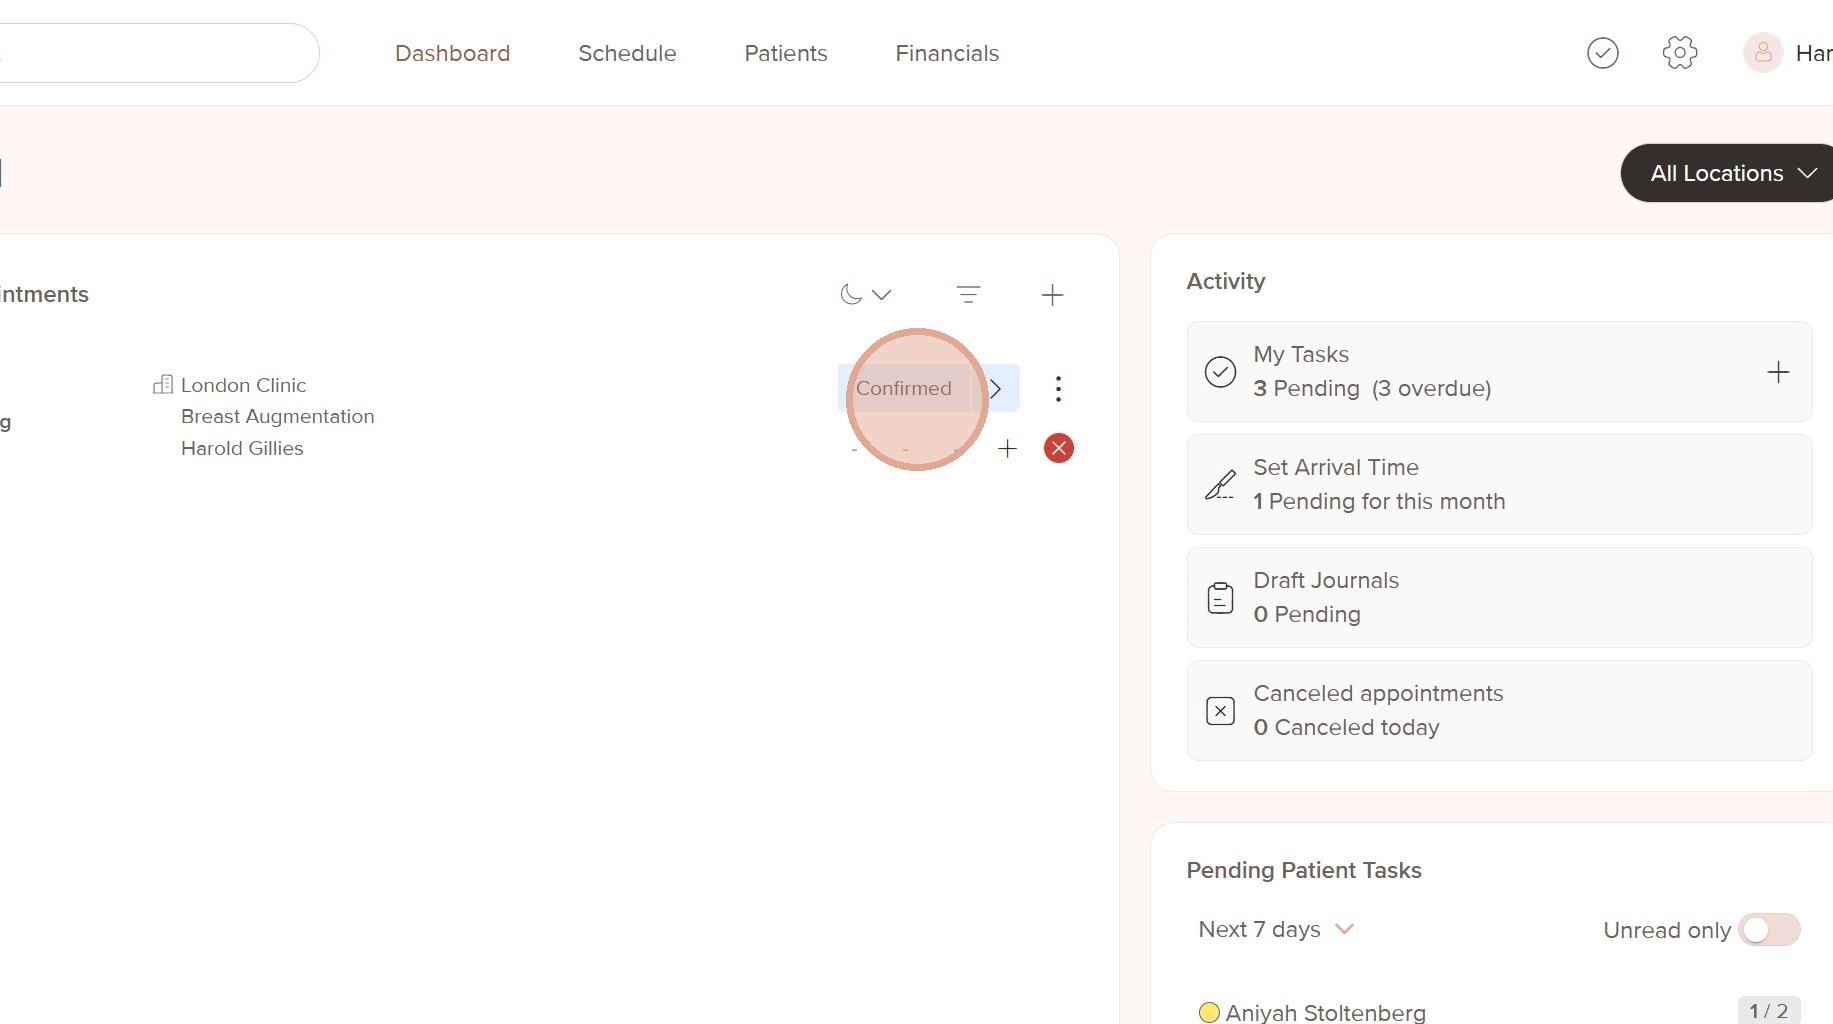
12. Choose the room or status you want to set
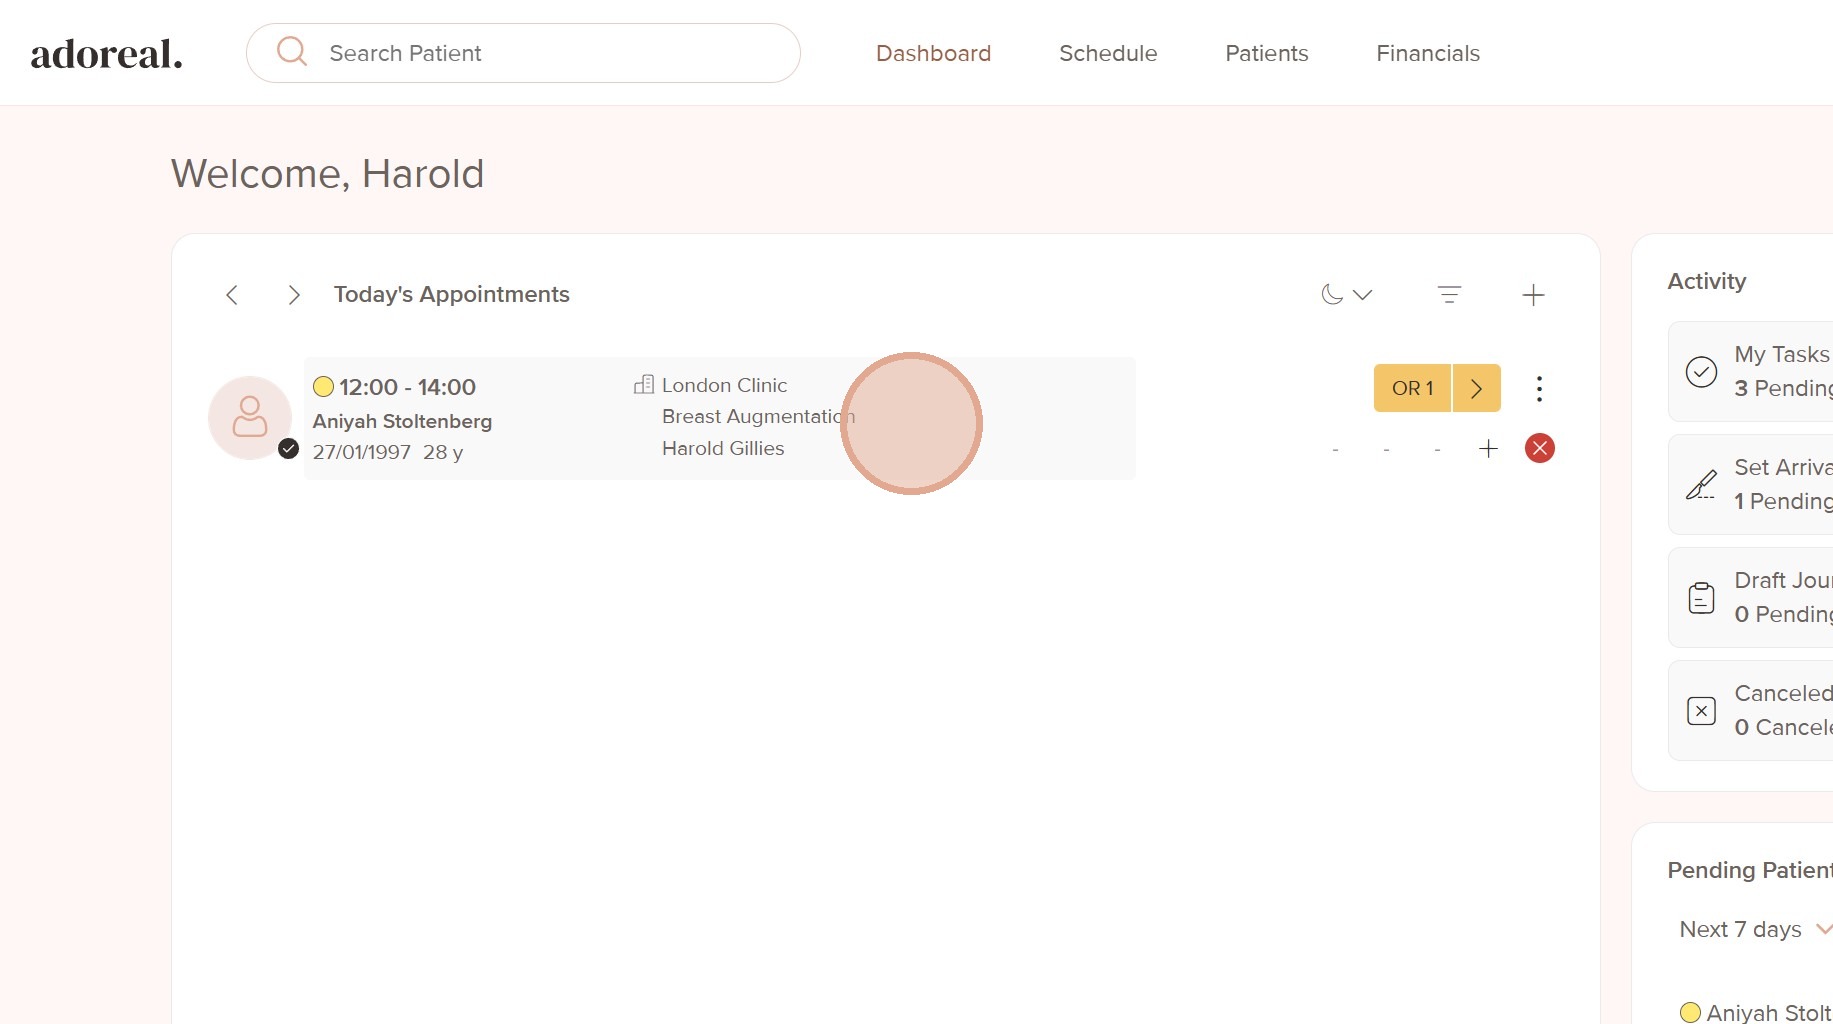
13. You can also view and update the status directly from the booking
14.
Was this article helpful?
That’s Great!
Thank you for your feedback
Sorry! We couldn't be helpful
Thank you for your feedback
Feedback sent
We appreciate your effort and will try to fix the article