Add a Team Member to a Location
You’ve now added a new location and completed the General Information section. In this article, you'll learn how to add team members to that clinic. Adding team members via the “Clinic Team” tab is a part of the location setup process, allowing you to connect the right people to the right place.
This action is part of a larger setup process, which also includes:
- Services - Add a Service To a Location
- Clinic Policies - Set Up Clinic Policies
- Rooms and Devices - Add Room and Devices
Once your team members are added, you’ll continue by configuring each of them individually. This includes:
- Personal Information - Add Team Member Information
- Services - Add a Service To a Treatment Provider
- Availability Setup - Set Up Provider Availability
Step-by-Step
1. Go to "Settings"

2. Click on "Location Management"

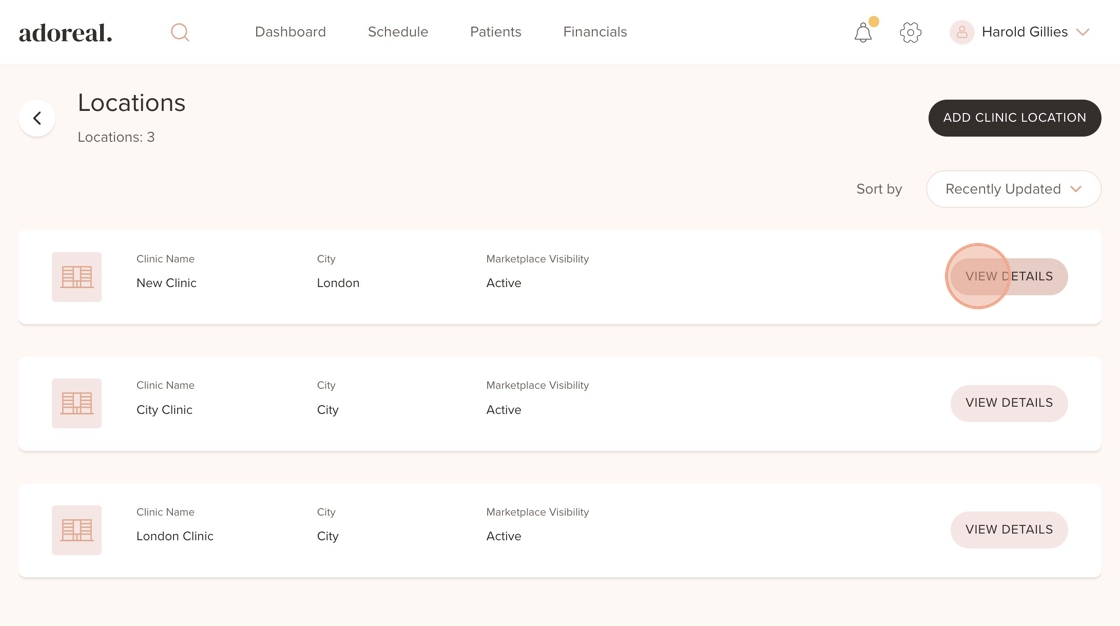
3. Select the clinic where you want to add the team member and click “View Details”
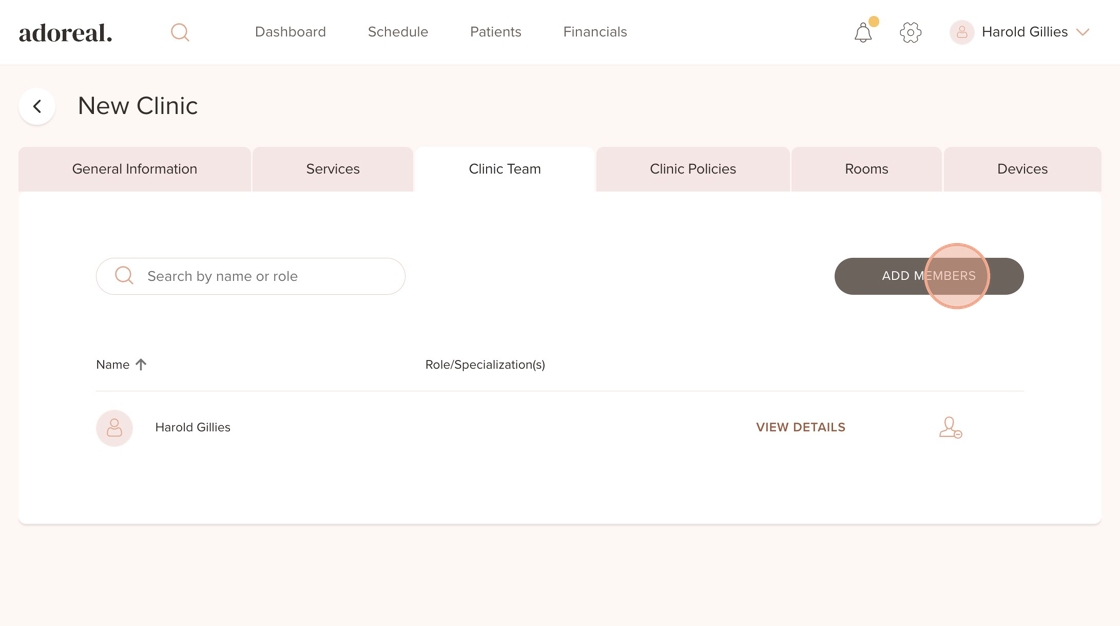
4. Go to the "Clinic Team" tab

5. Click on "Add Members"
6. If you have many names in the list you can use the search field to find the team member you want to add

7. Or, tick the checkboxes next to the team members you want to assign to this clinic

8. Click on "Save"

9. Click the user icon next to a member and then “Cancel” or “Confirm” to remove them from the clinic

10. Click on "Cancel" or "Confirm"

11. Click on "View Details". From here, you can open each team member’s profile to edit their personal information, role, assigned services, and work schedule

12. This will be covered in a separate guide

Was this article helpful?
That’s Great!
Thank you for your feedback
Sorry! We couldn't be helpful
Thank you for your feedback
Feedback sent
We appreciate your effort and will try to fix the article