Add a Schedule to a Treatment Provider
In this article, we’ll show you how to set up availability in the work schedule for a treatment provider.
Before setting up availability, please make sure to go over these articles:
Once those steps are completed, you’re ready to set up availability. Without it, services won’t appear in the booking widget on your website, and patients won’t be able to book so this step is essential.
This guide might be especially useful for admins and coordinators who need to keep provider calendars accurate and up to date.
Step-by-Step
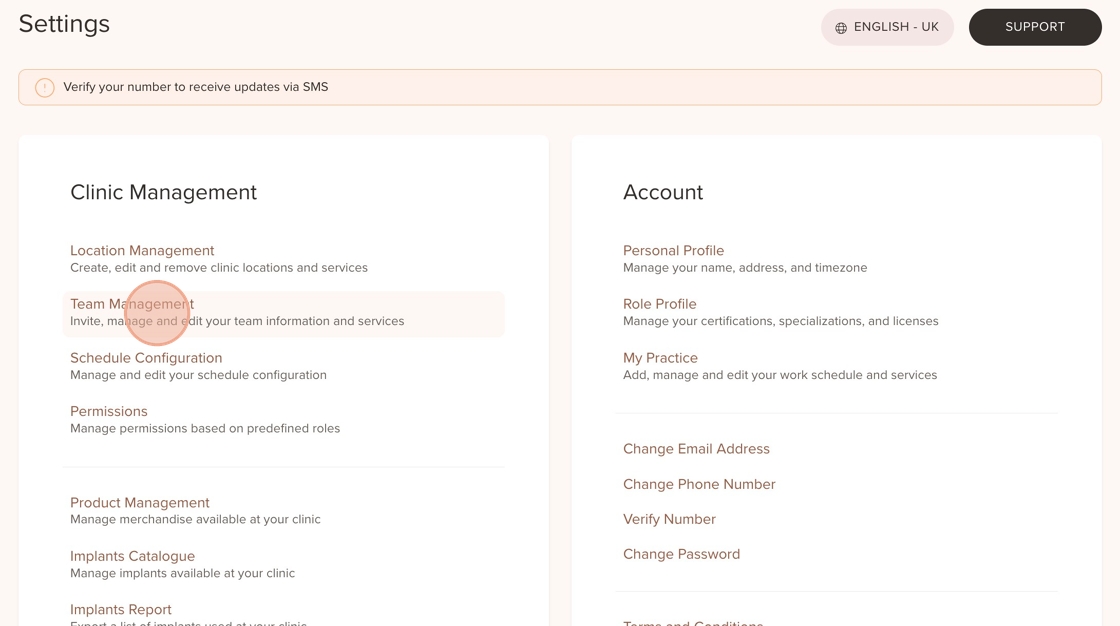
1. Go to "Settings"

2. Click on "Team Management"
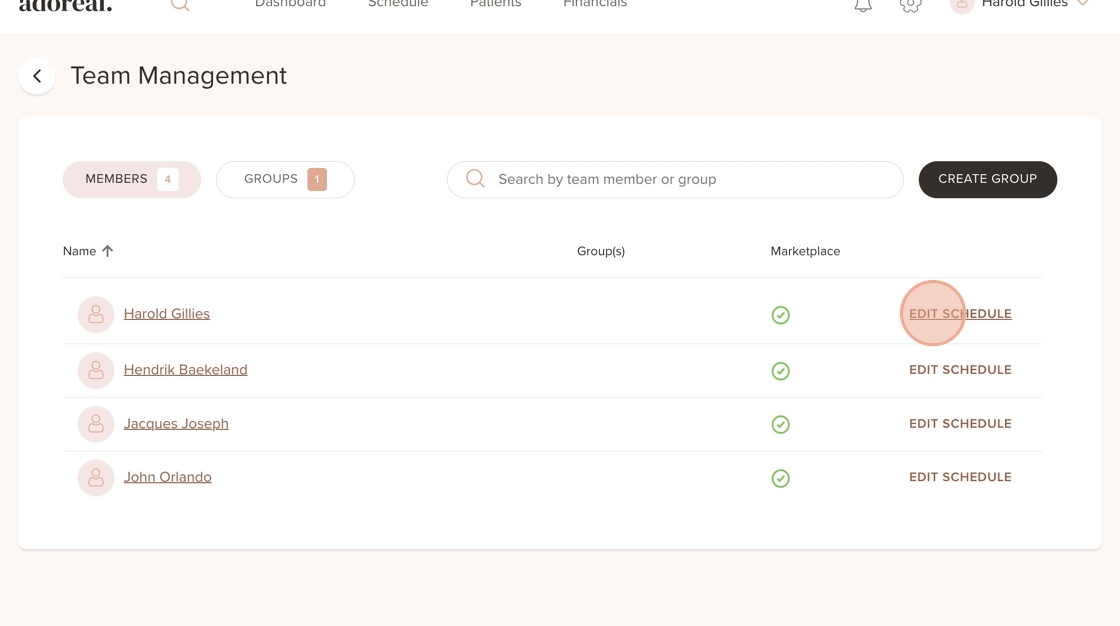
3. Click on "Edit Schedule" for a Treatment Provider
4. Select the Location where you'd like to add availability
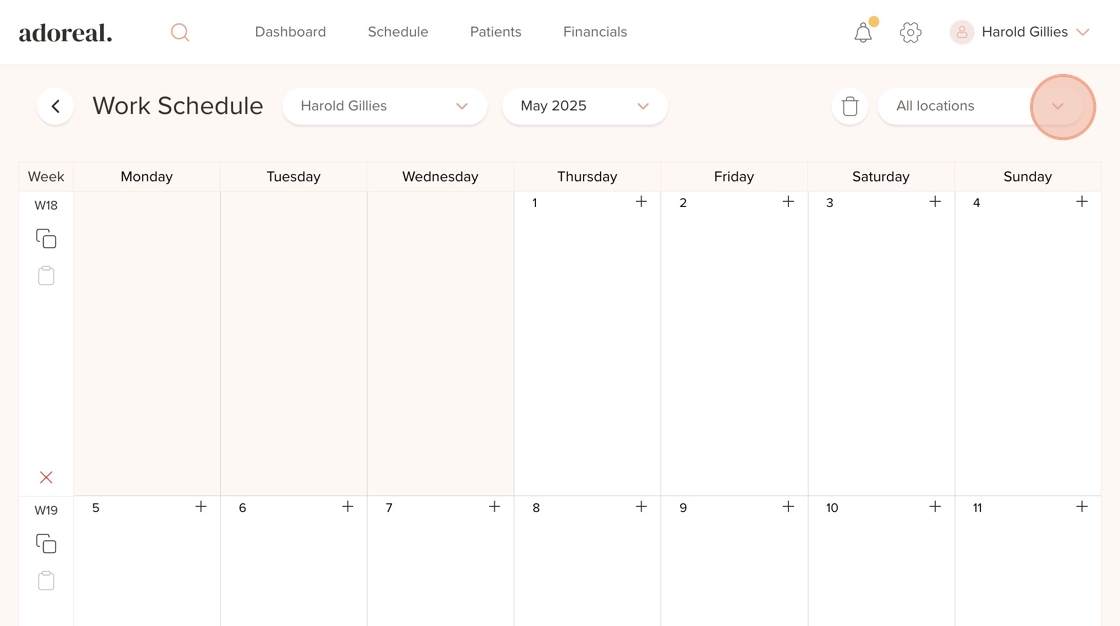
5. Select a Location

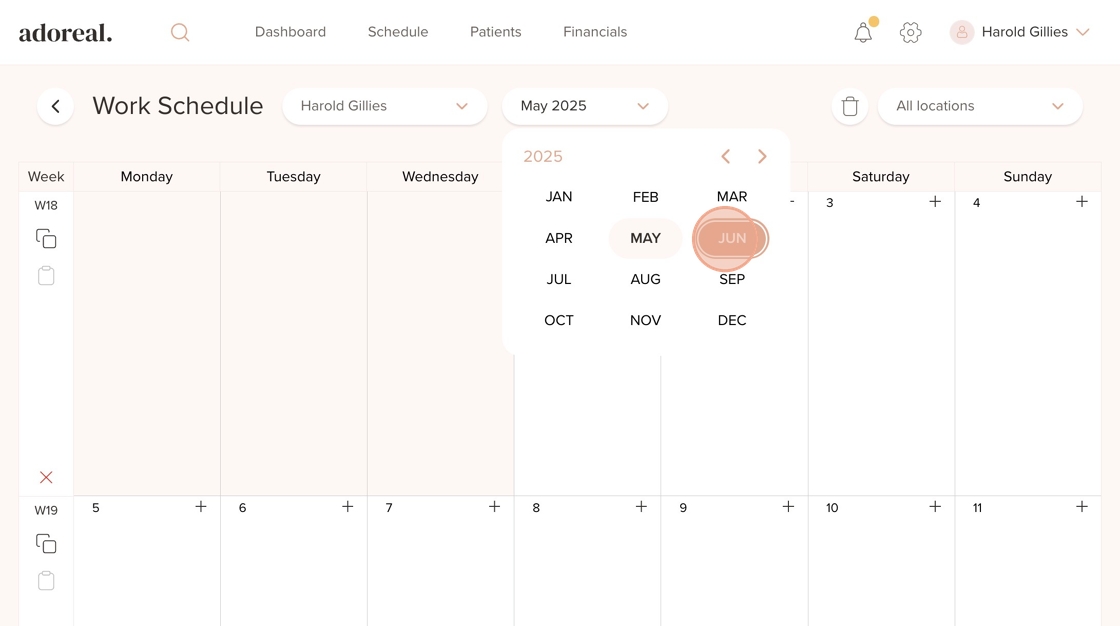
6. Select the month in which you’d like to add a schedule

7. Click on for example "Jun"
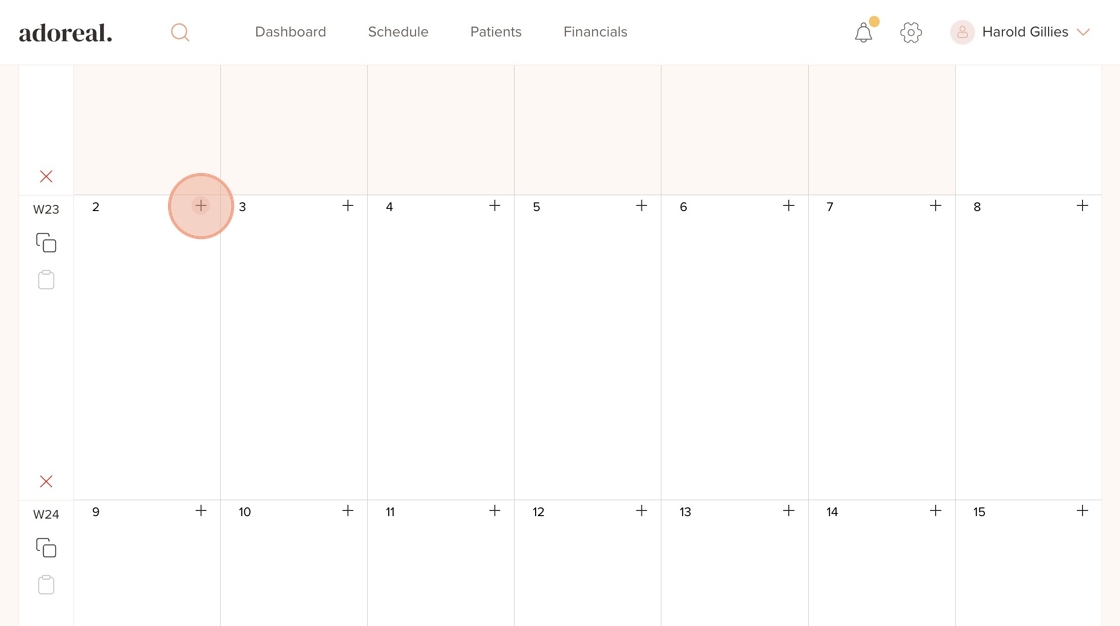
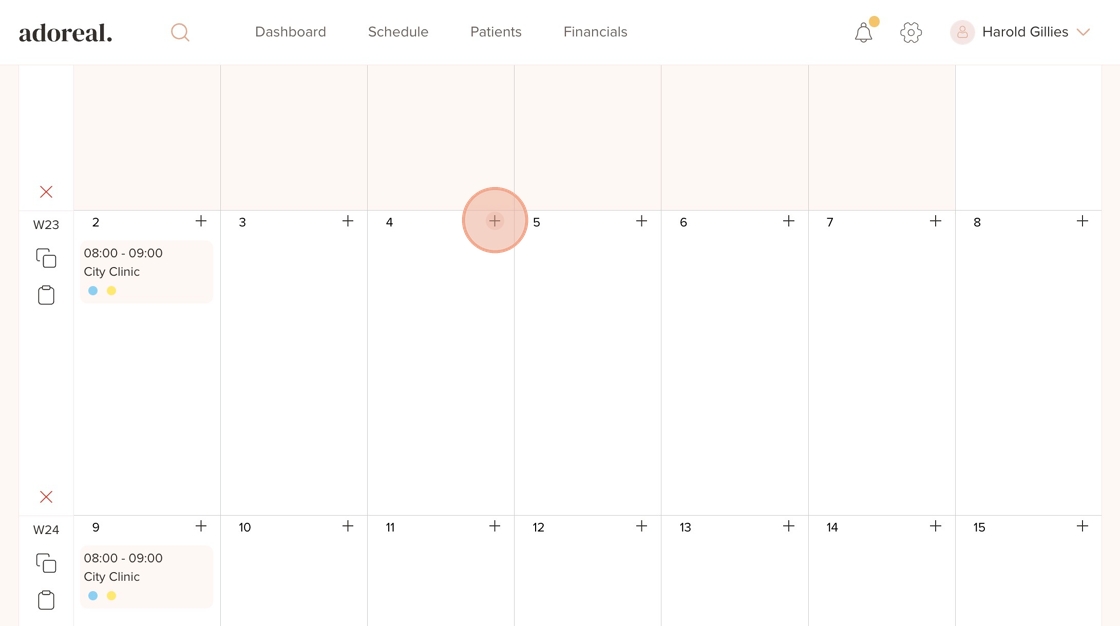
8. Click on the "+" icon
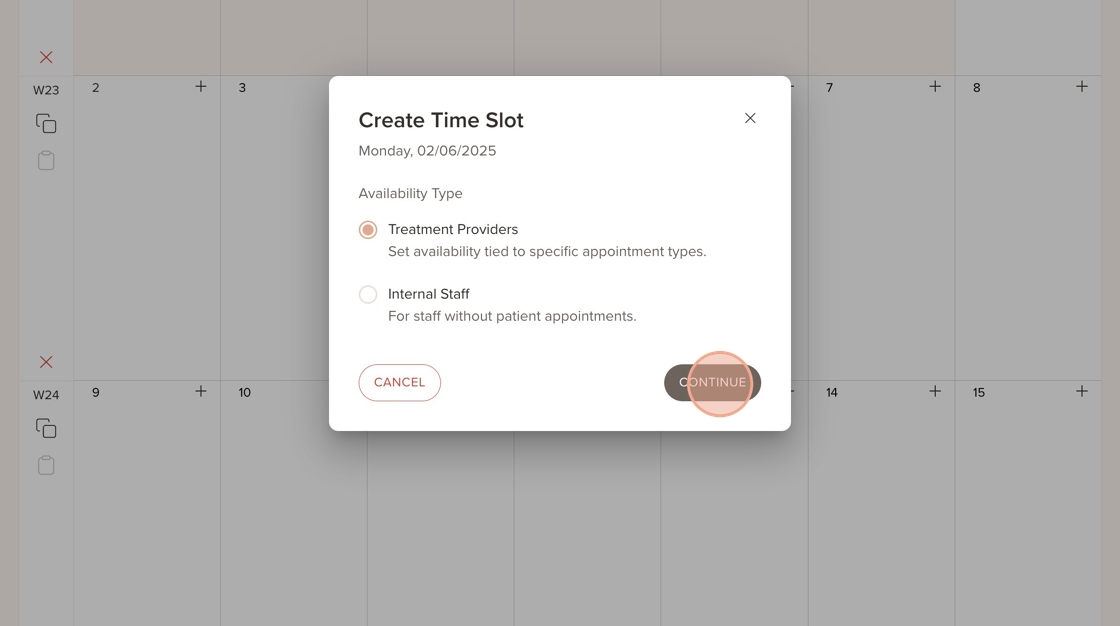
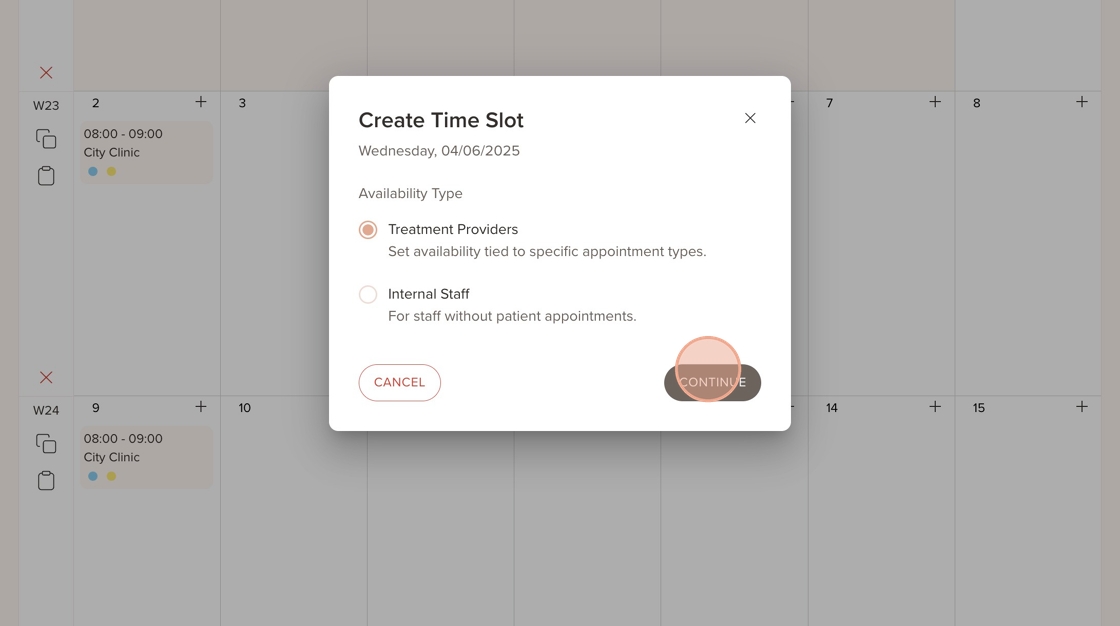
9. Select Treatment Providers and click on "Continue"
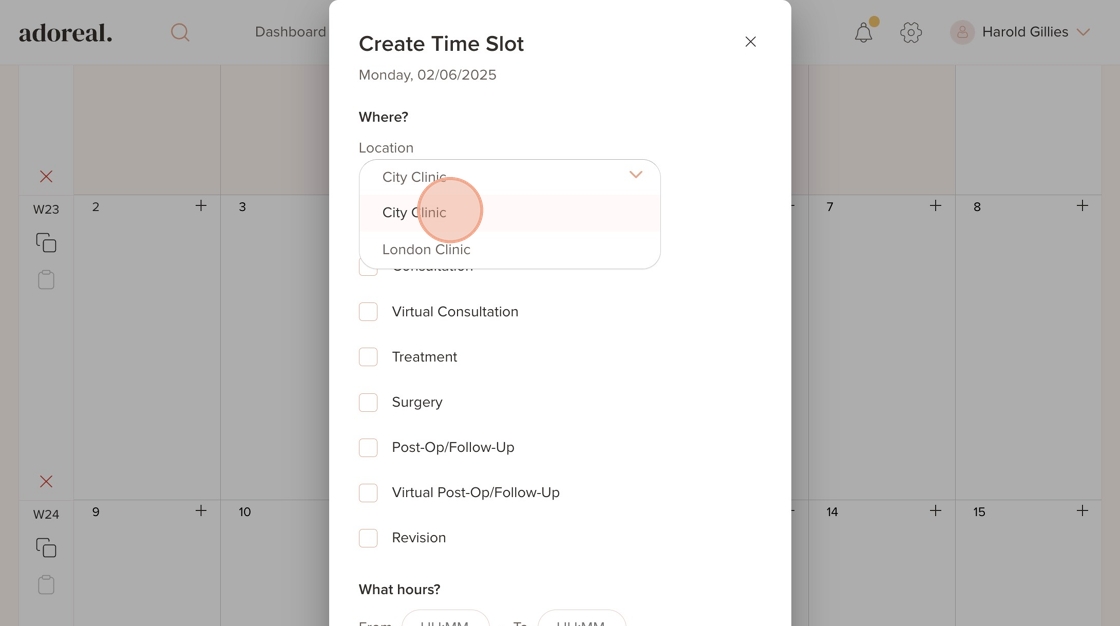
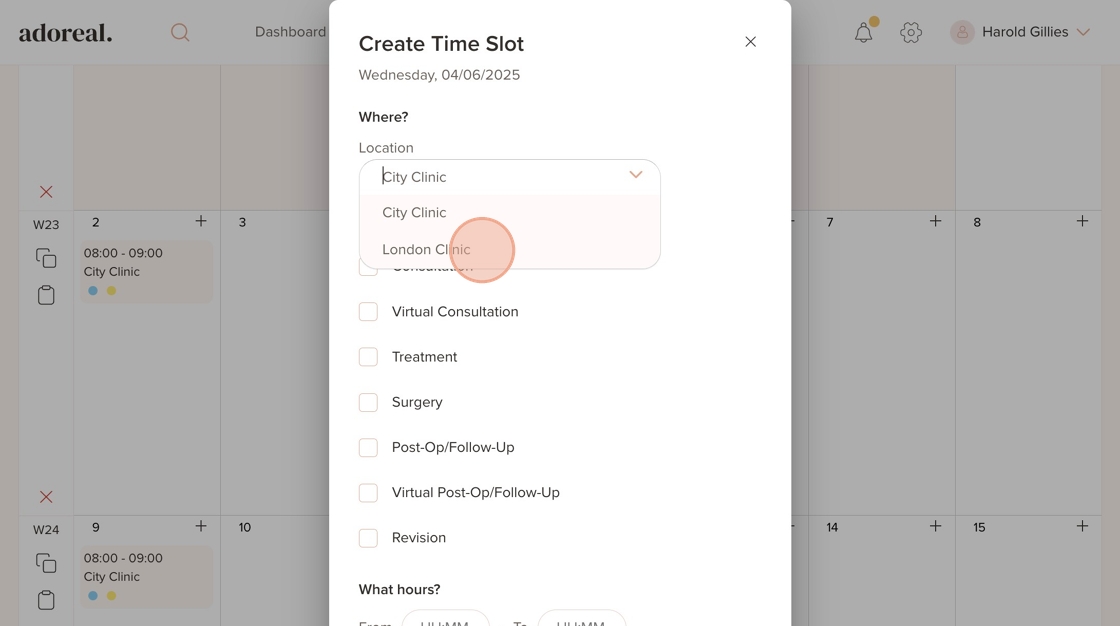
10. You can also select Location from here
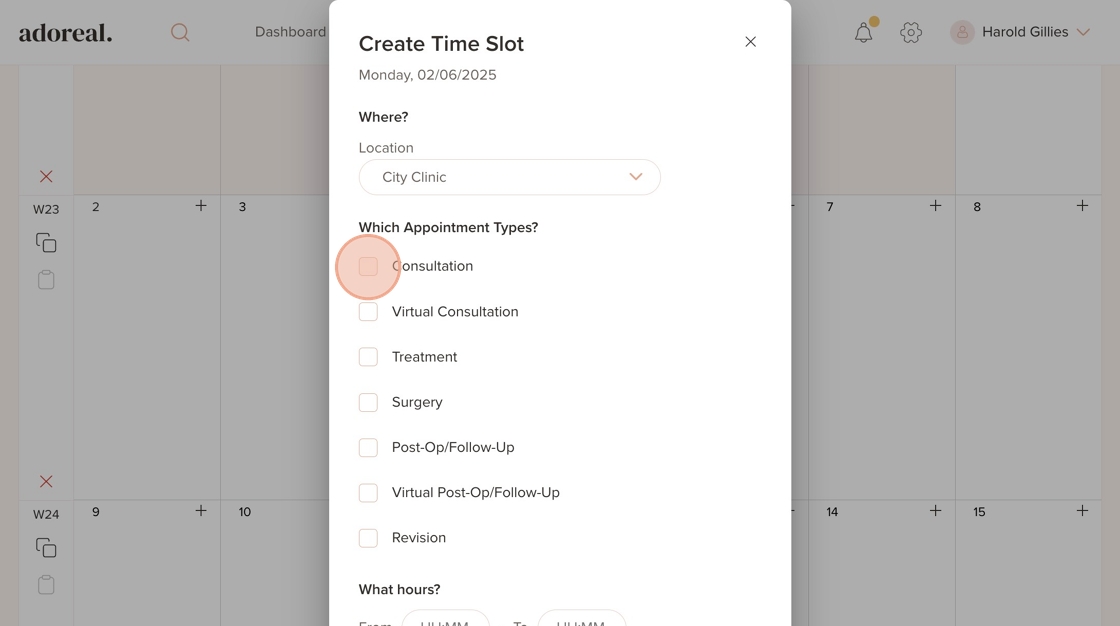
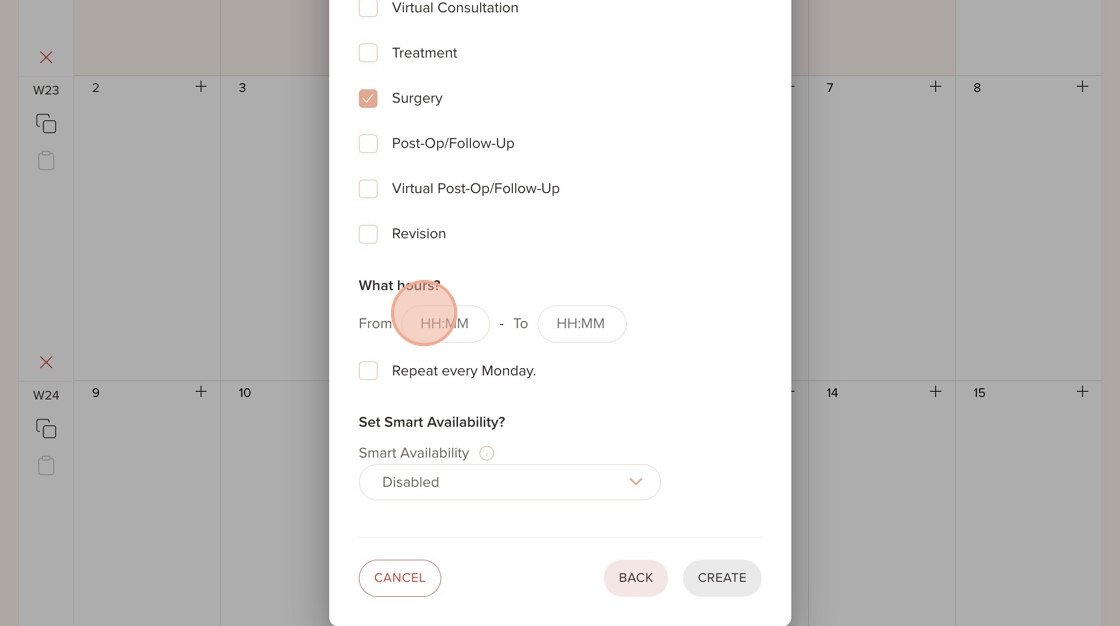
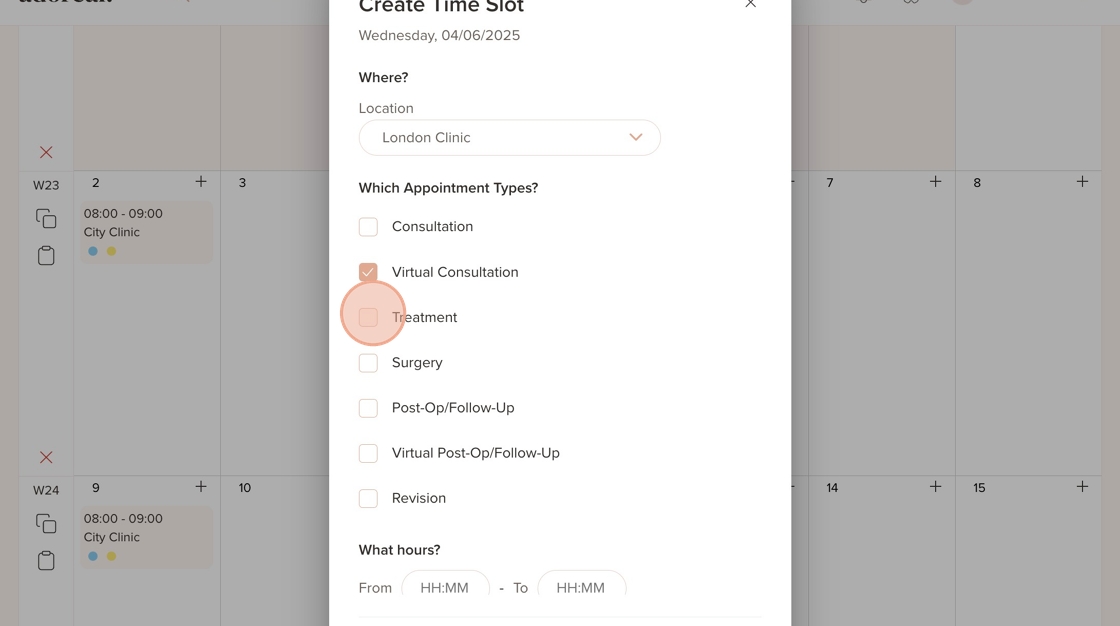
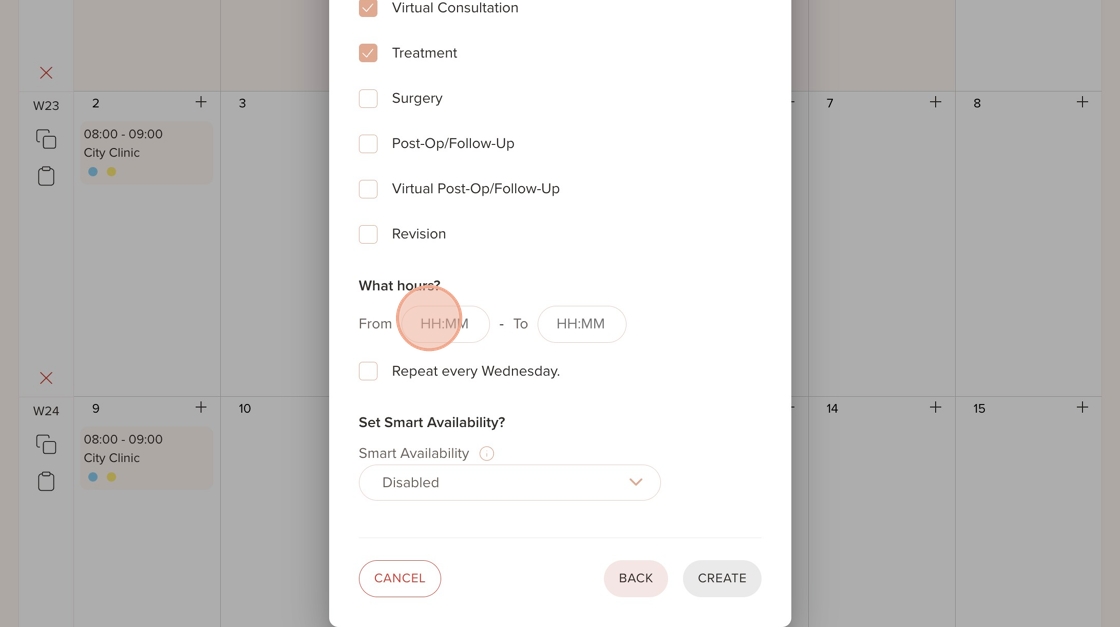
11. Make sure to choose every appointment type the treatment provider should be available for, these will be visible and bookable for patients
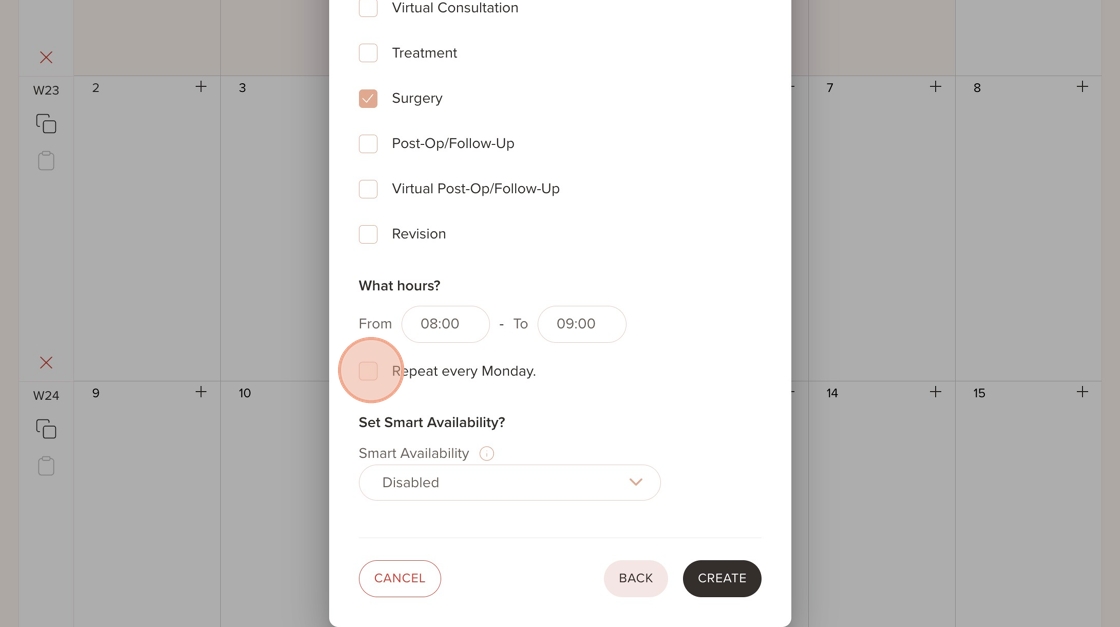
12. Click on the 'HH:MM' field to select the available hours
13. Here, you can choose if you want the schedule to repeat on specific days for example, every Monday
14. Here, you can decide how long the schedule should repeat
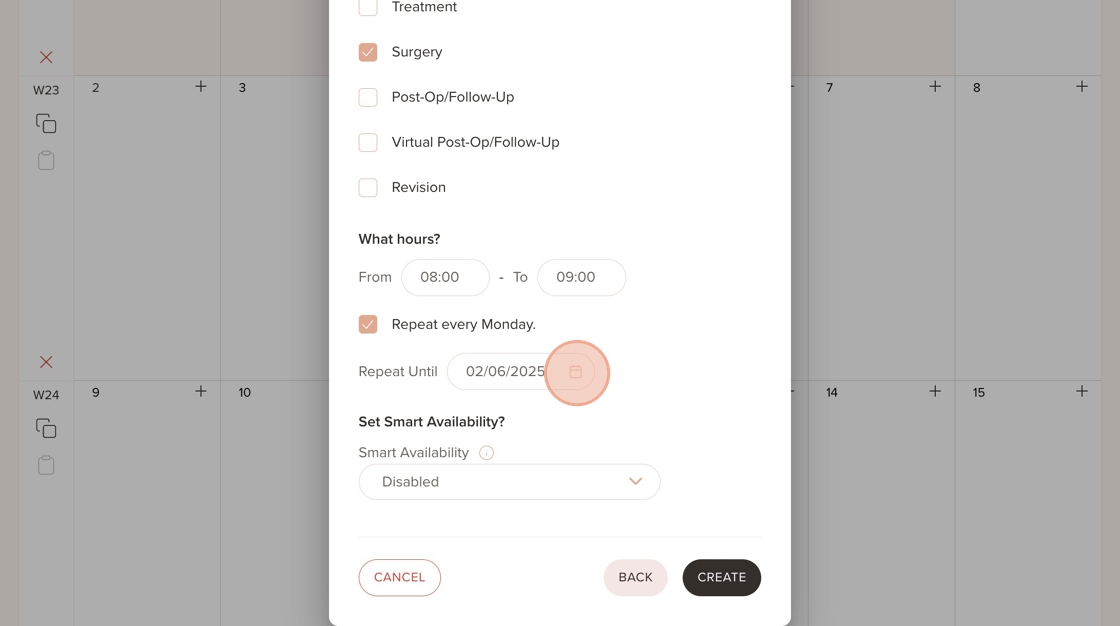
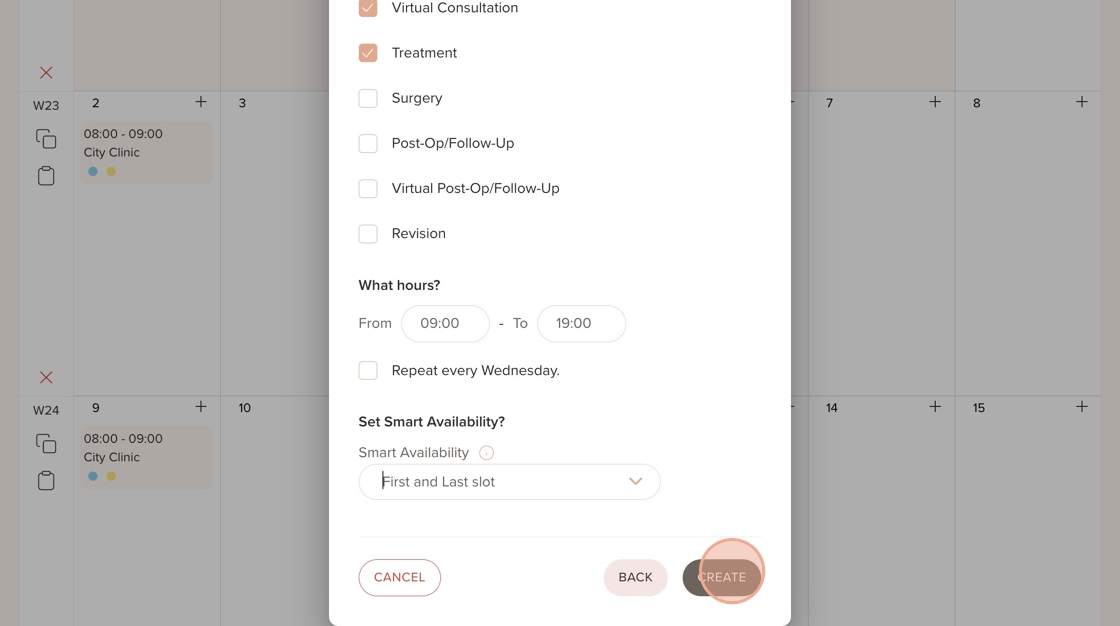
15. Once all details are set, click “Create” to save the schedule

16. The availability you just created will be displayed here. Make sure you’re viewing the correct location where it was added. If you click the copy icon on the left, it will duplicate the entire week’s schedule and apply it to the following week — saving you time on repetitive entries

17. Use this icon to paste the copied schedule into the following week, applying all the same availability settings
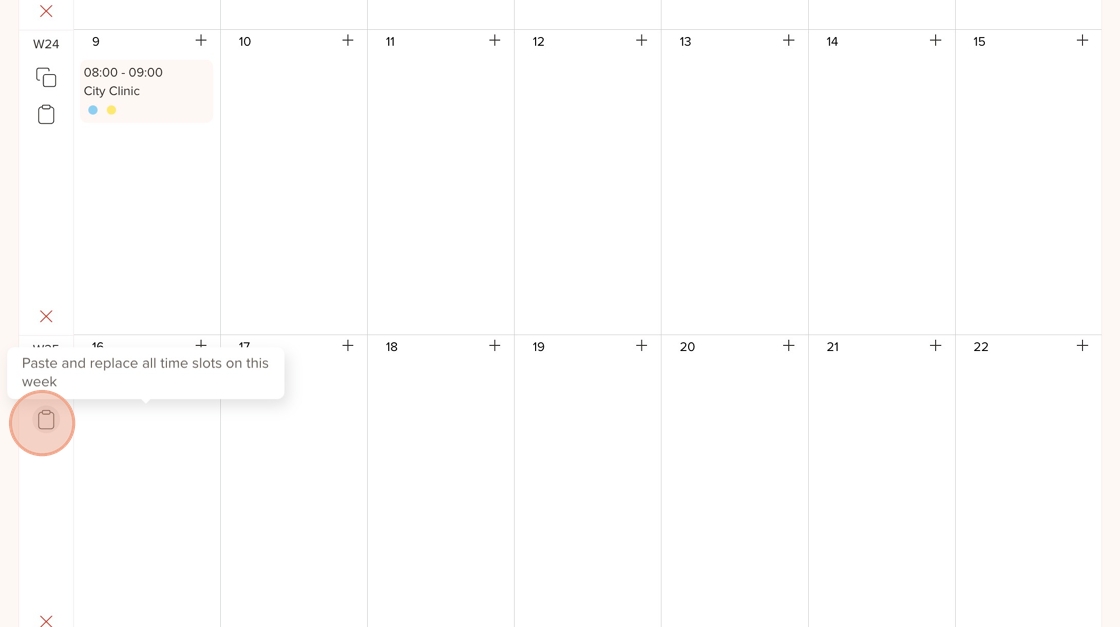
18. You can now see that the schedule has been copied and pasted to the following week.
Next, you have the option to set up Smart Availability. Follow the steps below
19. Go to a different day in the schedule, click the “+” icon, and select “Treatment Providers”
20. Choose the location where you’d like to add the new availability for the treatment provider
21. Select all the appointment types you want the treatment provider to be available for
22. Click the "HH:MM" field and enter the start and end time for the availability
23. Click on this field to set Smart Availability
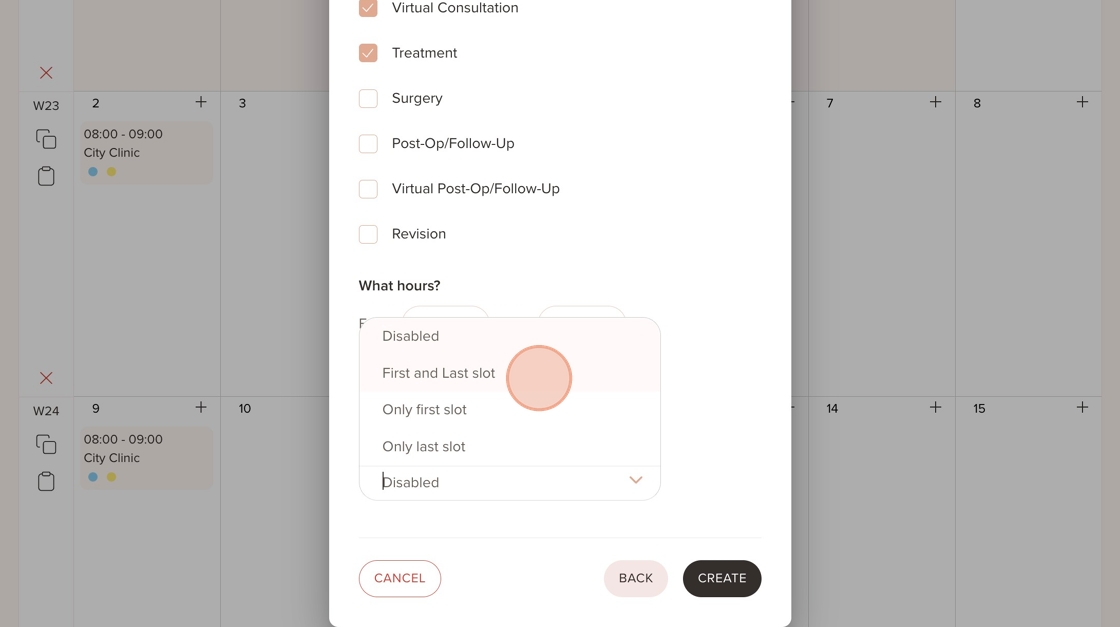
24. This is called "Smart Availability", which means that if you select the 'first and last slot' option, and set available hours from 08:00 to 17:00, the patient will be able to book an appointment at the first available hour (08:00) and then at the last available slot (e.g., 16:30–17:00).
You can also set "smart availability" more than once for the same day. For example, you can click the '+' icon to set availability from 08:00–12:00, and then click '+' again to add another "smart availability" block from 14:00–17:00.
Smart Availability is especially useful for maximising schedule efficiency and reducing gaps in a provider's calendar. Instead of letting patients book any open slot during the day which can lead to gaps between appointments, this ensures that patients are only shown the earliest or latest available time slots within a provider’s working hours.
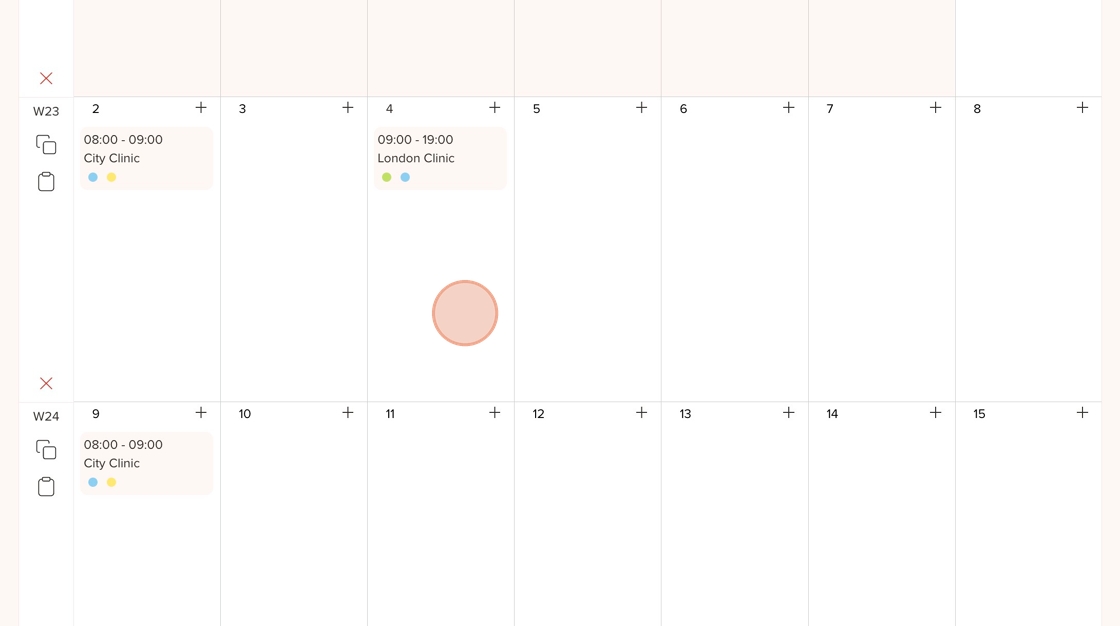
25. Here, you’ll see the availability you just added for the London Clinic location displayed in the schedule
Was this article helpful?
That’s Great!
Thank you for your feedback
Sorry! We couldn't be helpful
Thank you for your feedback
Feedback sent
We appreciate your effort and will try to fix the article