Create and Join a Virtual Consultation
This guide walks you through how to schedule a virtual consultation in the platform. The process is the same as creating an on-site appointment, which we’ve covered in this article ("How To Make a Consultation Appointment").
You’ll learn how to:
Schedule a virtual consultation
Identify virtual appointments in the Schedule View using the video icon
Join the session and check your camera, mic, and speaker before starting
We’ve also included tips for screen sharing and audio settings to avoid common issues like echo or mic conflicts when using transcription tools.
Step-by-Step
1. Go to "Schedule"
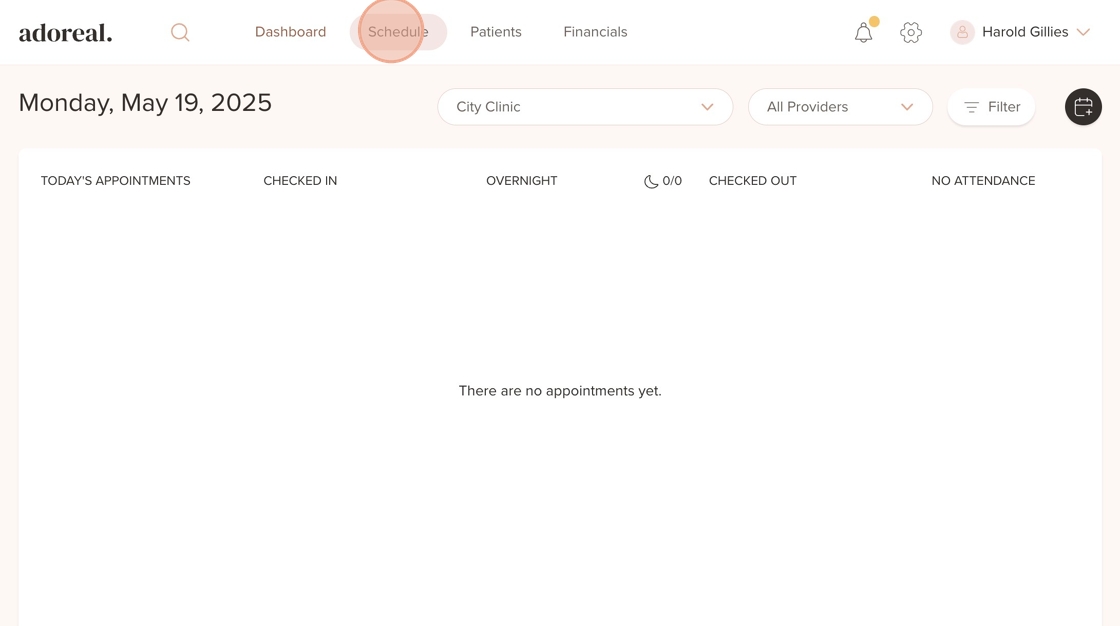
2. Click the icon in the top right corner to create a new appointment
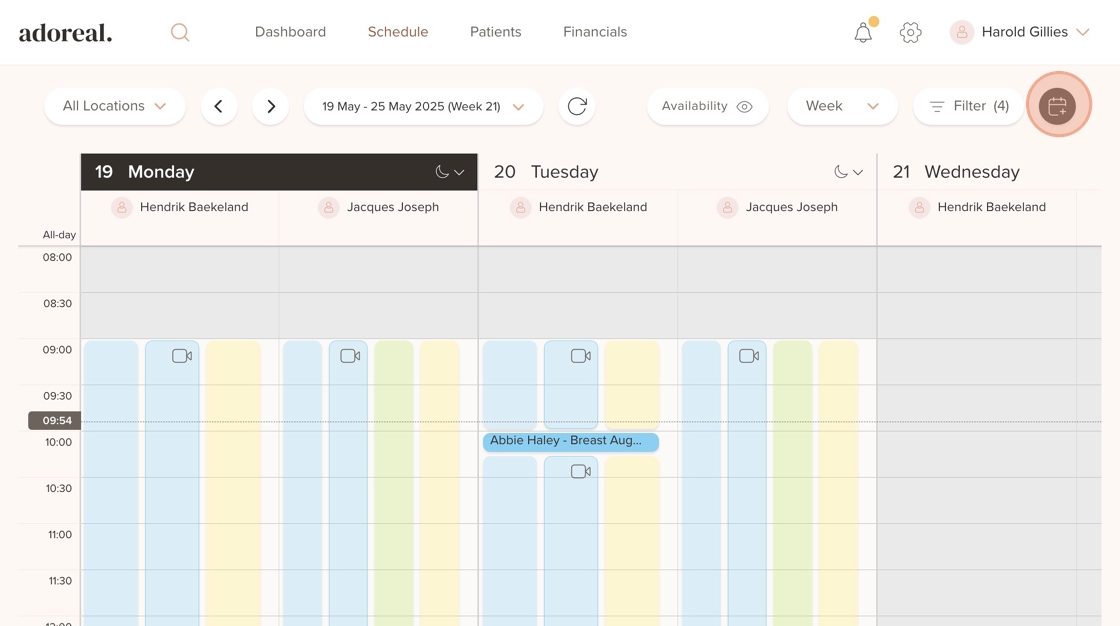
3. Select a patient
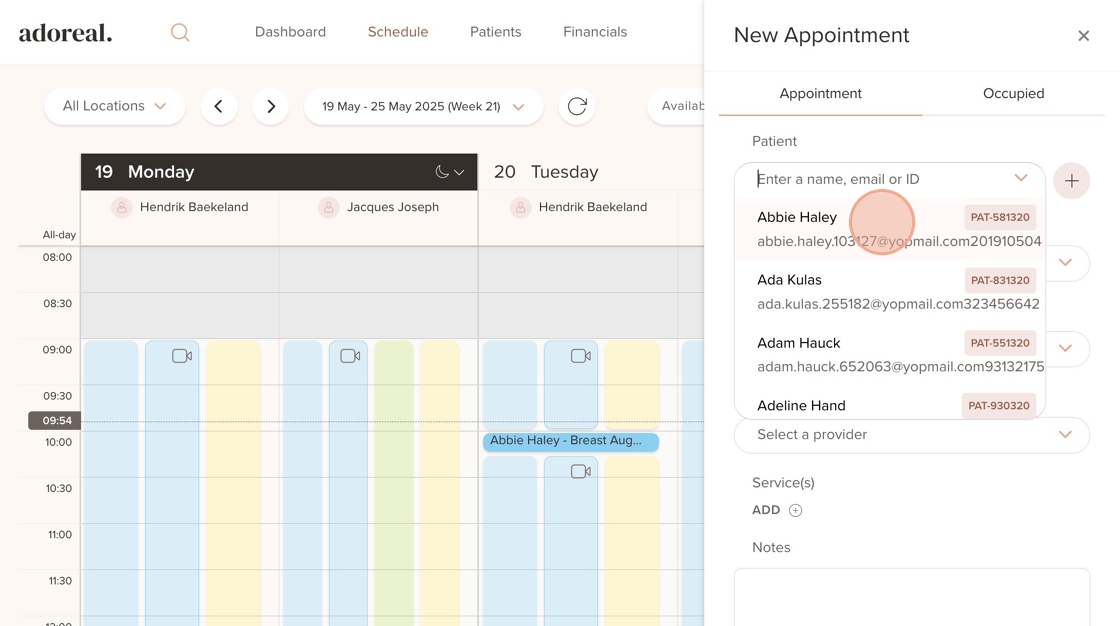
4. Select "Consultation"
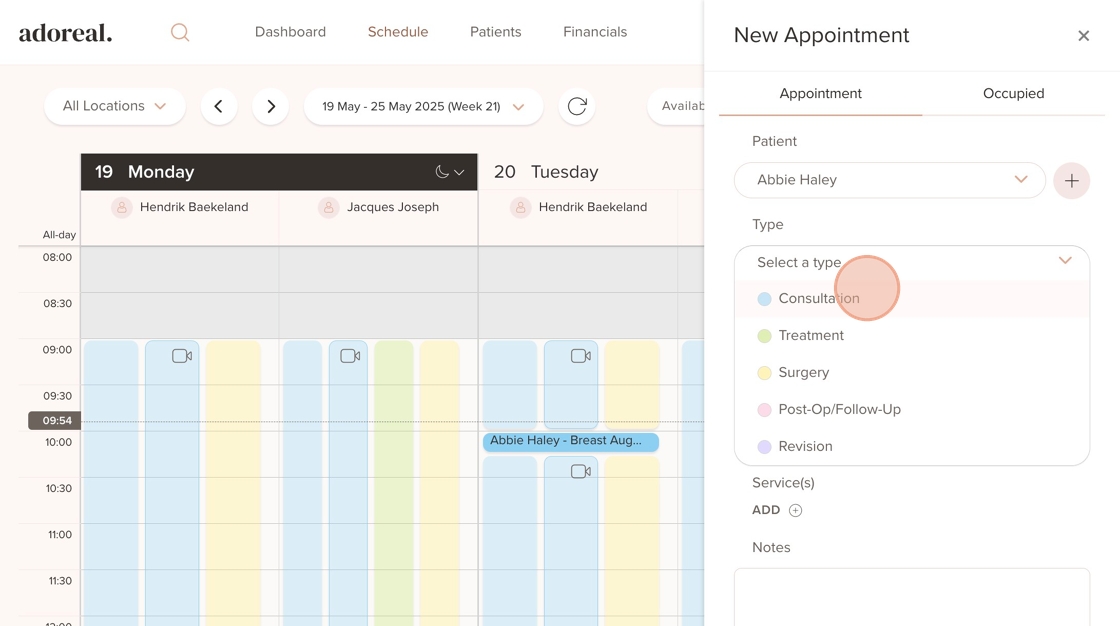
5. Select the correct location for the appointment from the dropdown menu
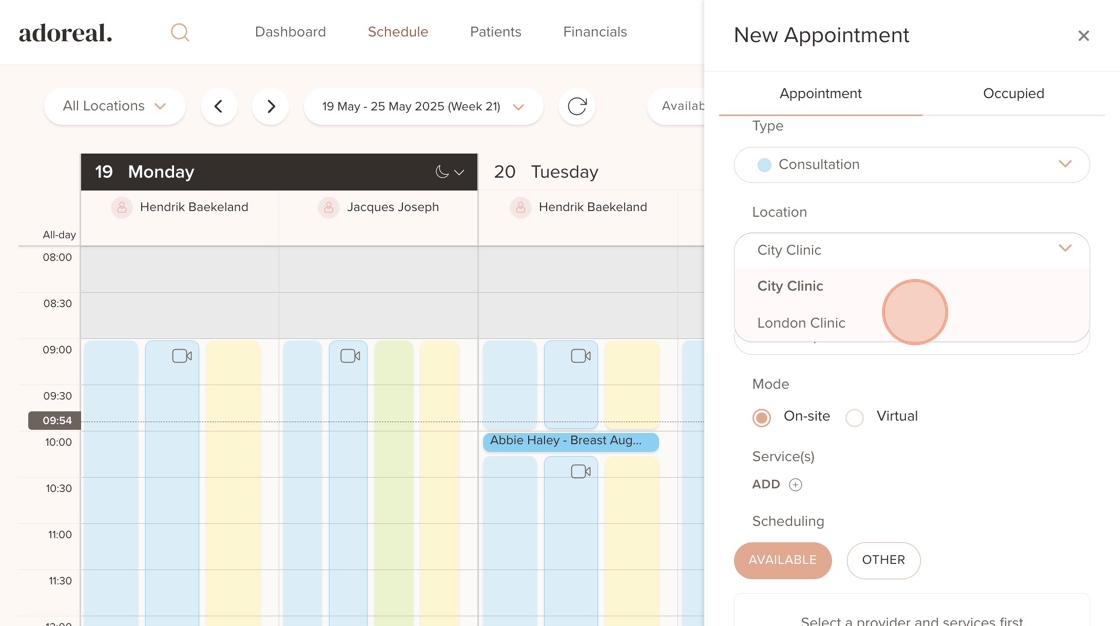
6. Select a treatment provider
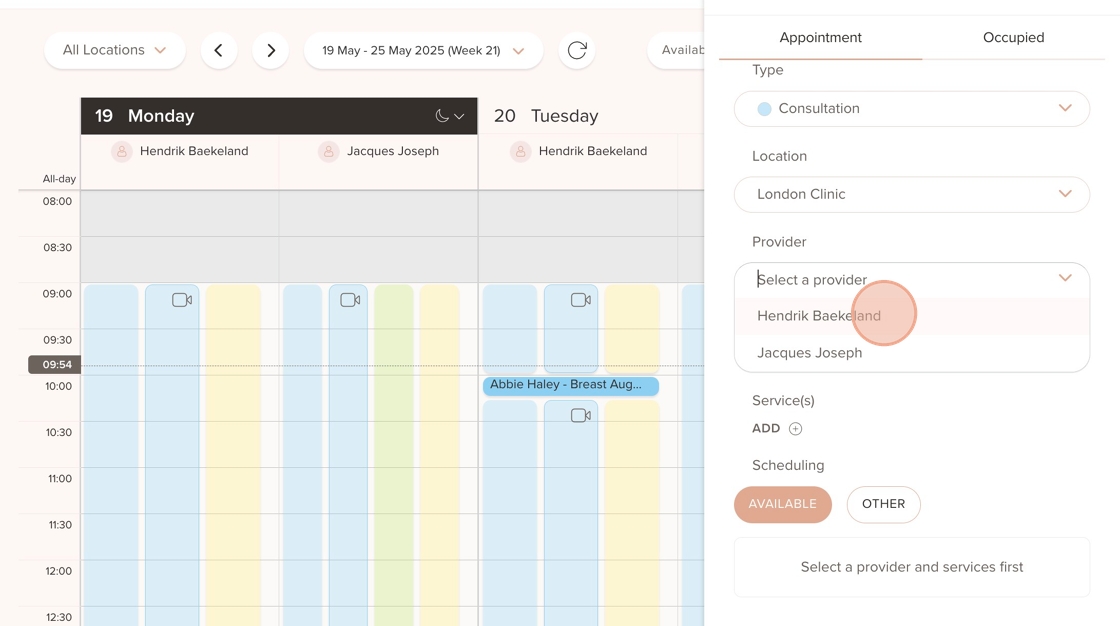
7. Click the "Virtual" field button to set the appointment as a virtual consultation
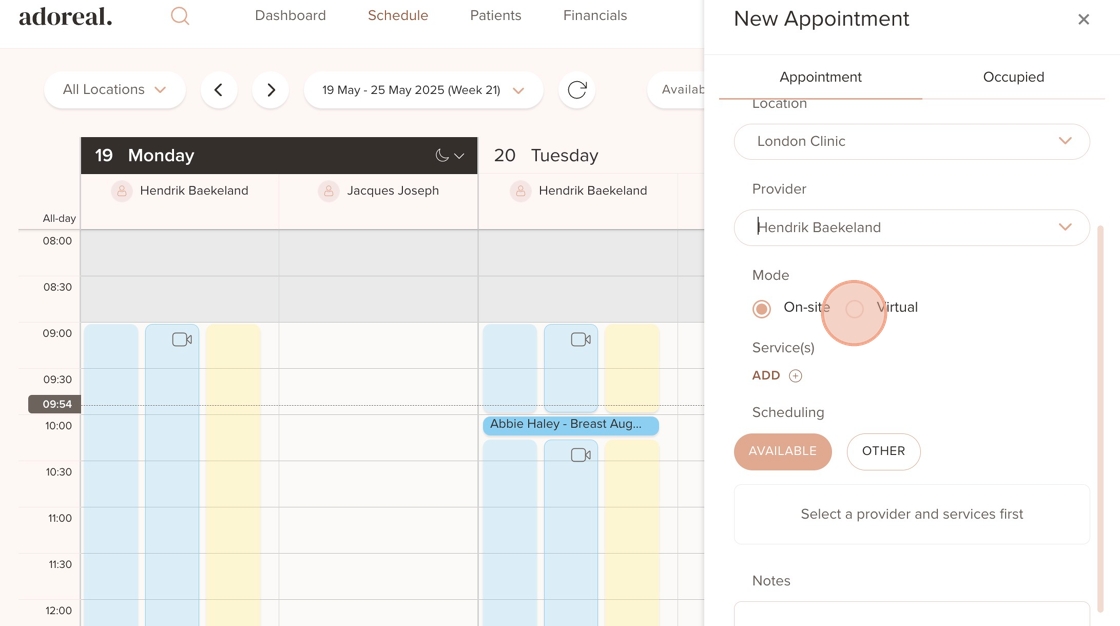
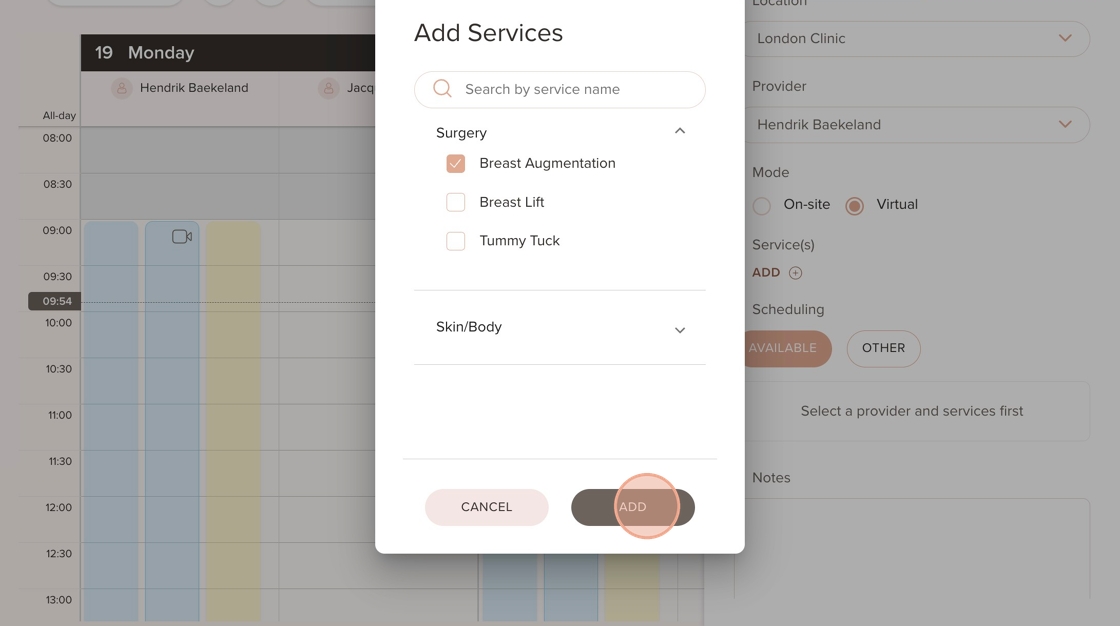
8. Click on "Add" under Services
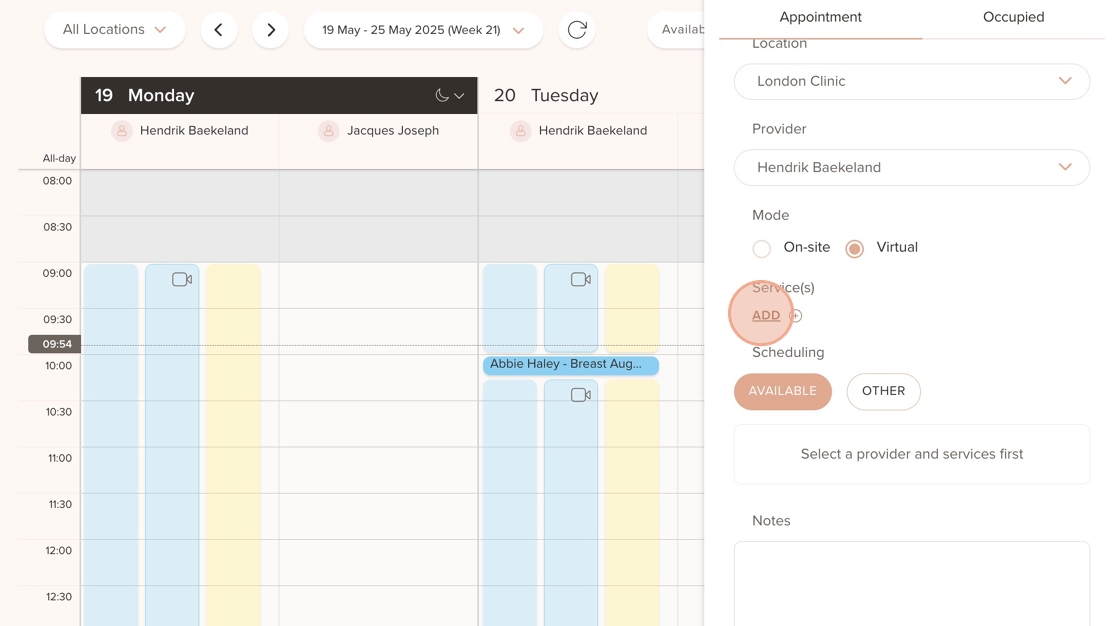
9. Select a service and then click on "Add"
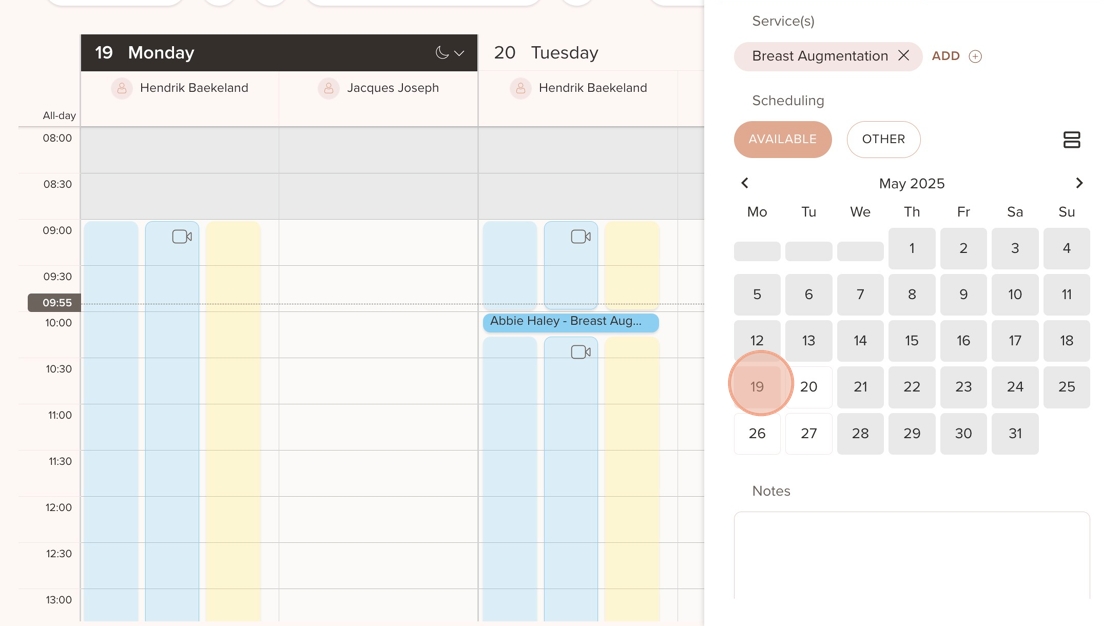
10. Select a date
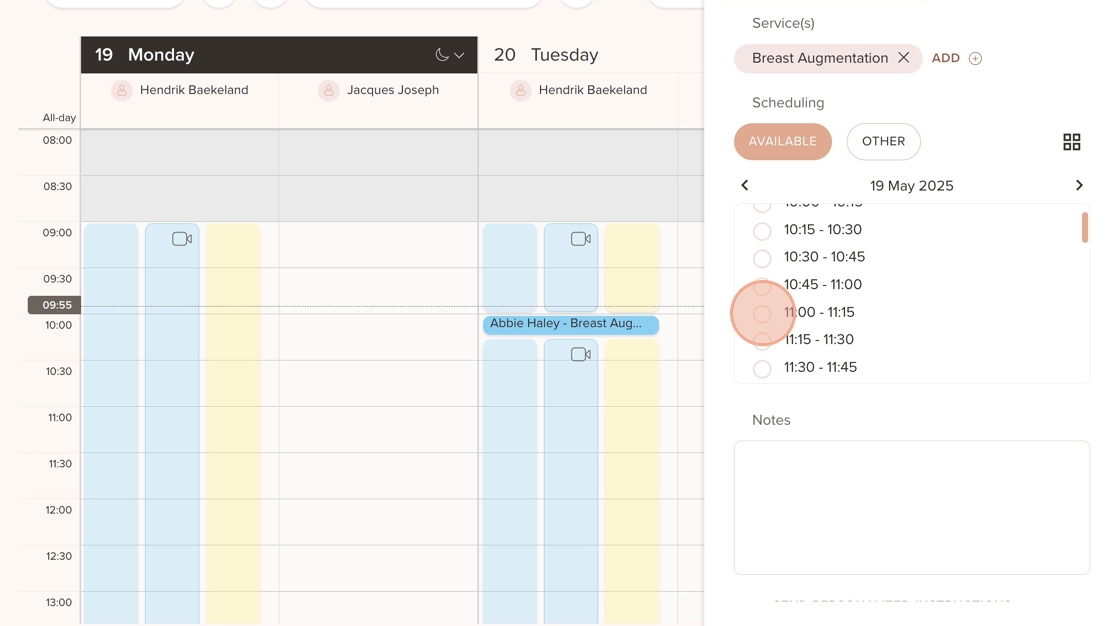
11. Then, select the time for the appointment from the available time slots
12. When you’re finished, click "Create" to save the appointment. Remember, you can also add internal notes under "Notes" or send instructions for the patient to view under "Send personalized instructions"
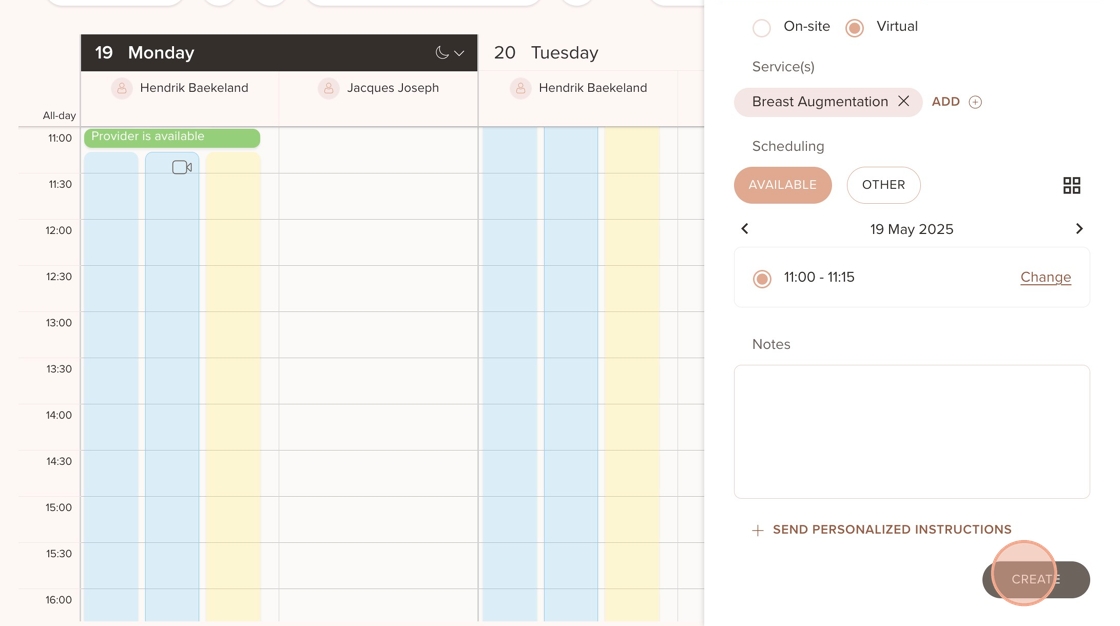
13. Click on "Create"
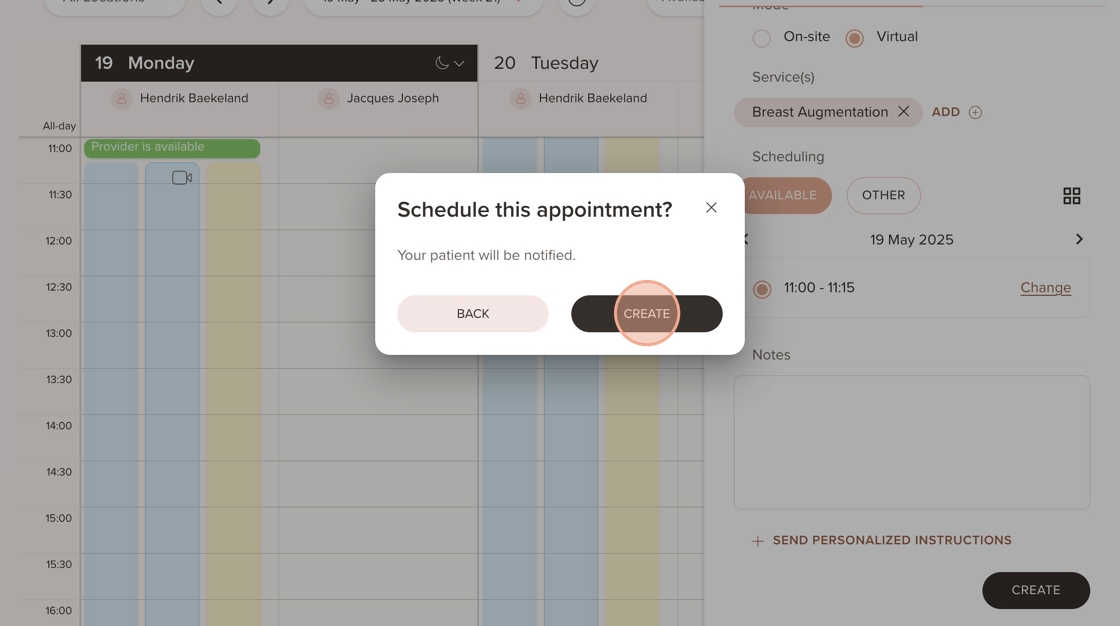
14. In the Schedule Overview, you can now see that the consultation is a virtual appointment, indicated by the video icon next to it

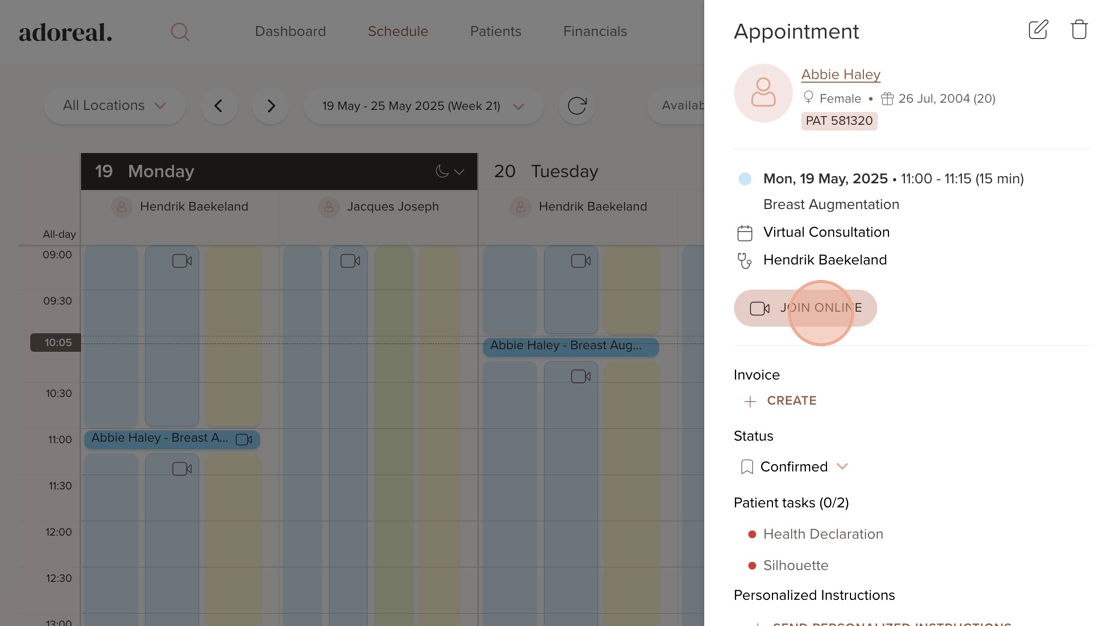
15. When it’s time for the virtual call, click on the appointment in the Schedule. A panel will appear on the right, from there, simply click "Join Online" to continue
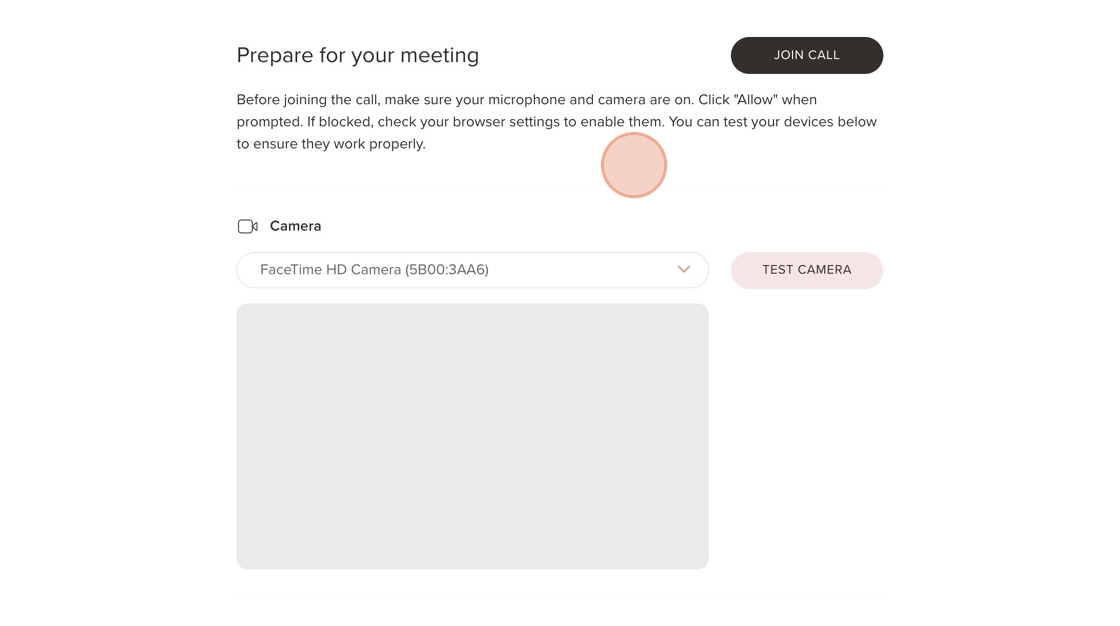
16. A new window will open, and before entering the call, you’ll have the option to test your camera, microphone, and speaker to ensure everything is working properly. The patient will have the same options on their end before joining. Once ready, click "Join Call" to begin the session
⚠️ Tip! To avoid audio and visual issues when using tools like Heidi Health, please follow these best practices. Always share a Chrome tab when screen sharing. Sharing a Window or Entire Screen may cause a mirror effect or visual glitches (see example below).

Was this article helpful?
That’s Great!
Thank you for your feedback
Sorry! We couldn't be helpful
Thank you for your feedback
Feedback sent
We appreciate your effort and will try to fix the article