Register a New Patient
In this article, you’ll learn how to register a new patient in Adoreal. Patients can be registered either from the Schedule during appointment booking or directly from the Patients tab.
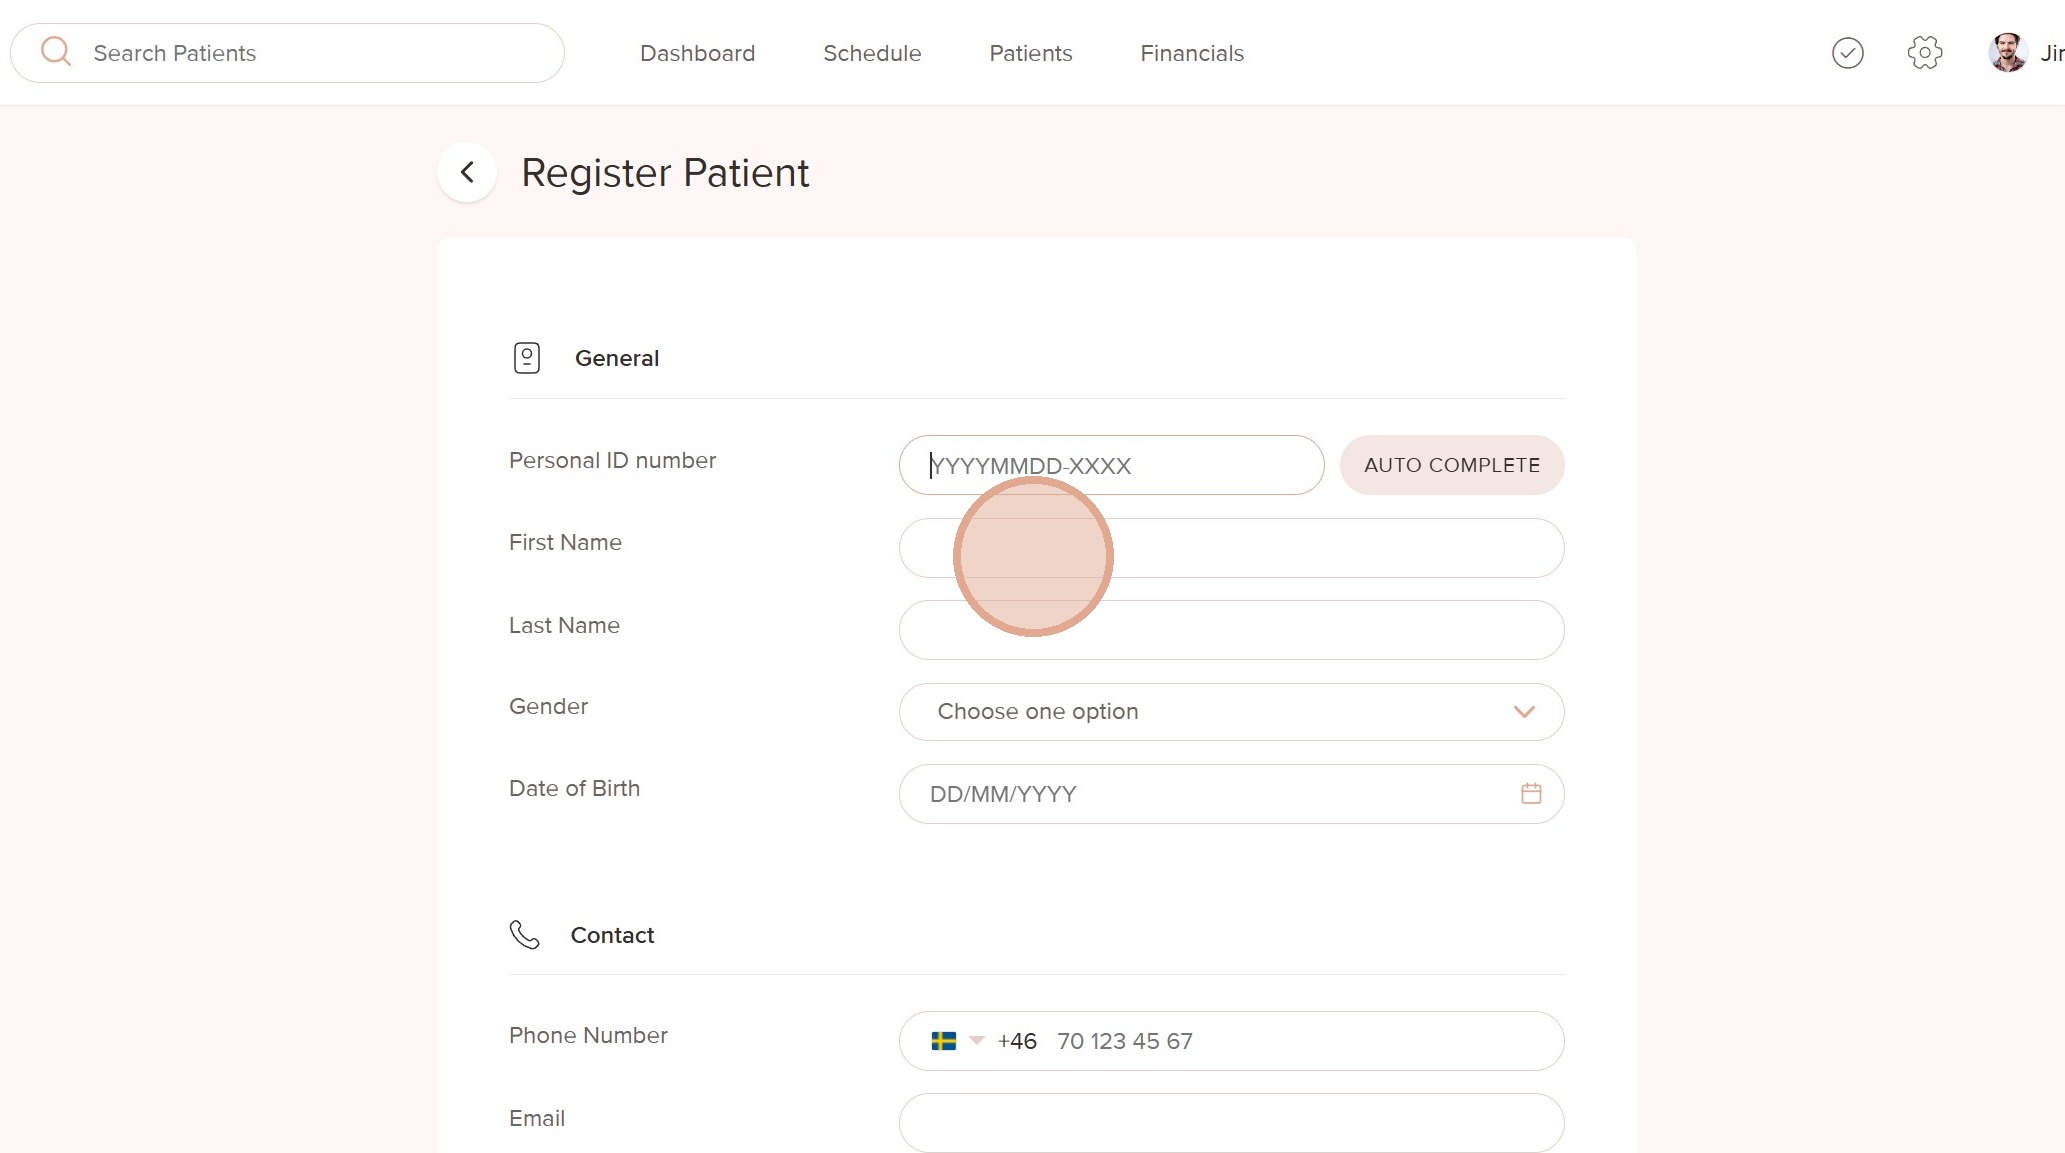
To successfully create a new patient, you must complete the mandatory fields:
✅ First Name
✅ Last Name
✅ Gender
✅ Date of Birth
✅ Phone Number
✅ Street Address
Step-by-Step
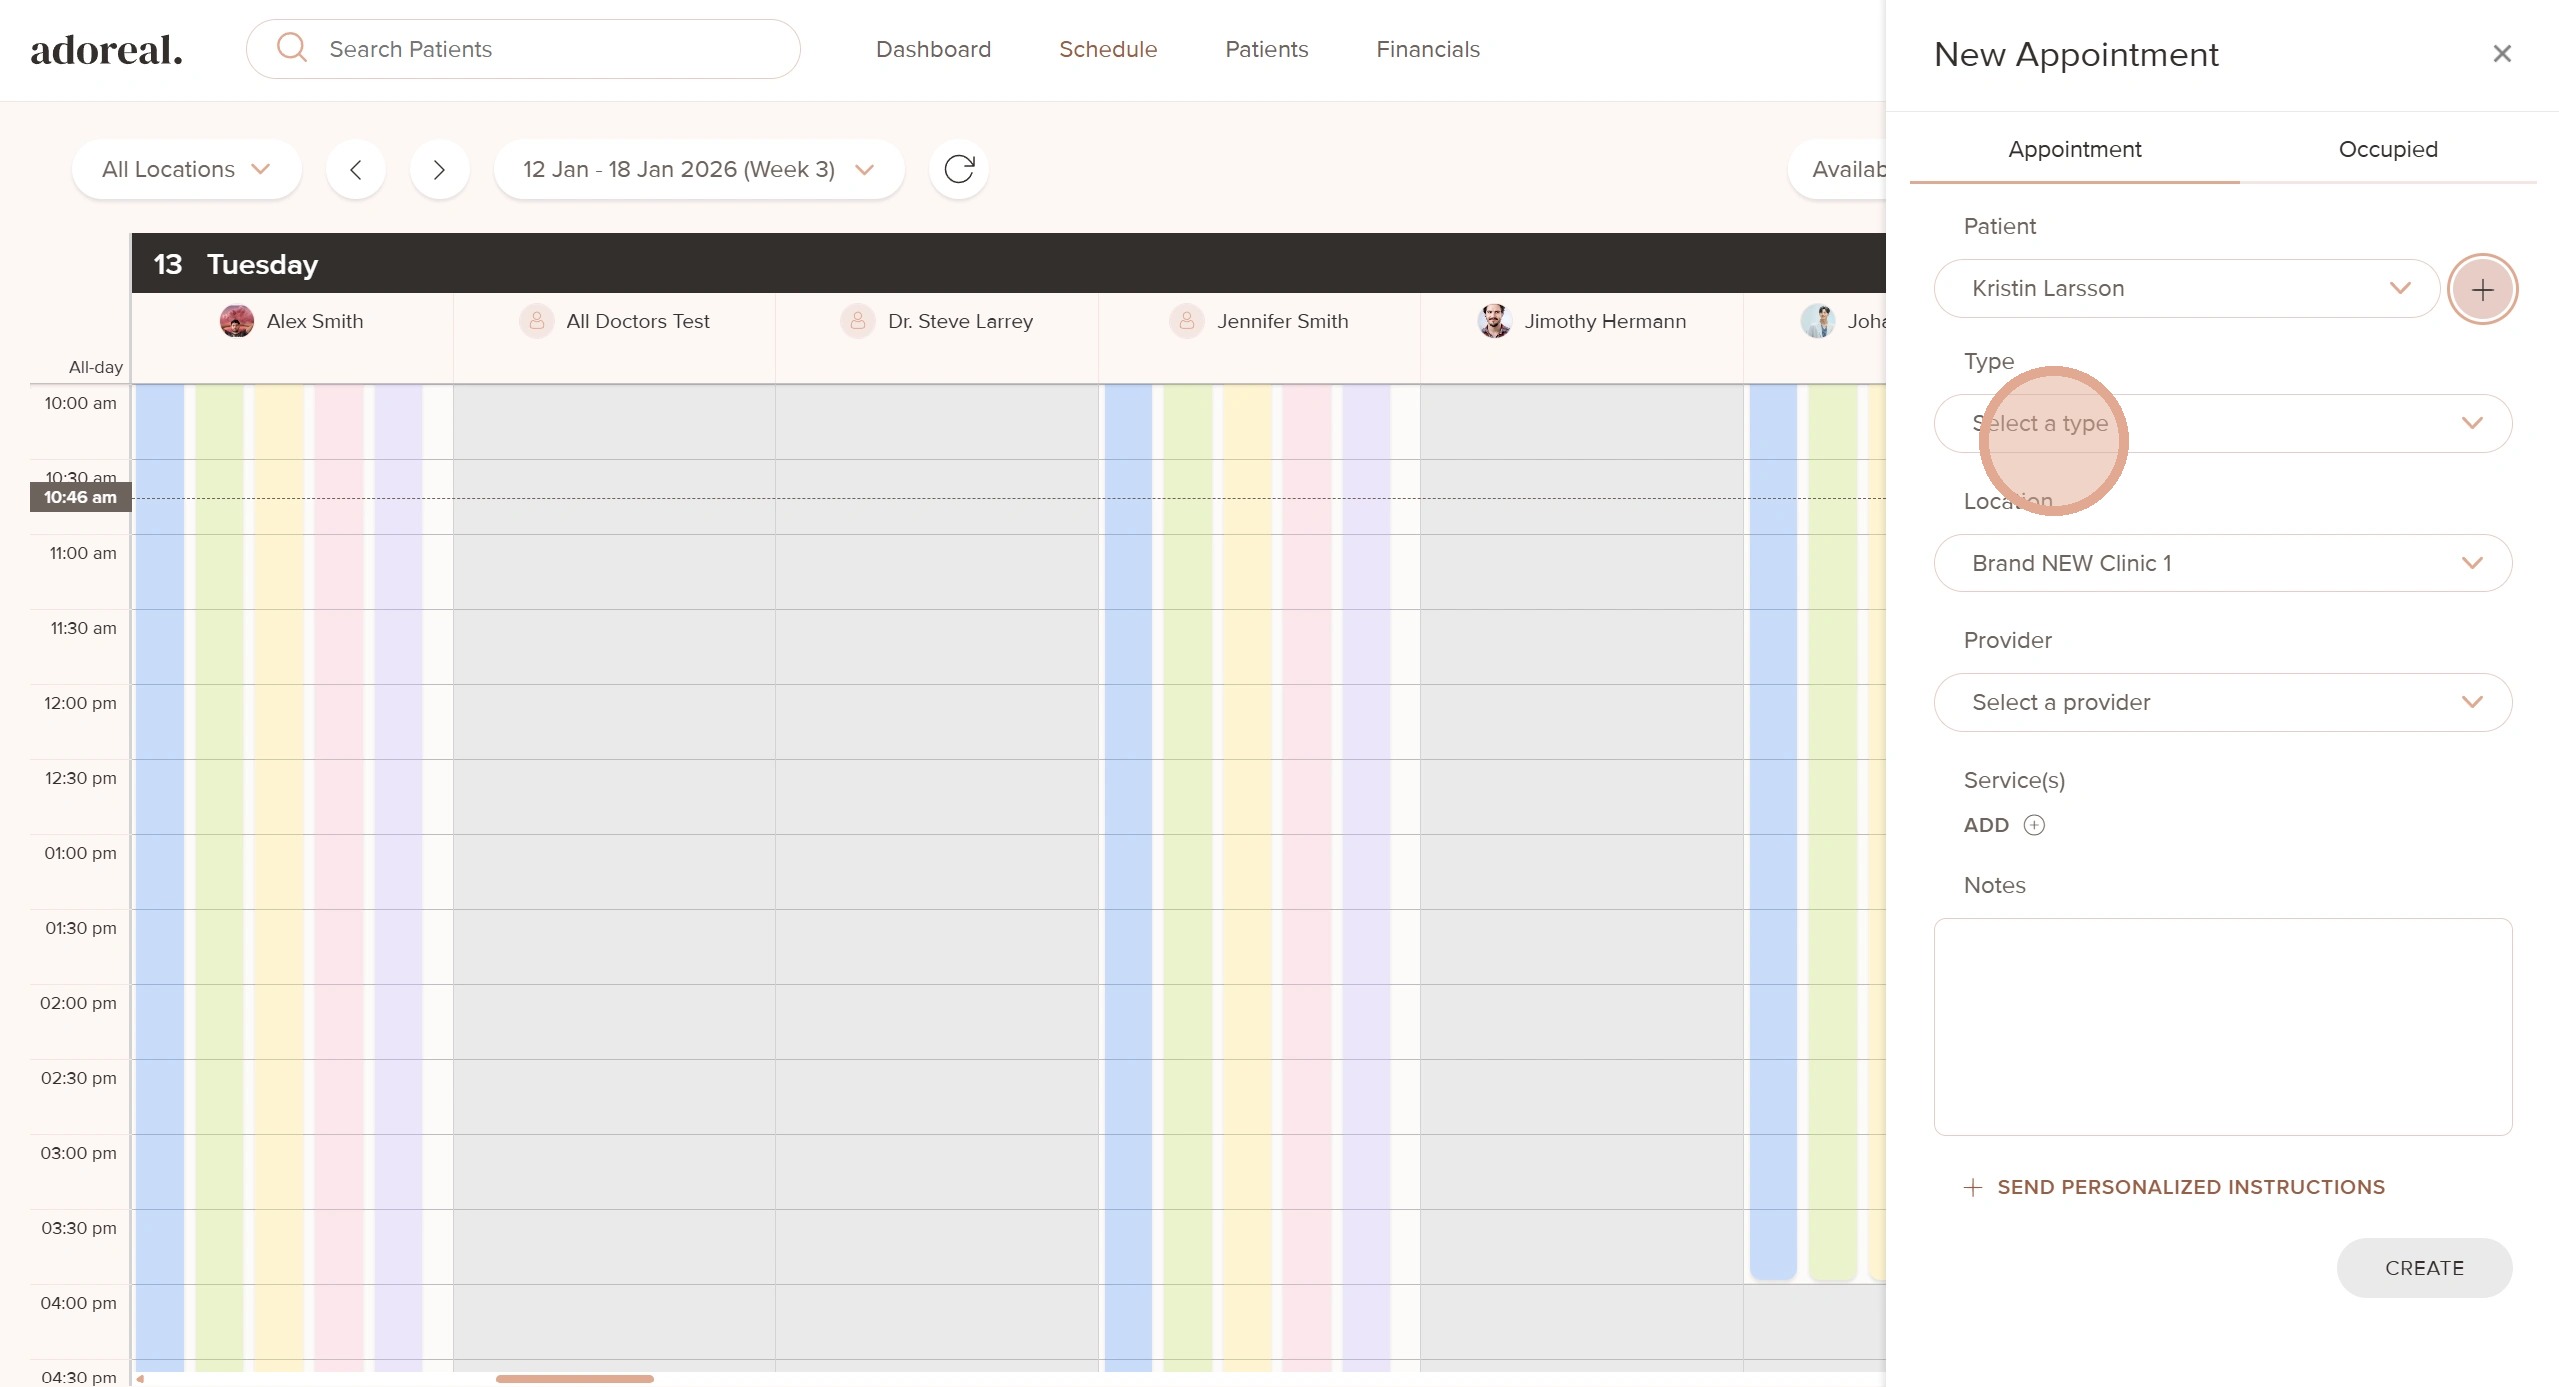
1. There are multiple ways to register a new patient. One option is to do it directly from the Schedule while creating a new appointment.
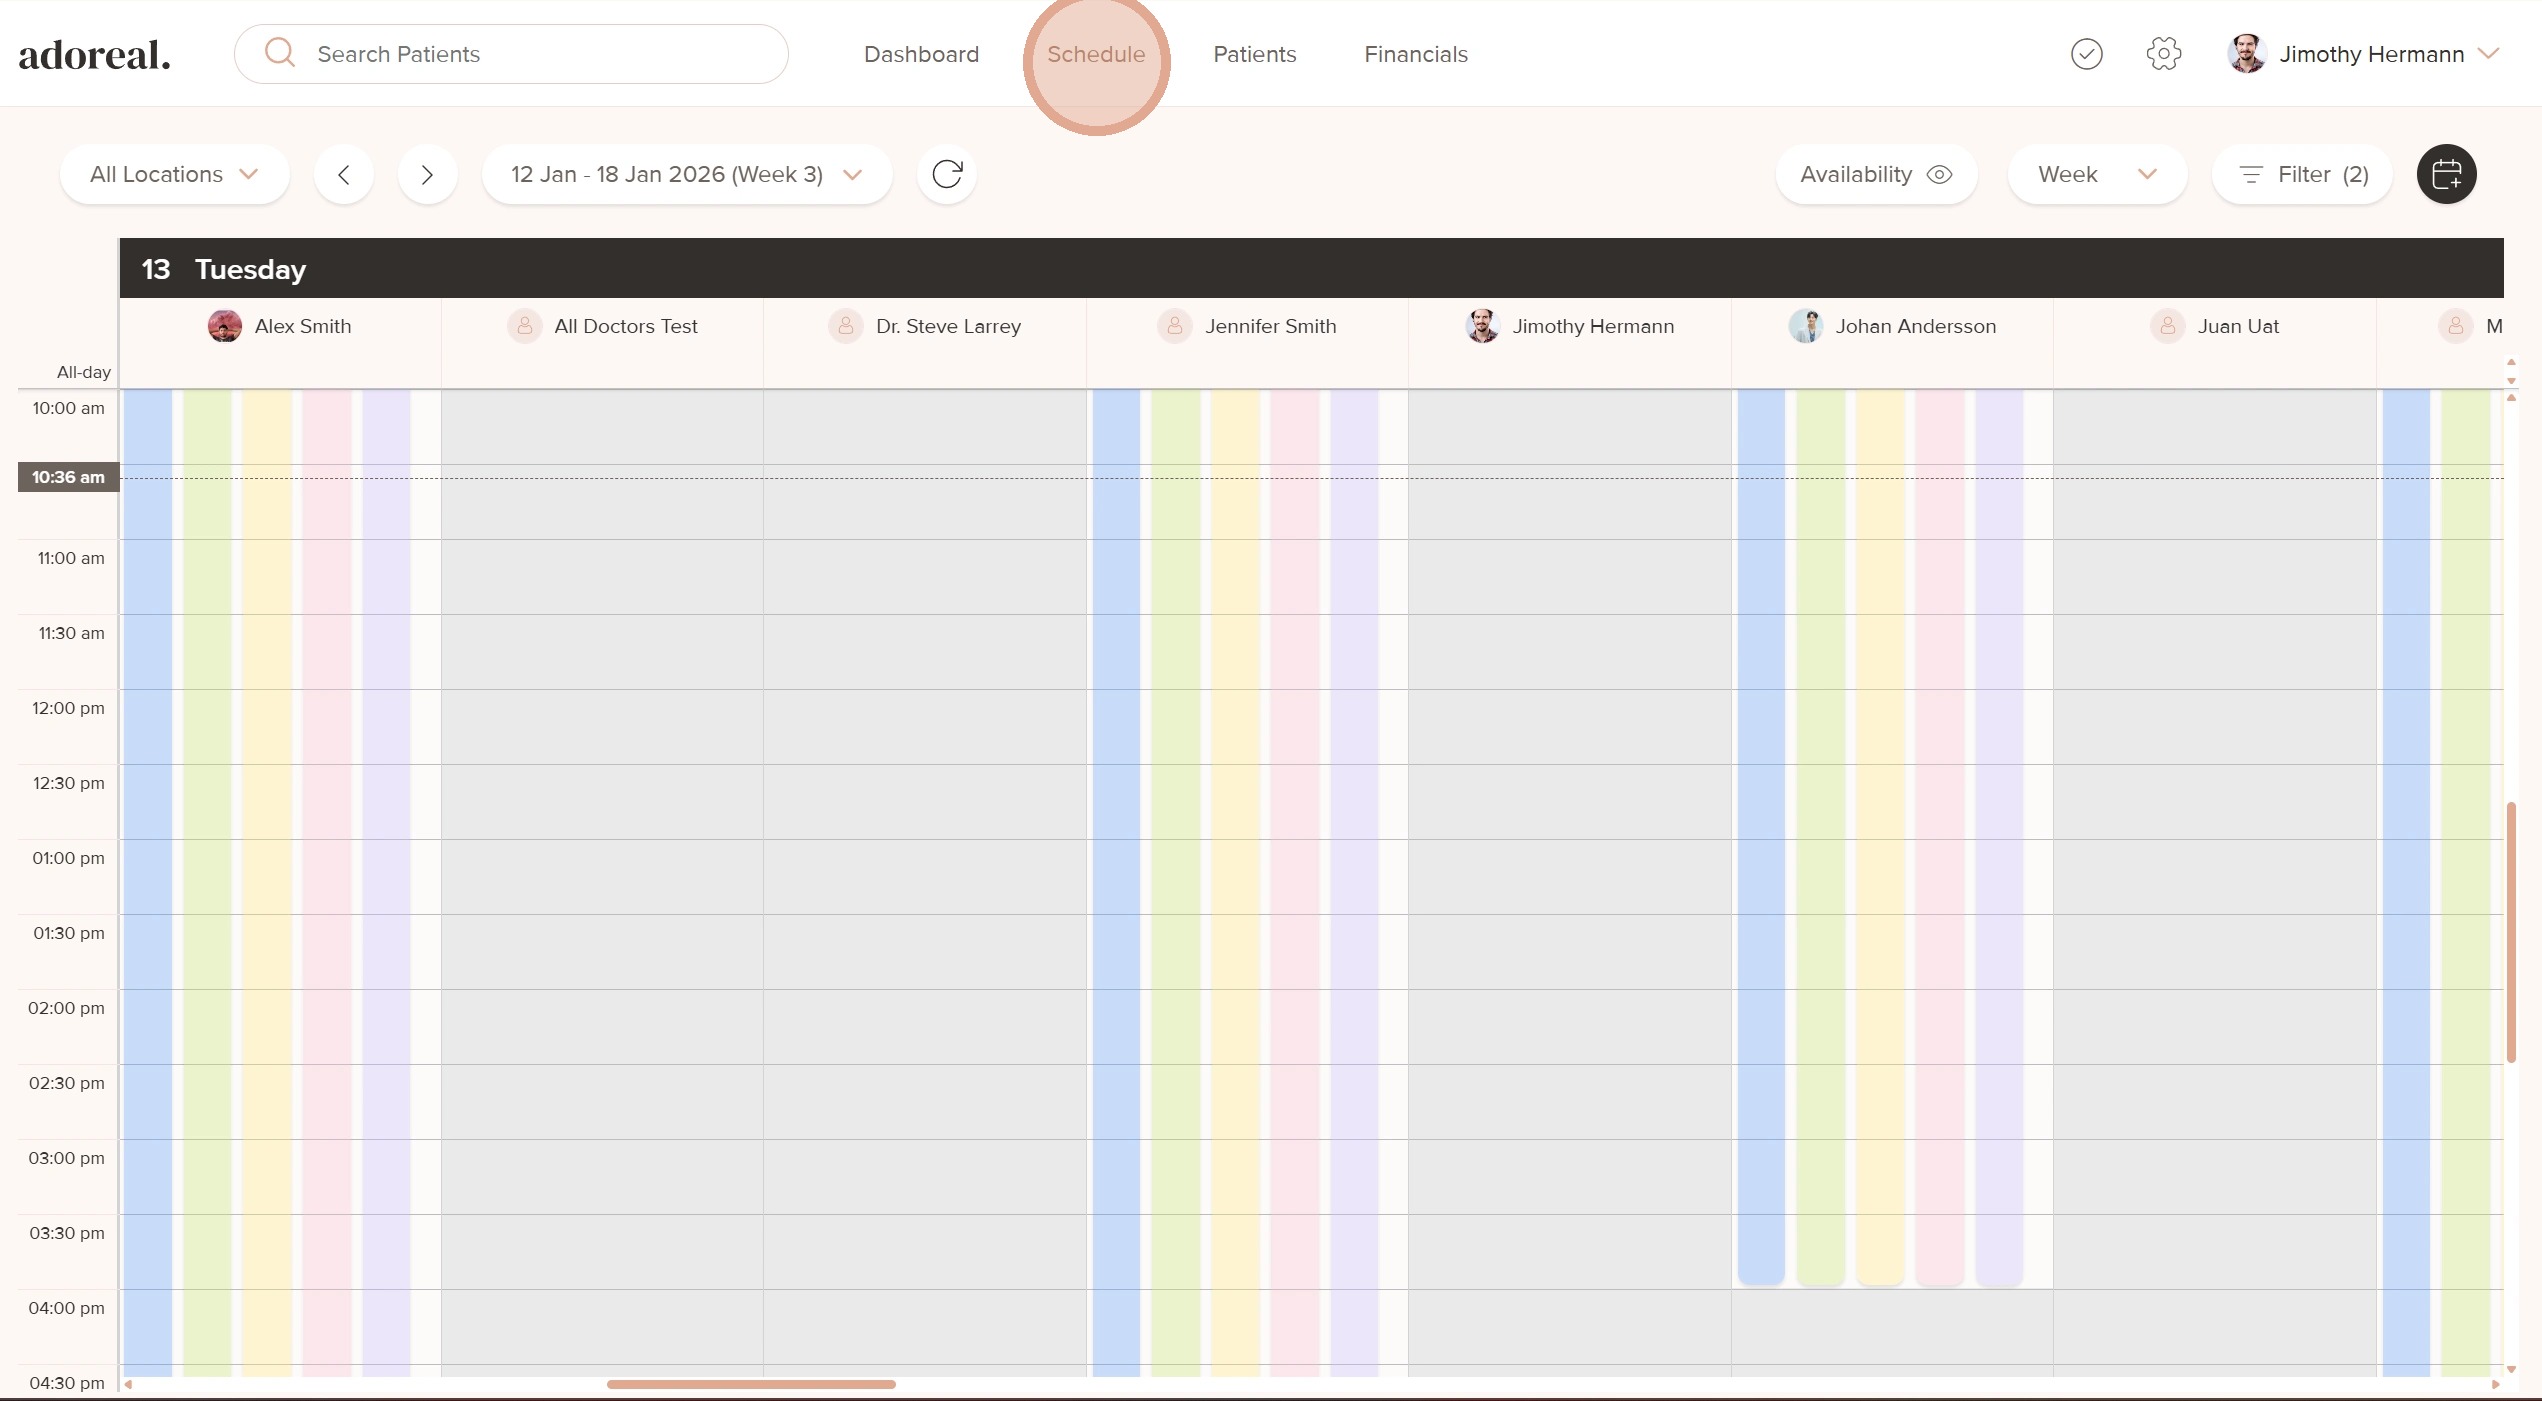
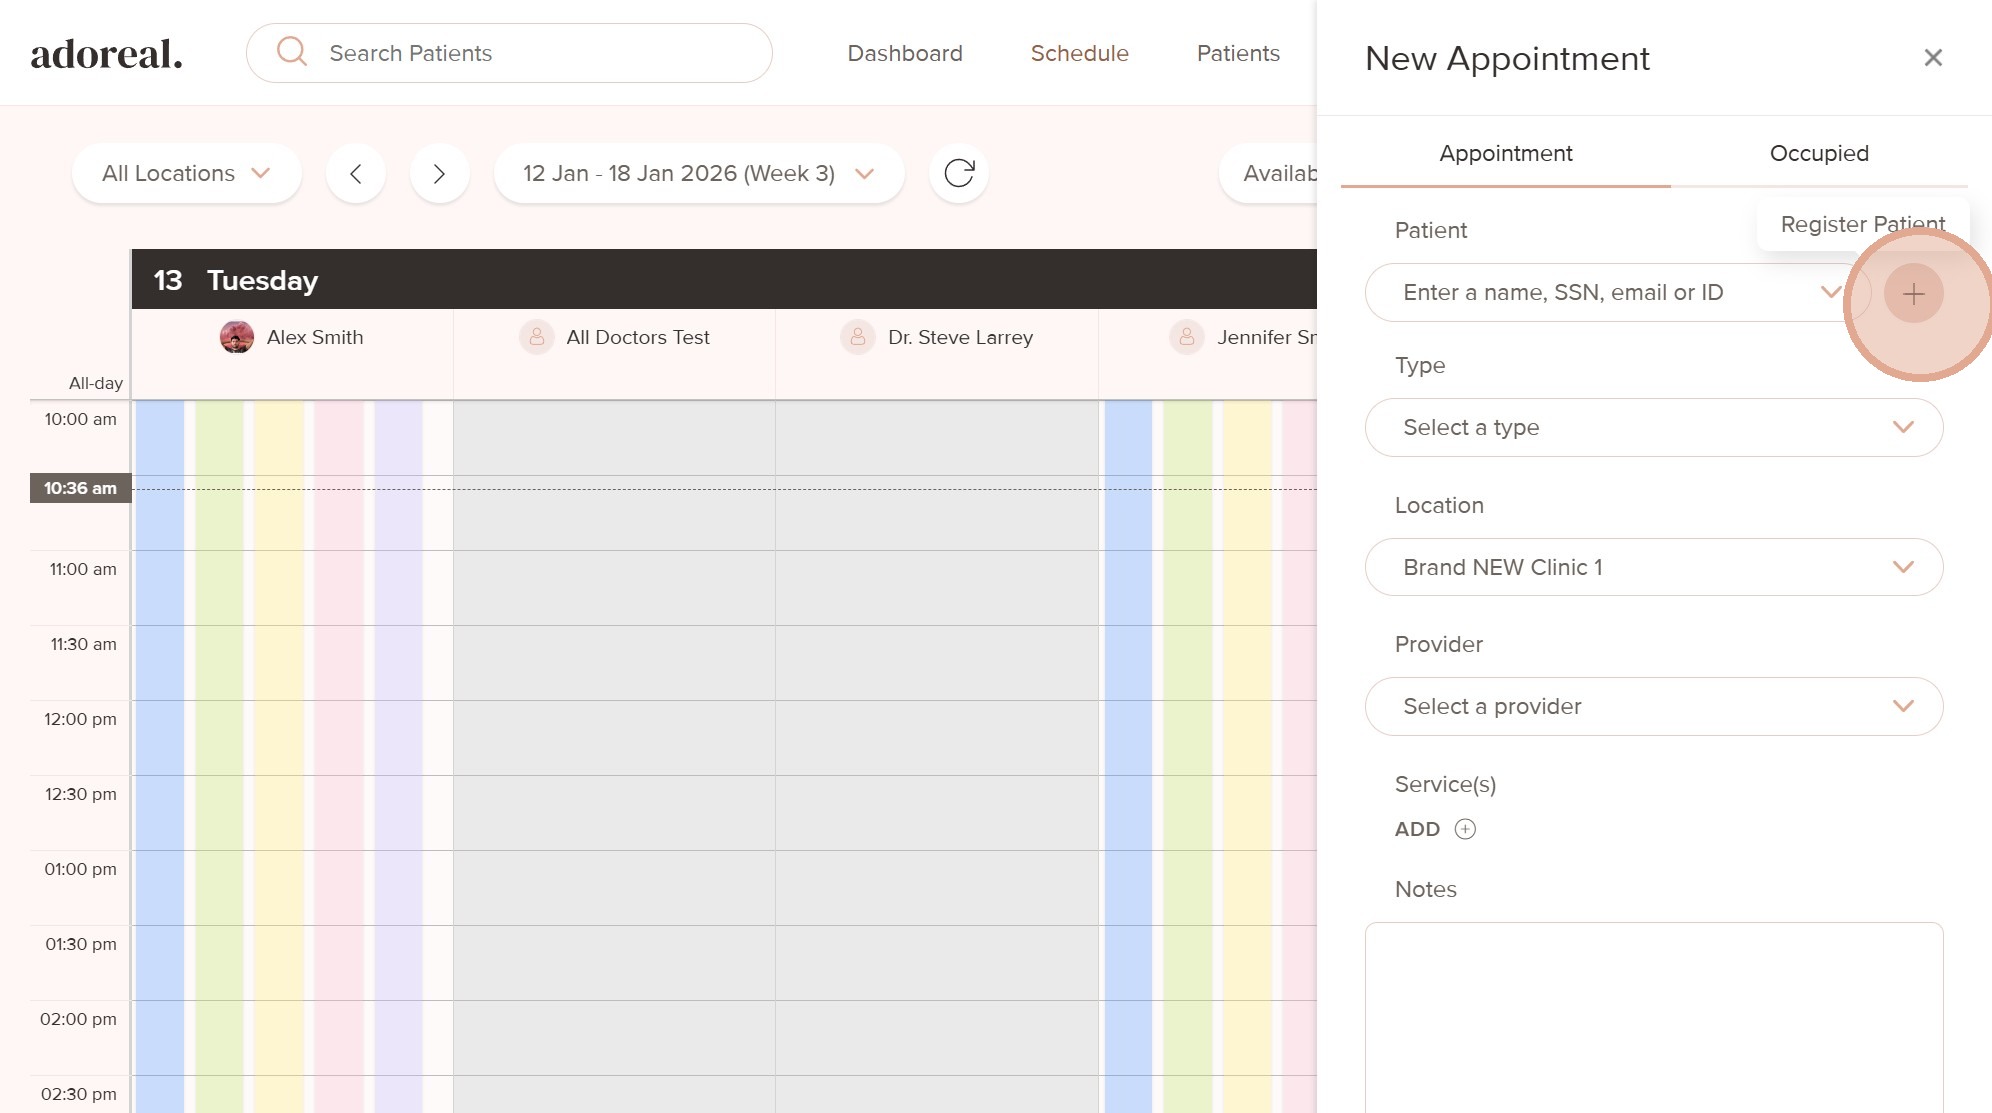
2. From the Schedule view, click New Appointment.

3. In the New Appointment panel, you’ll have the option to register a new patient.
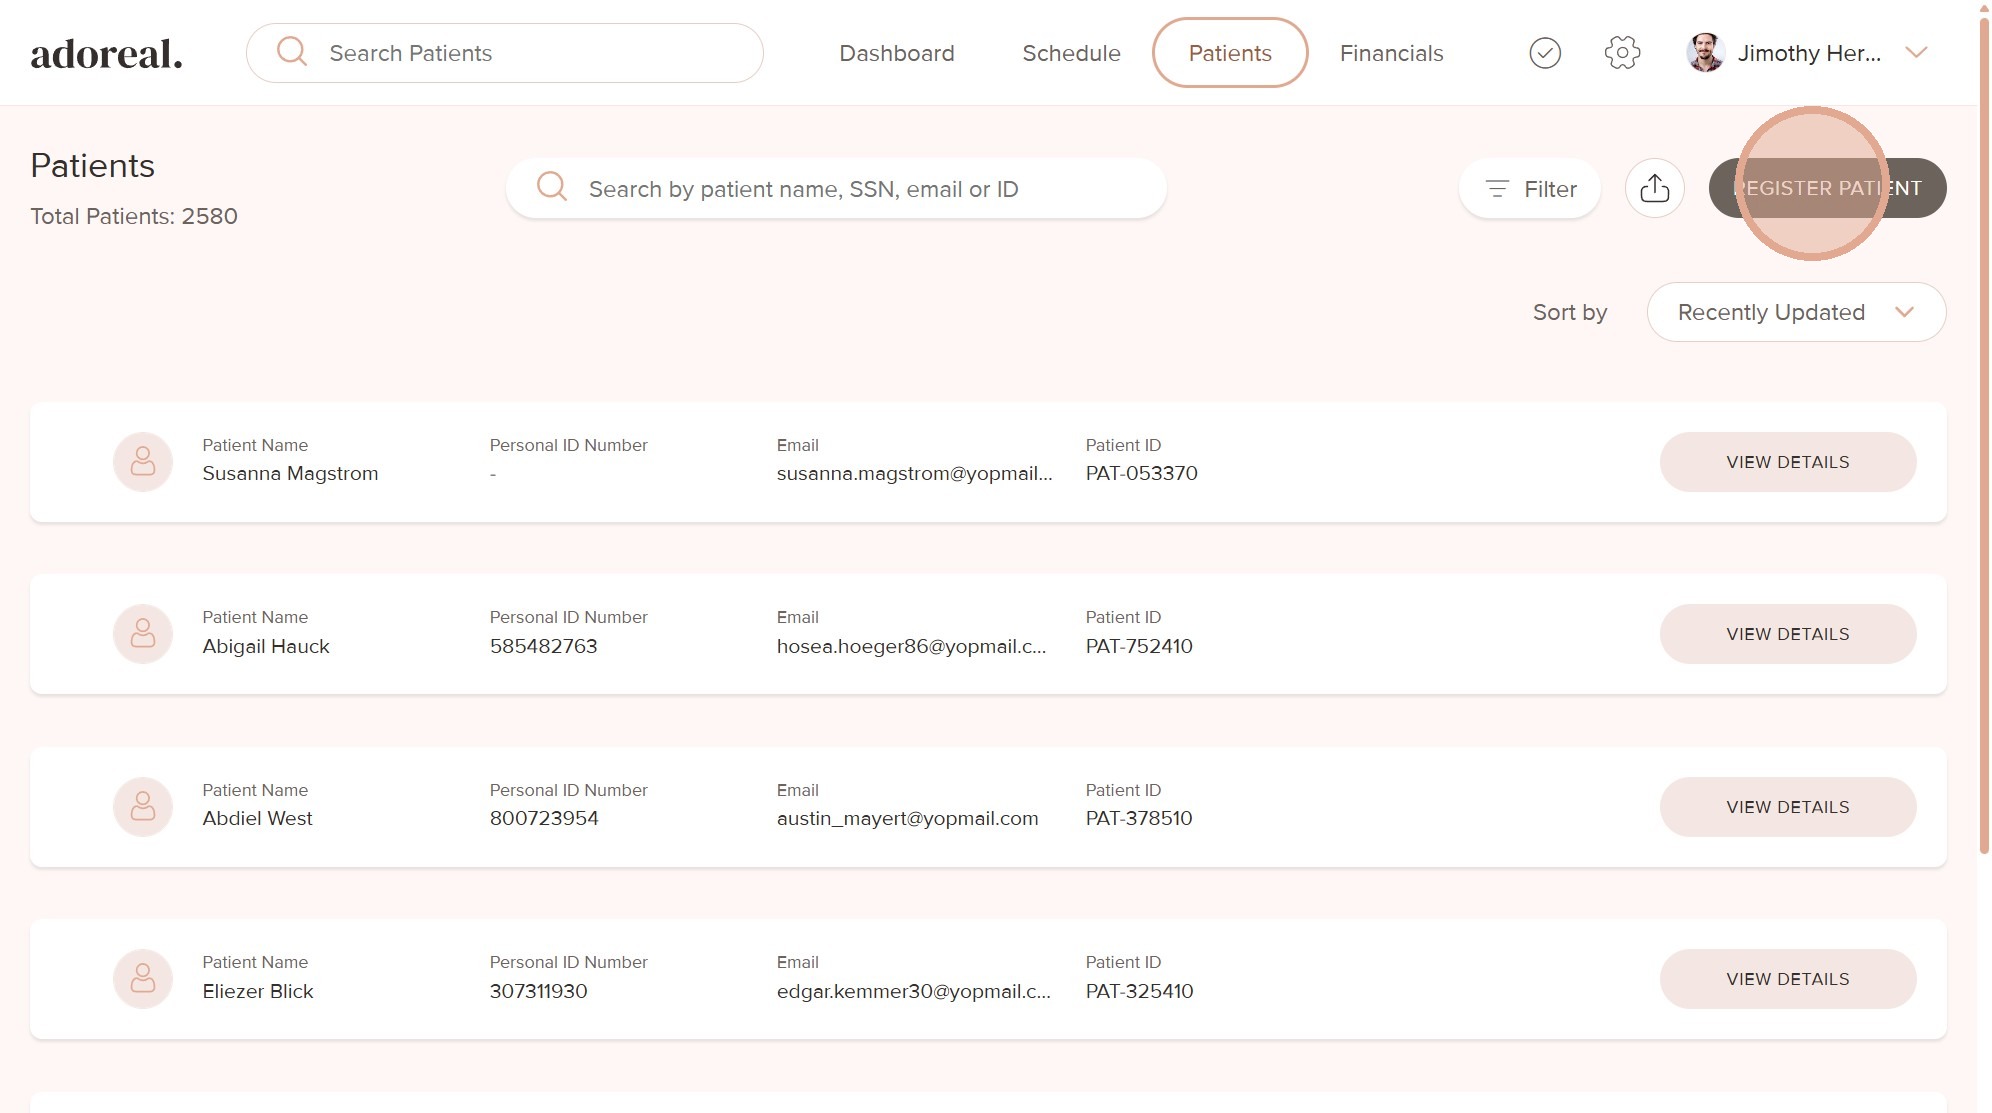
4. You can also register a new patient directly from the Patients tab.
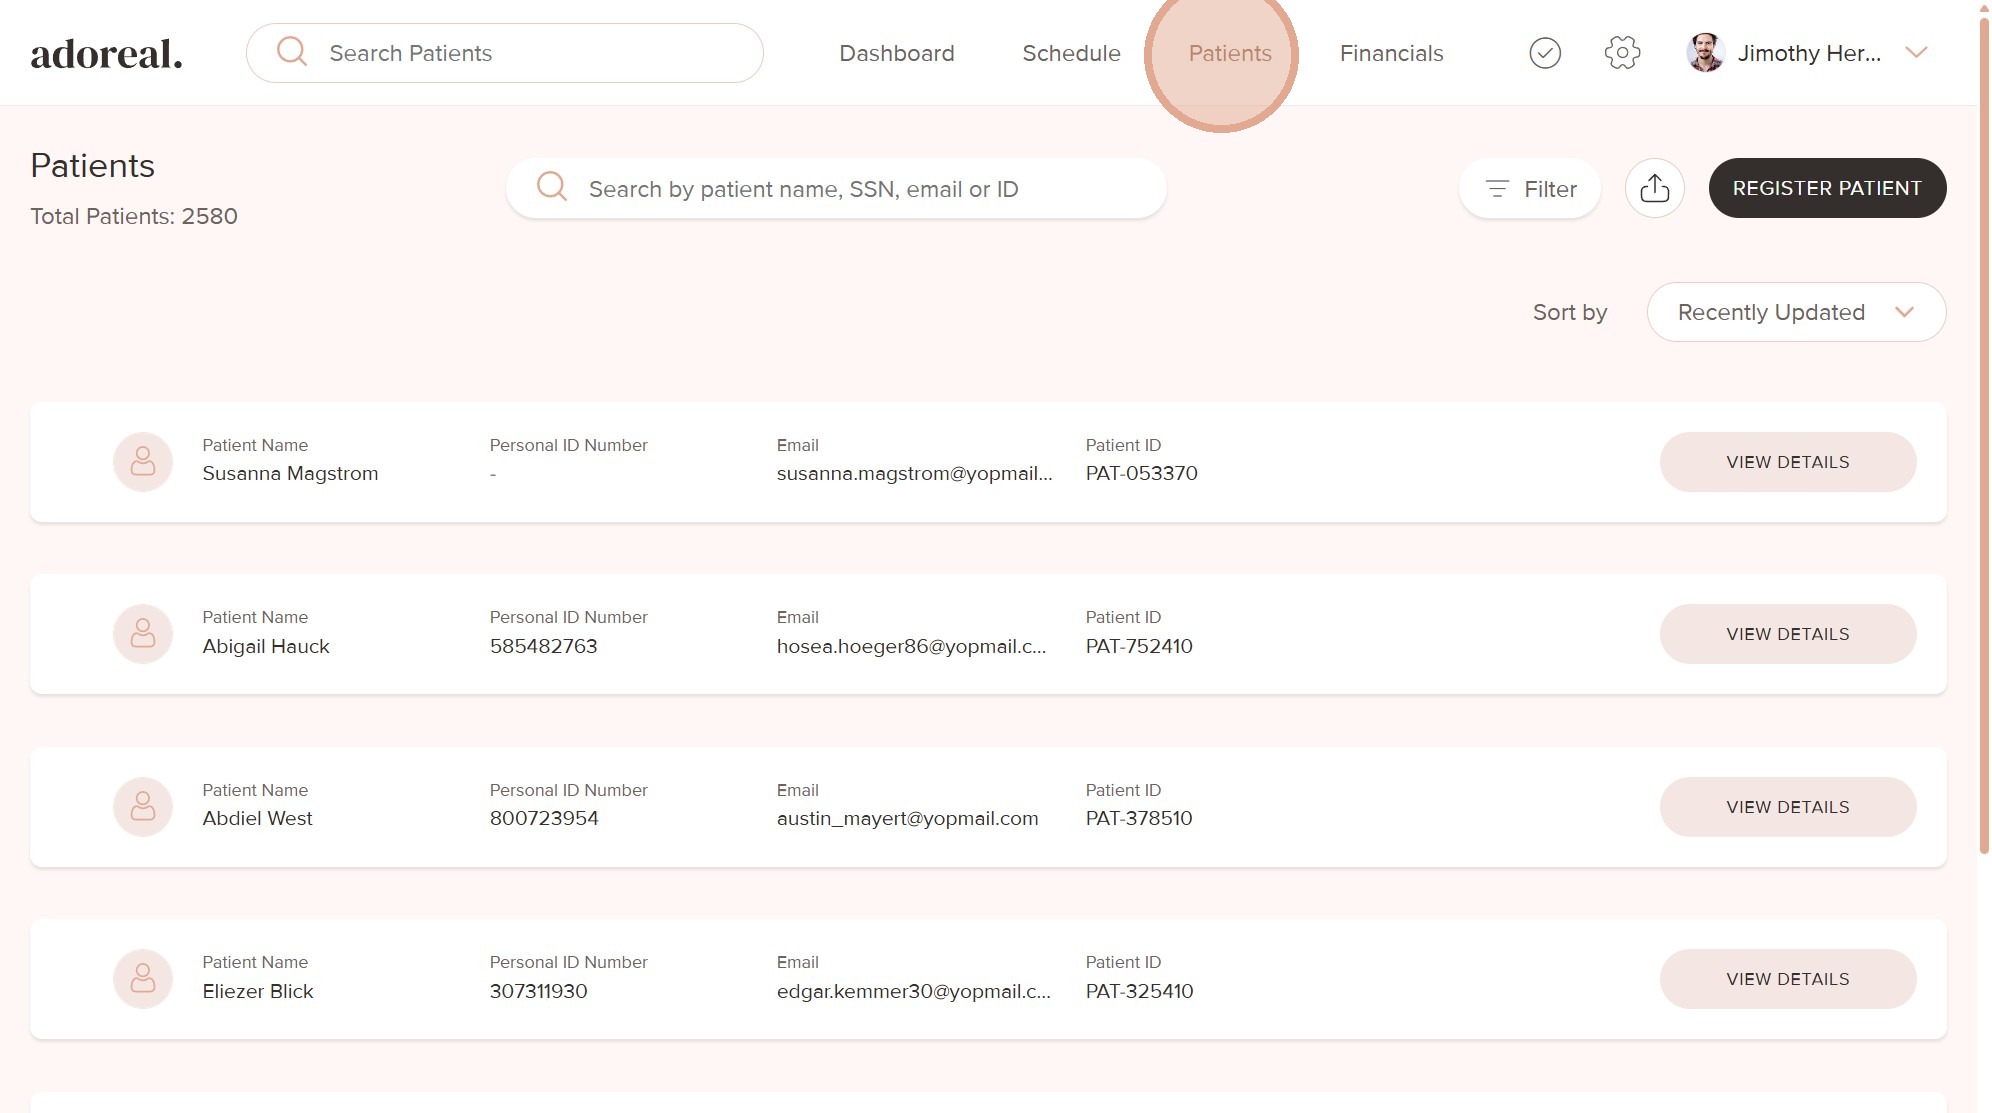
5. In the Patients view, click Register Patient in the top-right corner.
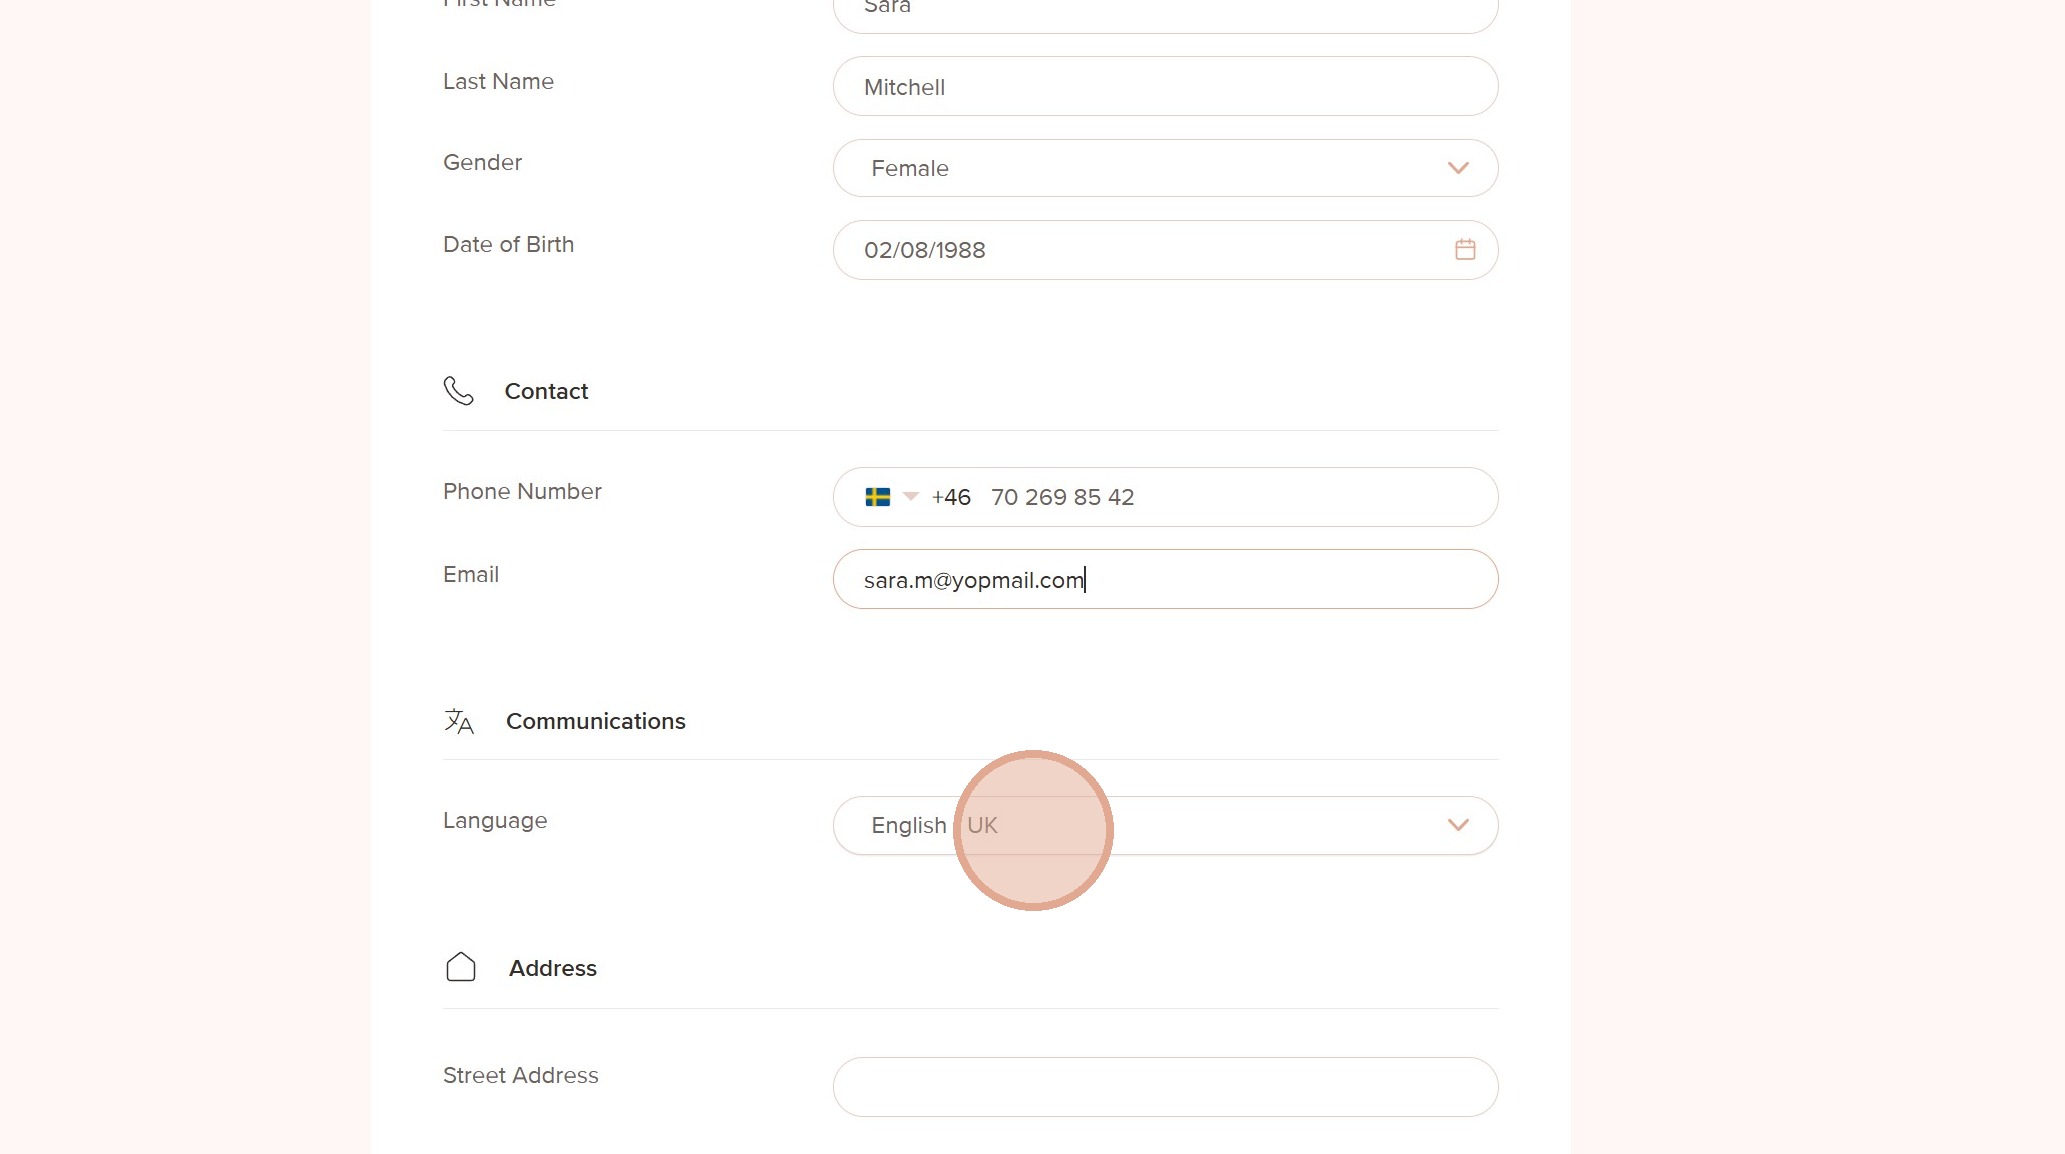
6. No matter which method you use, you’ll be asked to enter the same required information. The following fields must always be completed:
First name
Last name
Gender
Date of birth
Phone number
Email address
Street address
7. You can choose the Patient Communication Language, which determines the language used for automated messages such as appointment confirmations and invoice reminders.
This is useful for patients from abroad or those who prefer a different language than your clinic’s default.
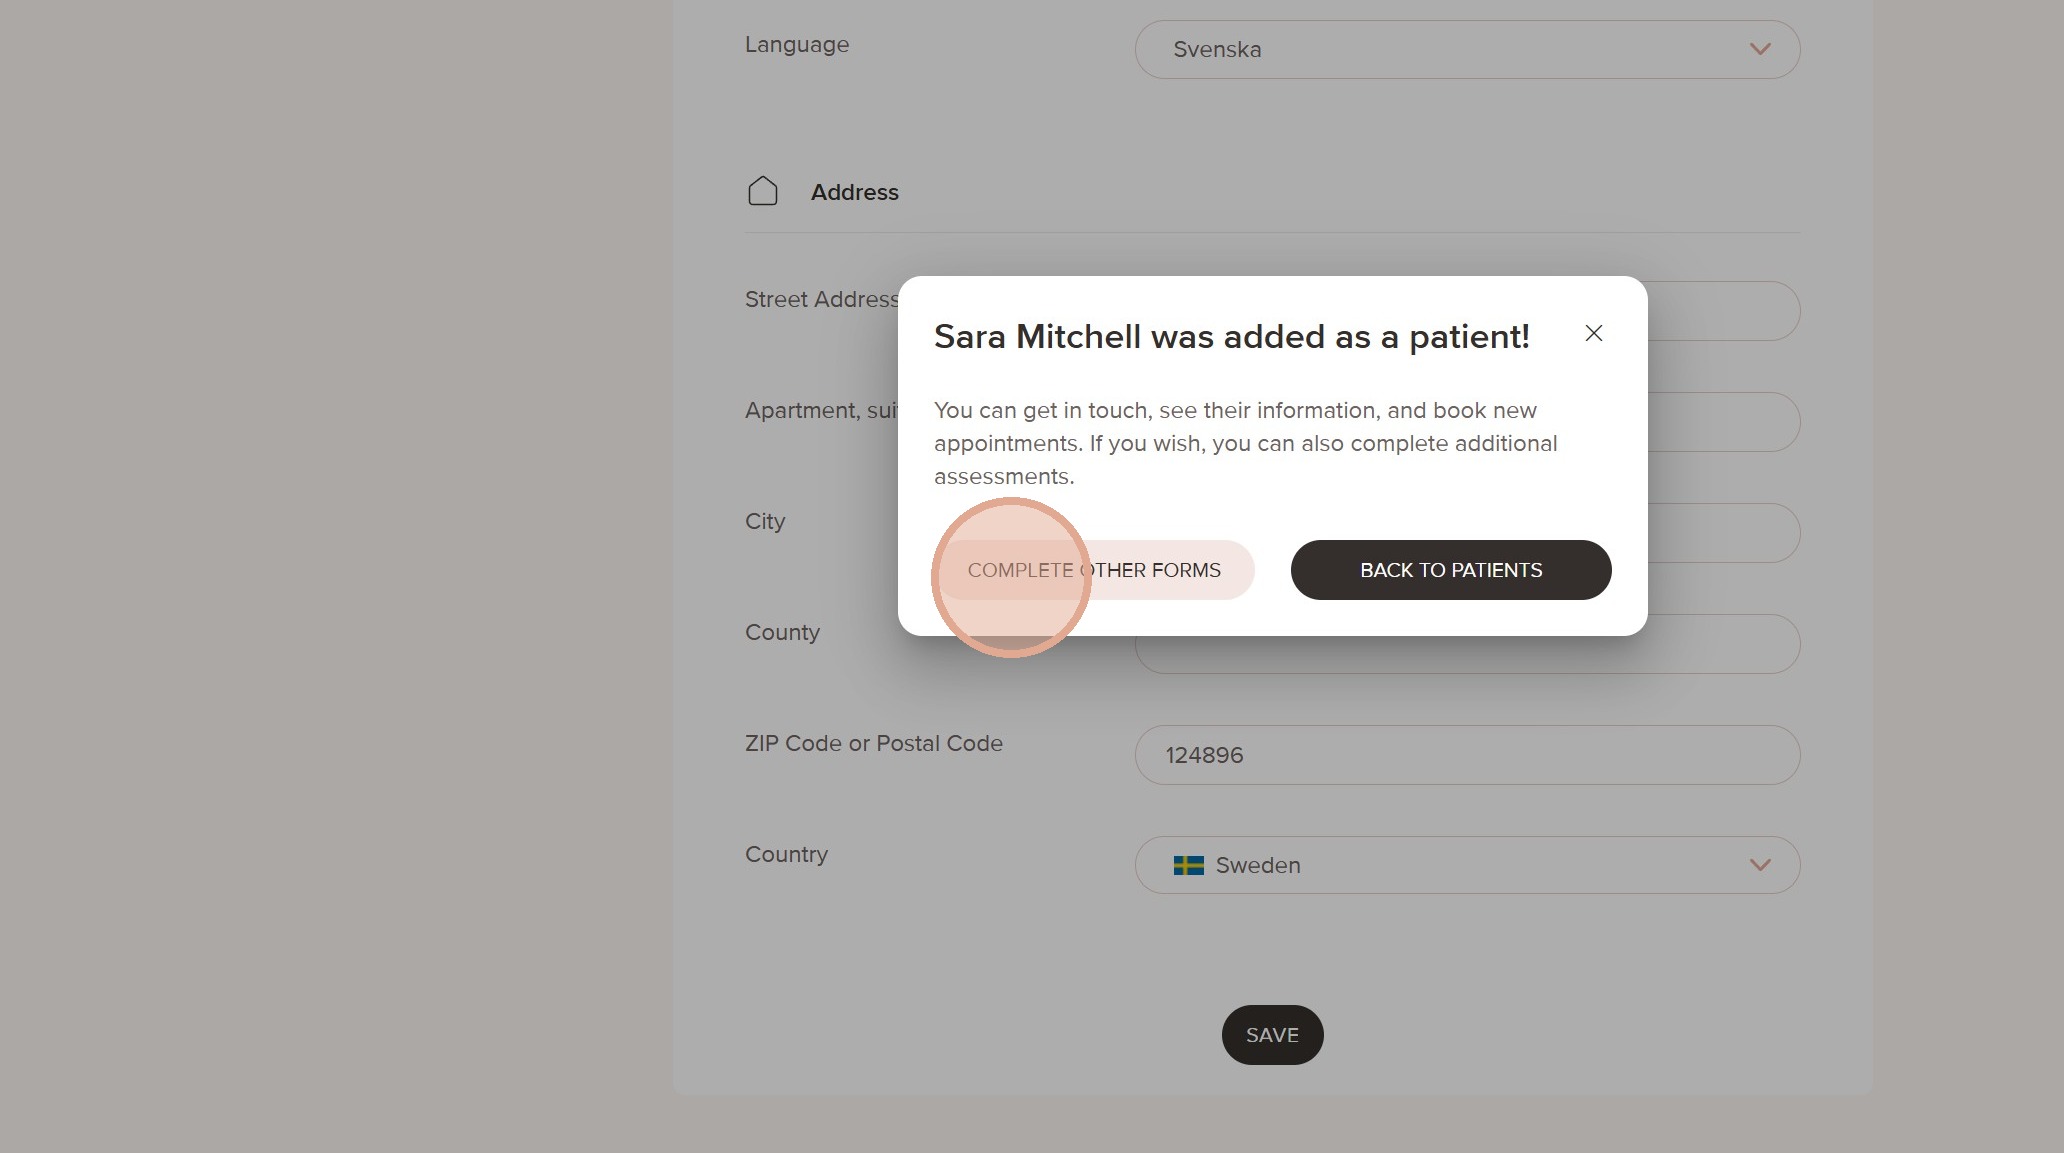
8. Once all required information is filled in, click Save.

9. After saving, click Complete Other Forms to go to the patient’s Patient360, where you can see appointments, create journal entries and other patient information
10. If you registered the patient from the Schedule, you can now continue with the appointment booking.
Was this article helpful?
That’s Great!
Thank you for your feedback
Sorry! We couldn't be helpful
Thank you for your feedback
Feedback sent
We appreciate your effort and will try to fix the article